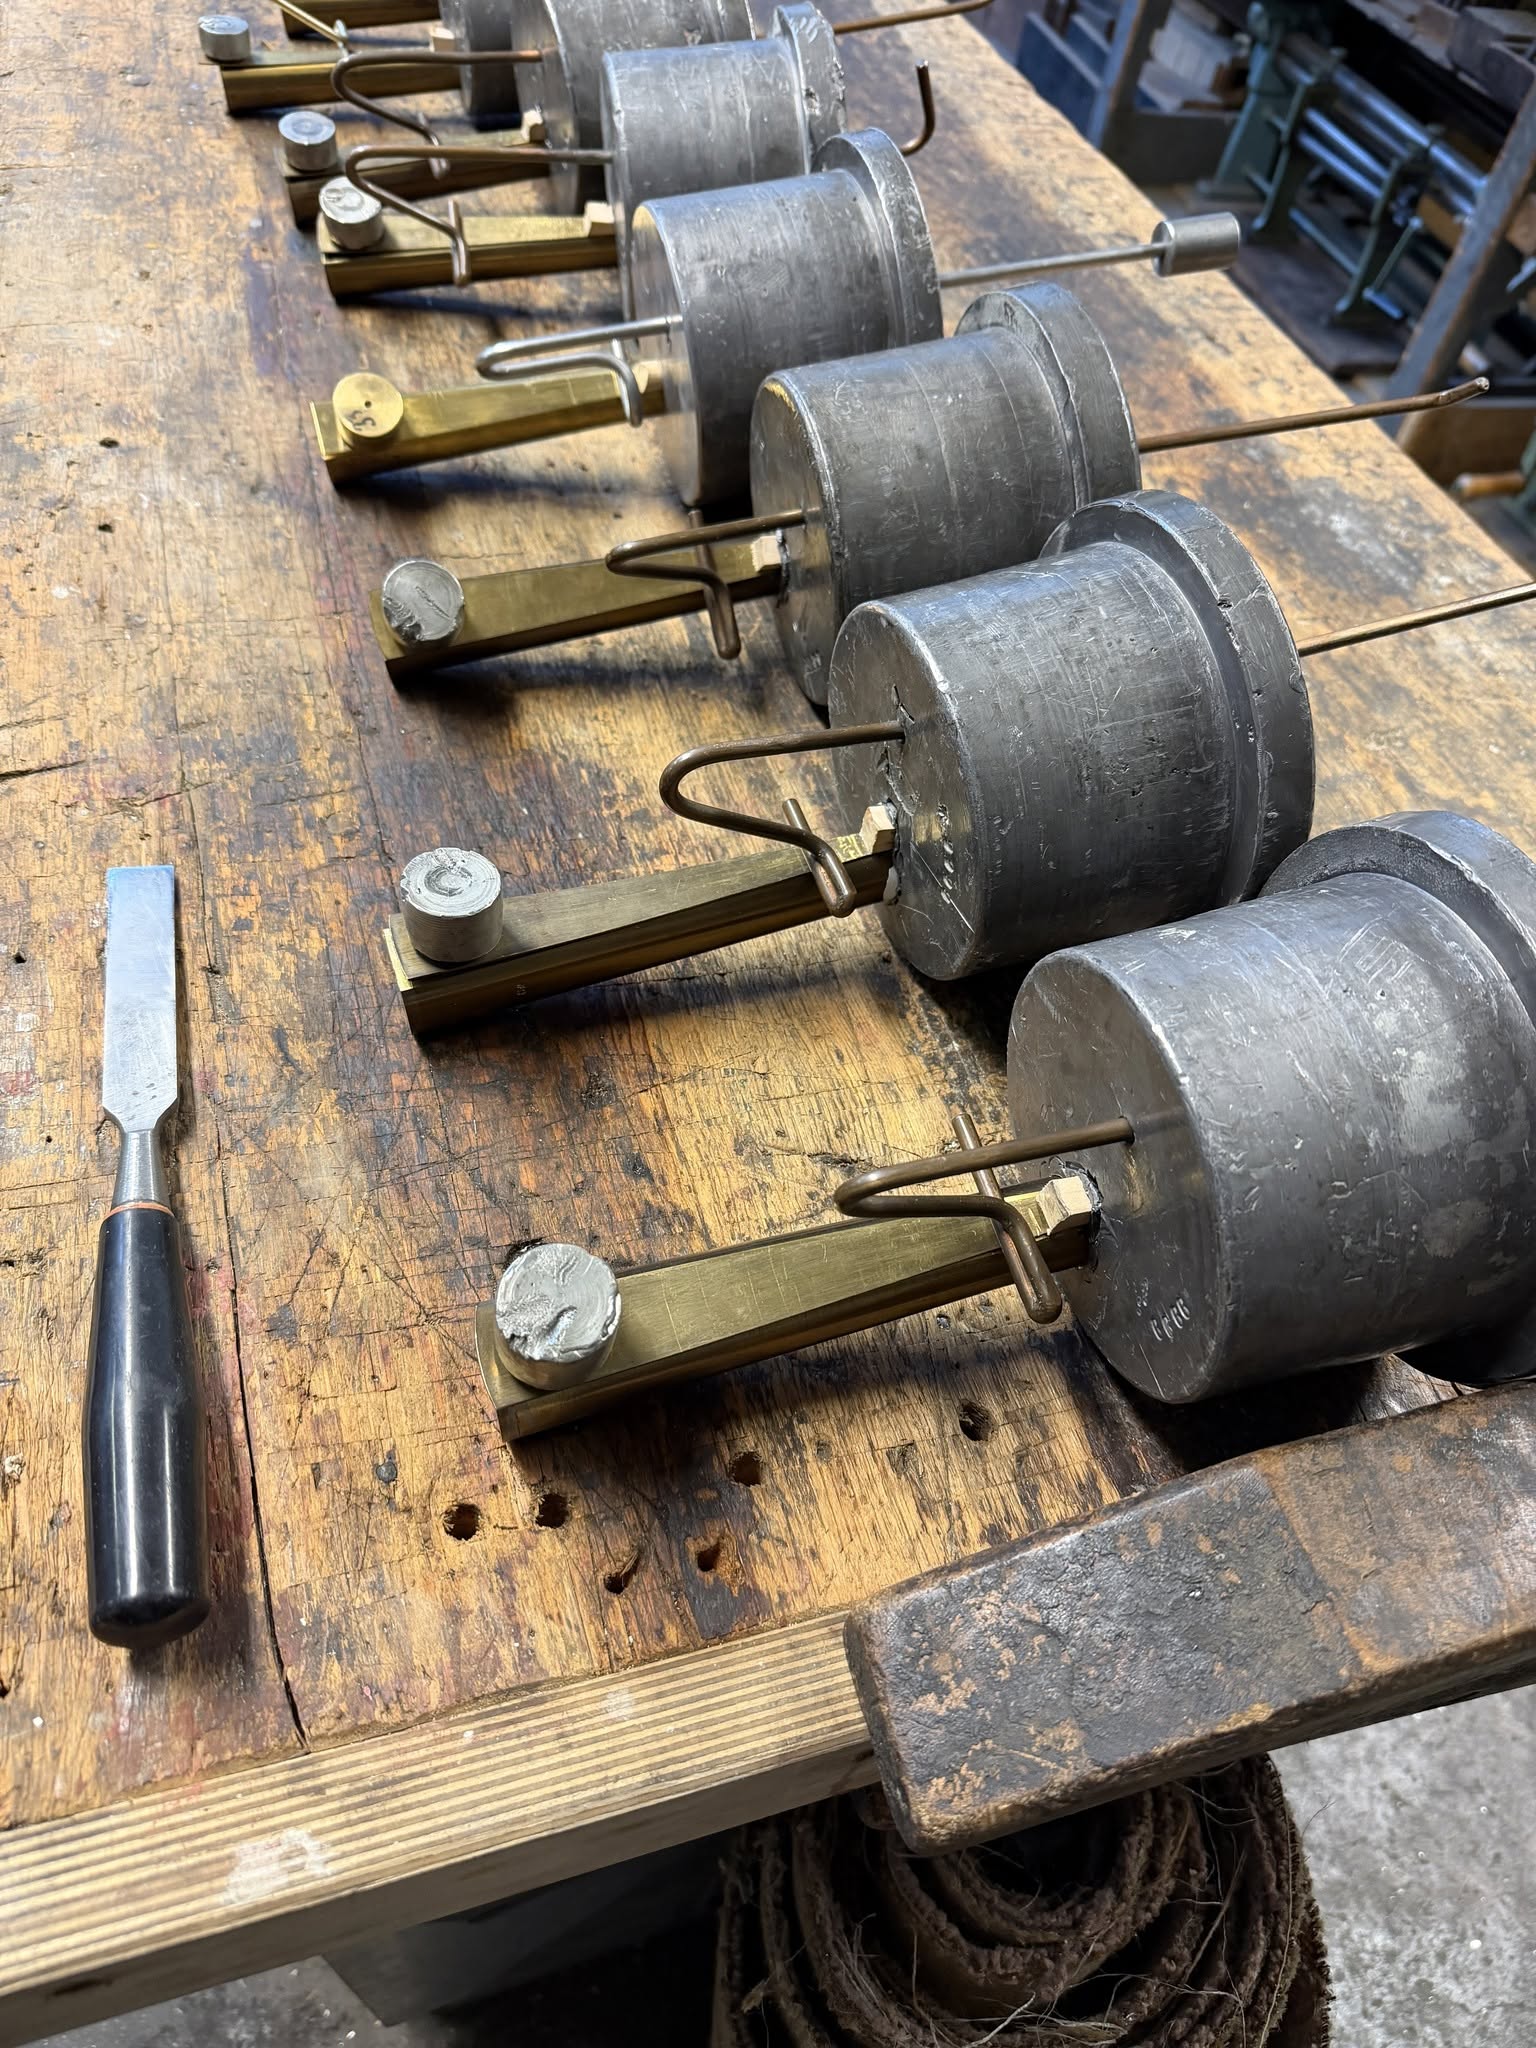
Reed Shallots, how to make them
Making reed shallots is a trade in itself, that takes careful training and practice. There are several different kinds of shallots, and different methods you can use to make them.
Recently, Henry Willis & Sons Ltd was restoring the 1926 Contra Trombone 32', from the organ of Liverpool Cathedral. The shallots had been vandalized by others, who attempted to revoice the Trombone. Henry Willis & Sons Ltd are currently restoring the Blocks, replacing the Springs and making new Shallots, Tongues and Loads to bring this majestic, enclosed 32' rank back into its original voice. New Shallots are needed as the original ones had been changed, including removal of their filling pieces, lengthening of the faces and several had also been bent.
The Willis company has kindly given me photos documenting their making of new, (like-the-original) shallots. However, I am to blame for all of this text.
Also, back about 1990's, I visited W. P. Williams Shallotmakers, Southend, Essex. The proprietor, Robin Stannard, gave me a tour of his workshop and allowed me to videotape him demonstrating his craft. I've worked in three (shallot making) pipeshops, and personally made shallots in two of them, so we had an interesting discussion comparing notes. I've supplimented the Willis photos with some stills from my (very poor and blurry) Williams videotape.
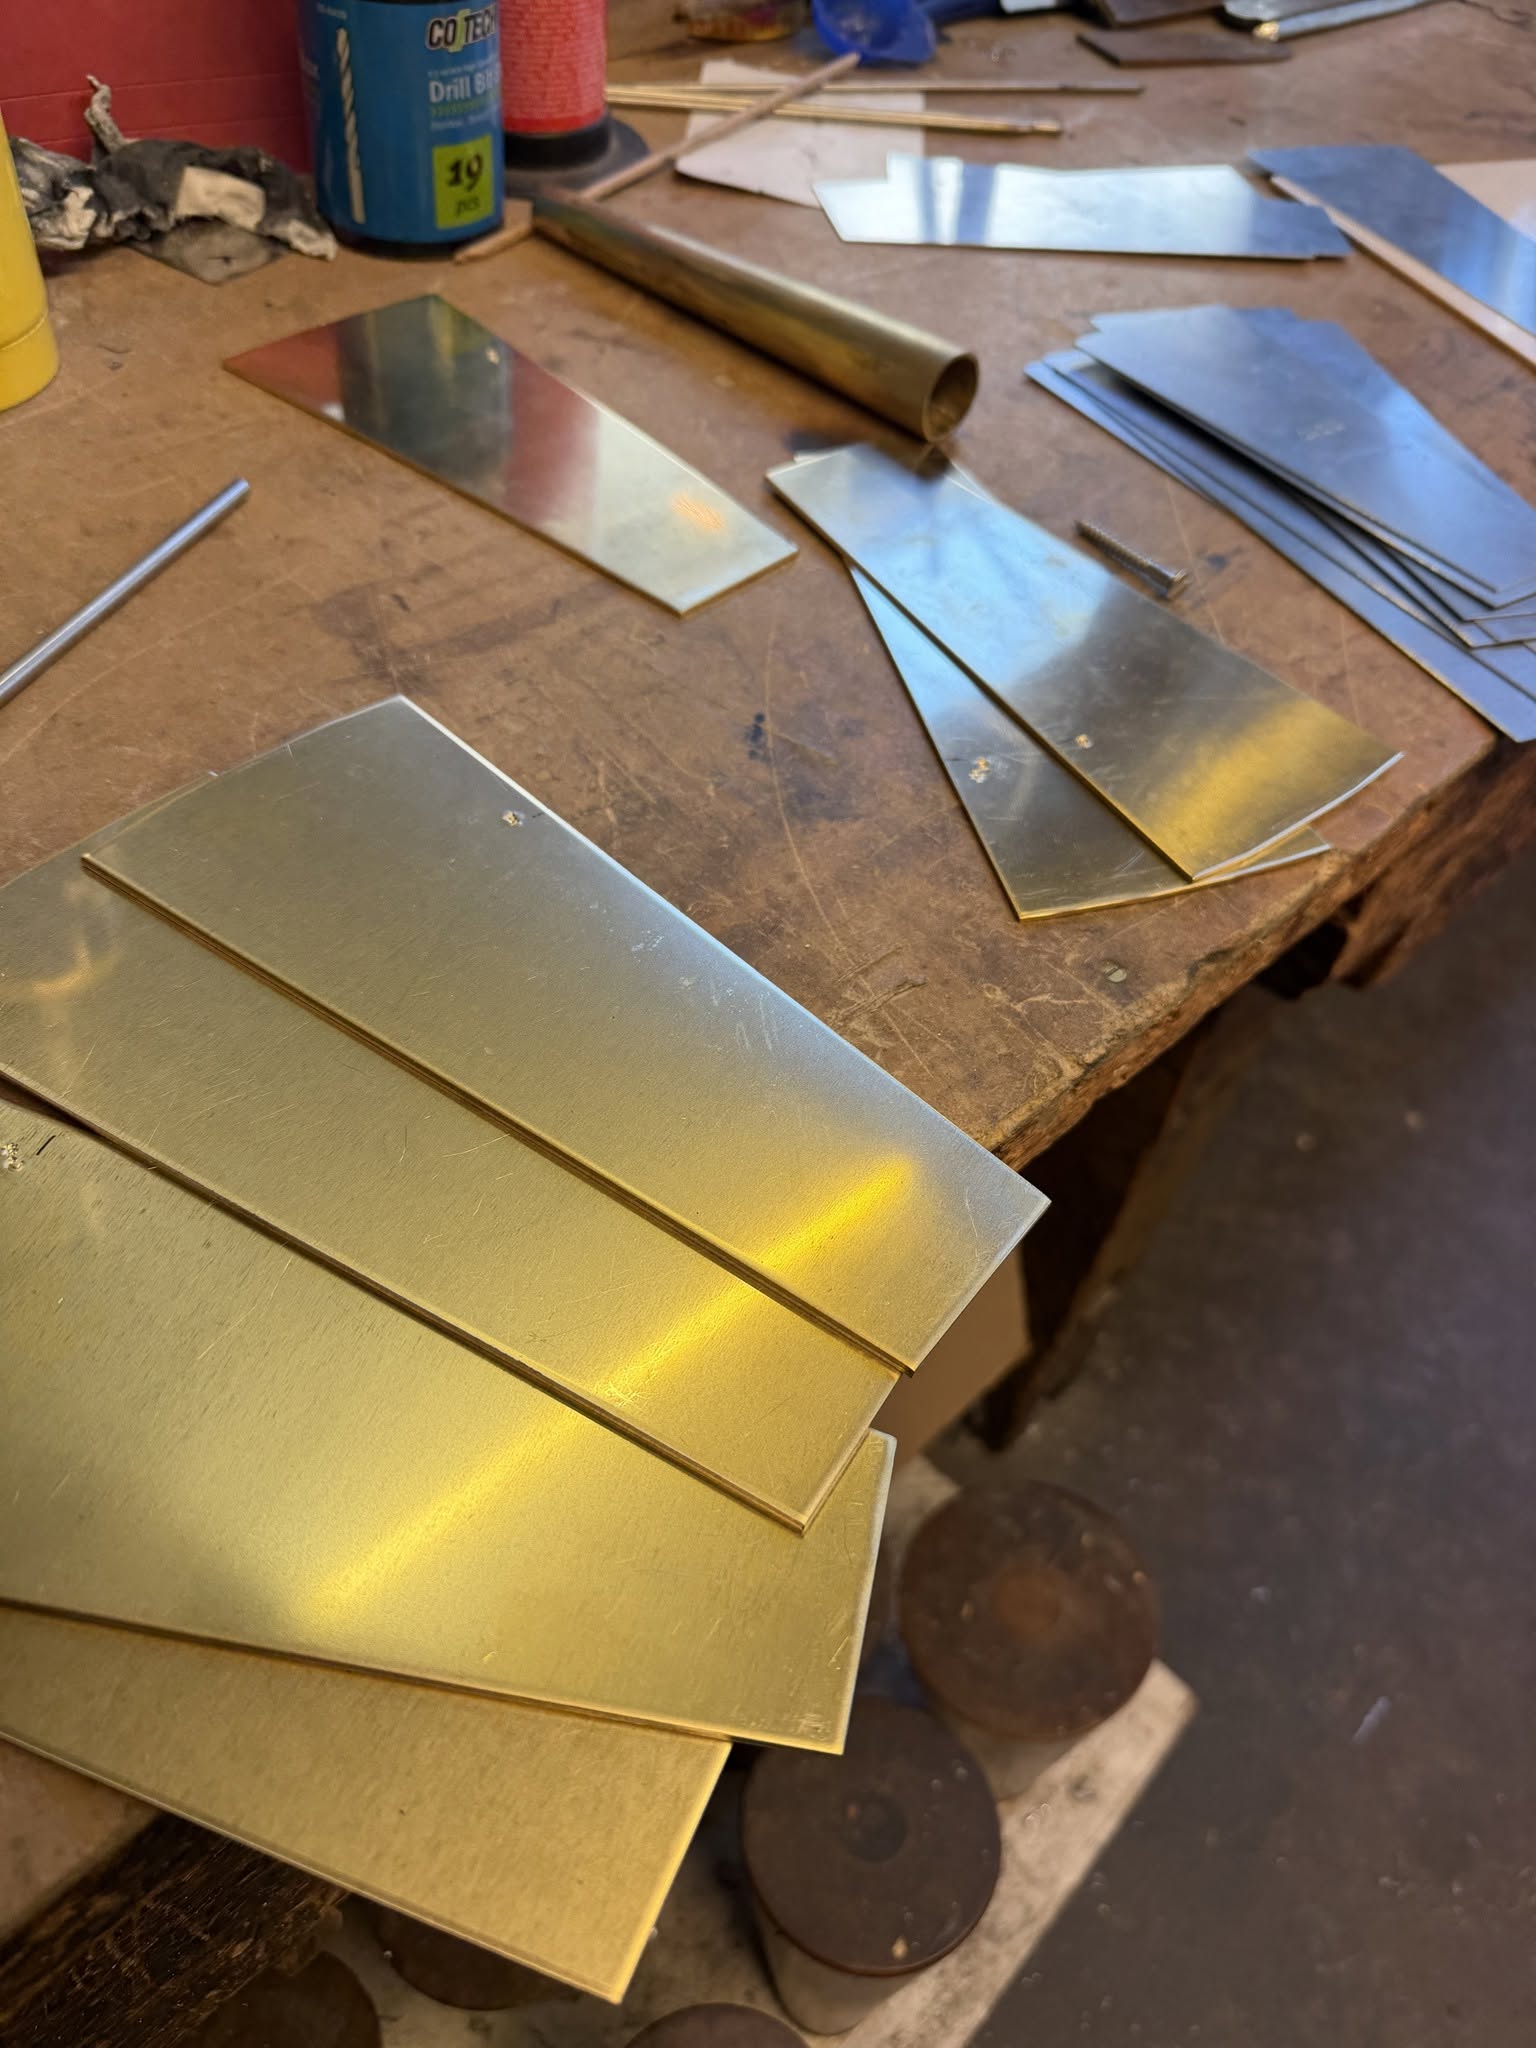
Reed Shallots, making templates
4 - If you intend to make the same shallots more than once, it is much more efficient to make a set of templates, rather than lay them out anew every time. Each template should the stamped with the note, and shallot id.
The templates are made of zinc. When you want to make another set of shallots, you just lay the templates on the brass sheet and trace them.
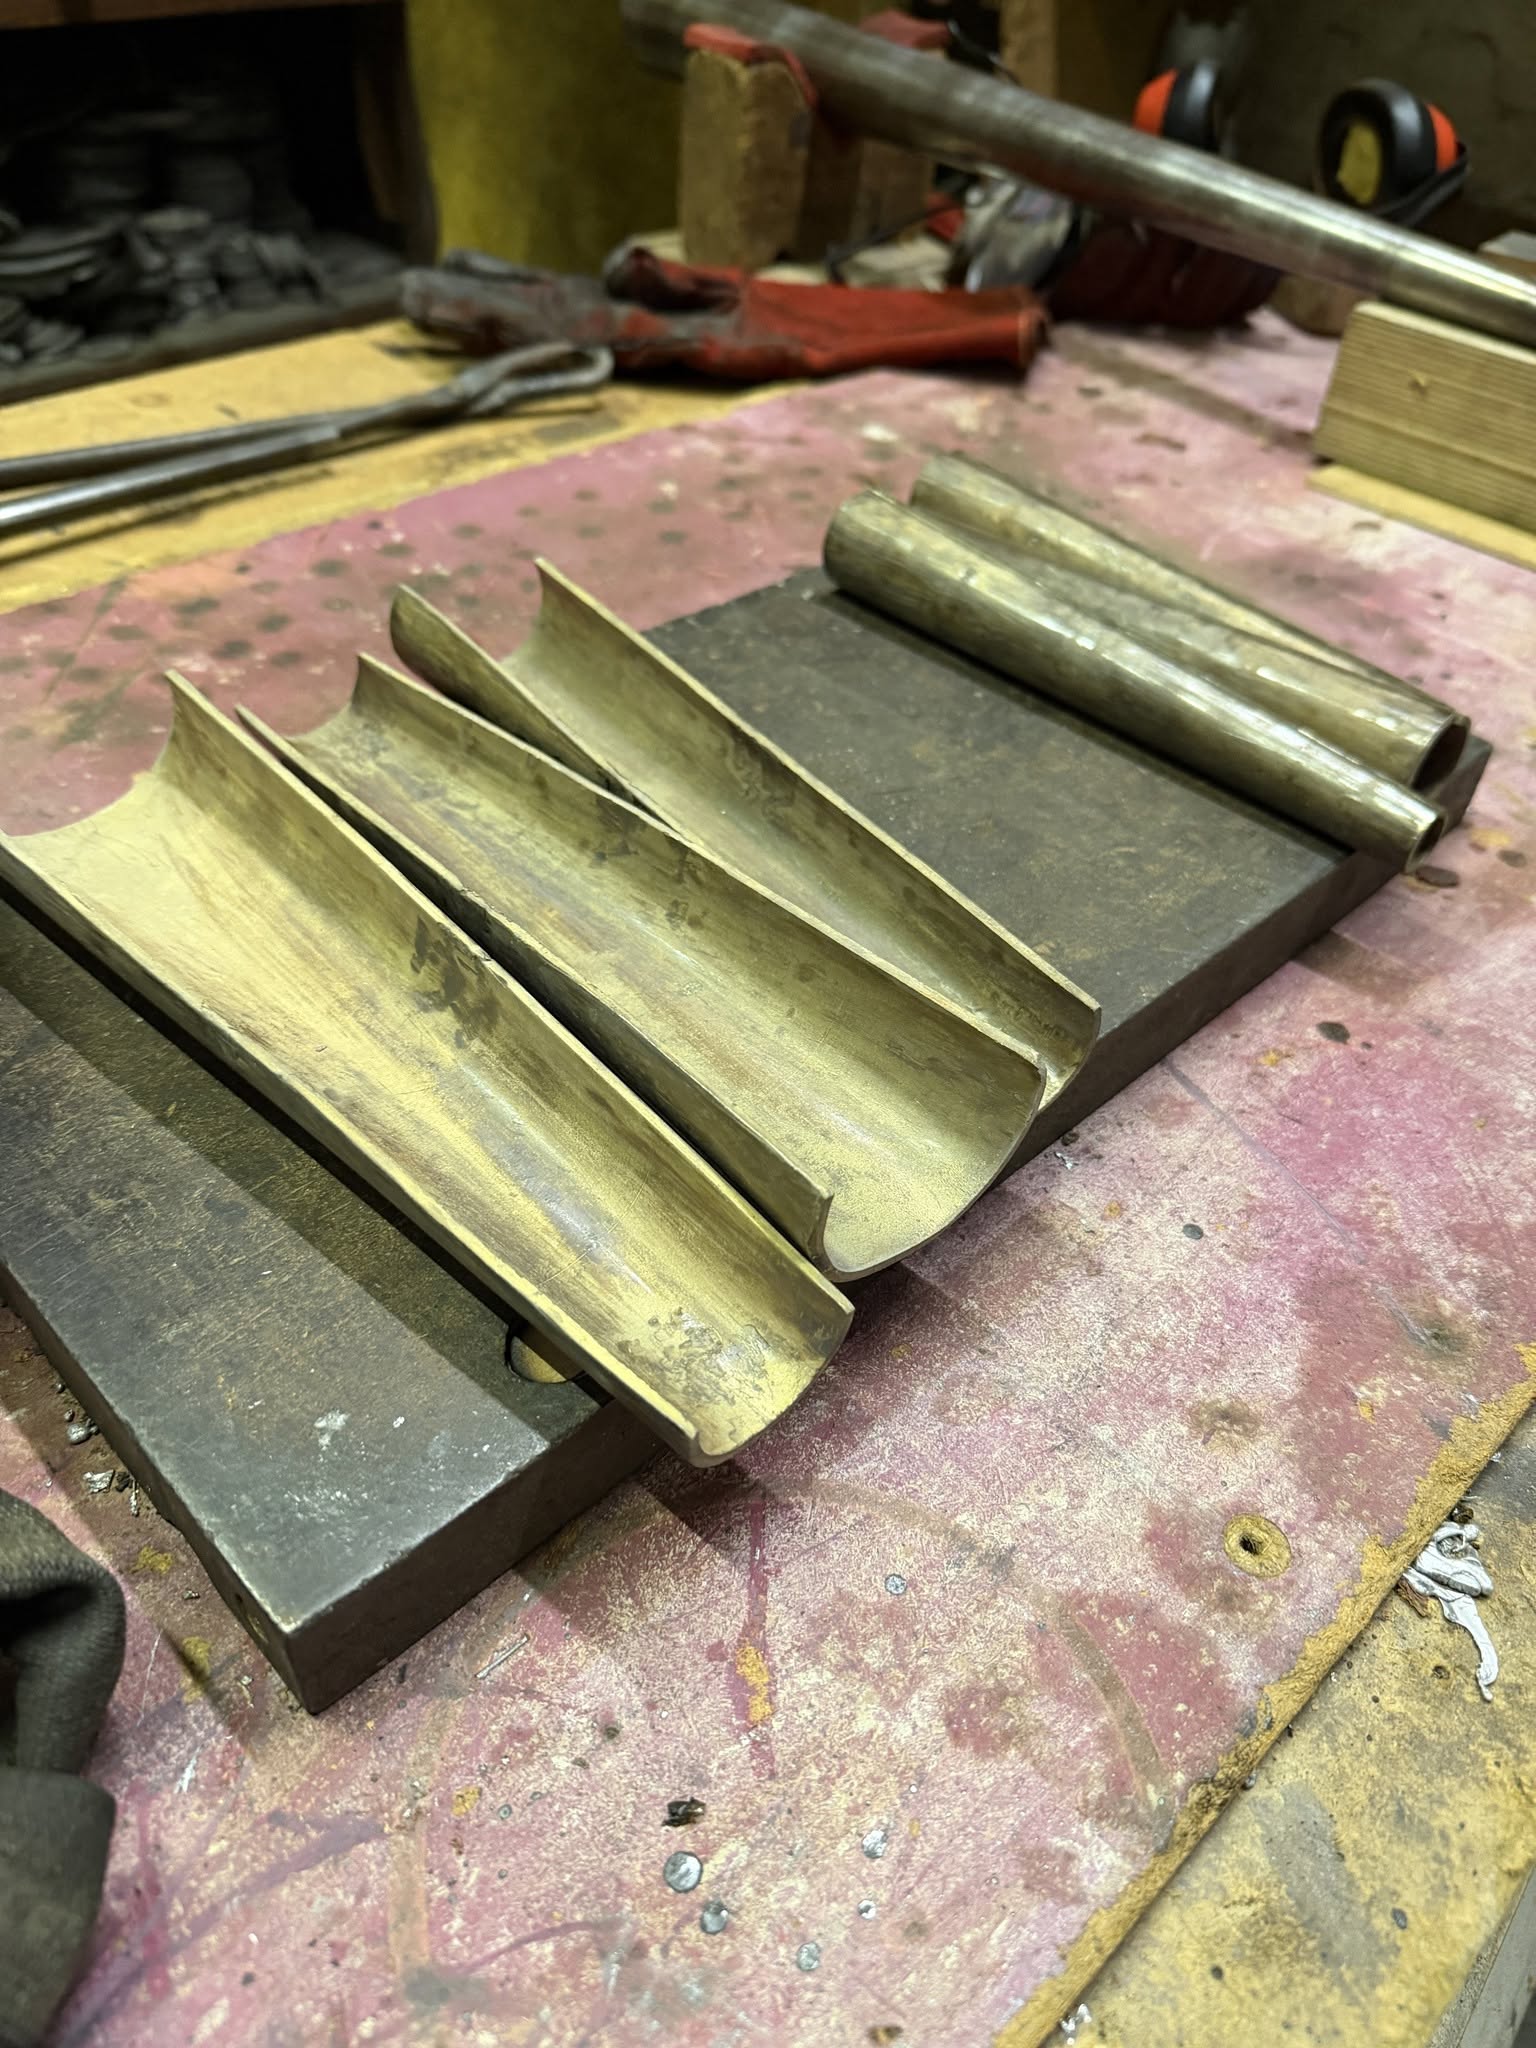
Reed Shallots, cutting the brass
5 - After you trace the template shape onto the brass, you will cut the brass with a foot shear for the sides and robust tin snips for the curves. Now is the time to stamp the note onto every shallot.
Reed Shallots, annealing and first shaping
6 - The brass manufacturer rolls the brass to thickness. This rolling work-hardens the brass, making it brittle and prone to cracking. I recommend you anneal the metal to soften it and relieve internal stresses and restore ductility. When working the brass, you will work-harden it again (e.g., by bending, hammering, or rolling) and may require re-anealing between steps. Working the brass while the brass is still hot also helps soften it.
You can buy soft brass (pre-annealed). If you are using thin thicknesses annealing may not be necessary. But these thick, high-pressure Willis shallots will need it. Specialty "boat" shallots, and French domed heads may require the heavily worked heads need to be annealed several times to avoid cracking.
Annealing is the process of heating the metal and cooling it slowly to soften it. Here are the steps to anneal:
- Clean the Brass - Before heating, be sure the brass sheet is clean and free of oil, grease, or dirt so you don't bake contaminants into the brass.
- Heat the Sheet - Use a propane torch to evenly heat the brass to about 425°C - 750°C. Use a torch with a relatively large, soft flame, moving continuously for even heating. No hot spots. Heat the metal until it turns a dull, dark red or a faint blue color. A bright orange or yellow means you've overheated it.
- Cool the Sheet - simply remove the heat source and let the brass cool in the air.
Next, the brass is pressed into a "U" shape, using soft faced, heavy mallot, appropriately sized steel mandrel and a wooden "V" block. Finally, if you are working with a thinner, soft brass, anealing may not be necessary.
Reed Shallots, shaping press
7 - For the initial "U" shape, W.P. Williams has a couple of hand operated presses. The punch and die have a tapered half-round shape to make the initial shape of the shallot. Sorry about the photo quality; the technology of the time...
8 - The die has build-in guides to locate the brass blank properly.
Reed Shallots, making it round
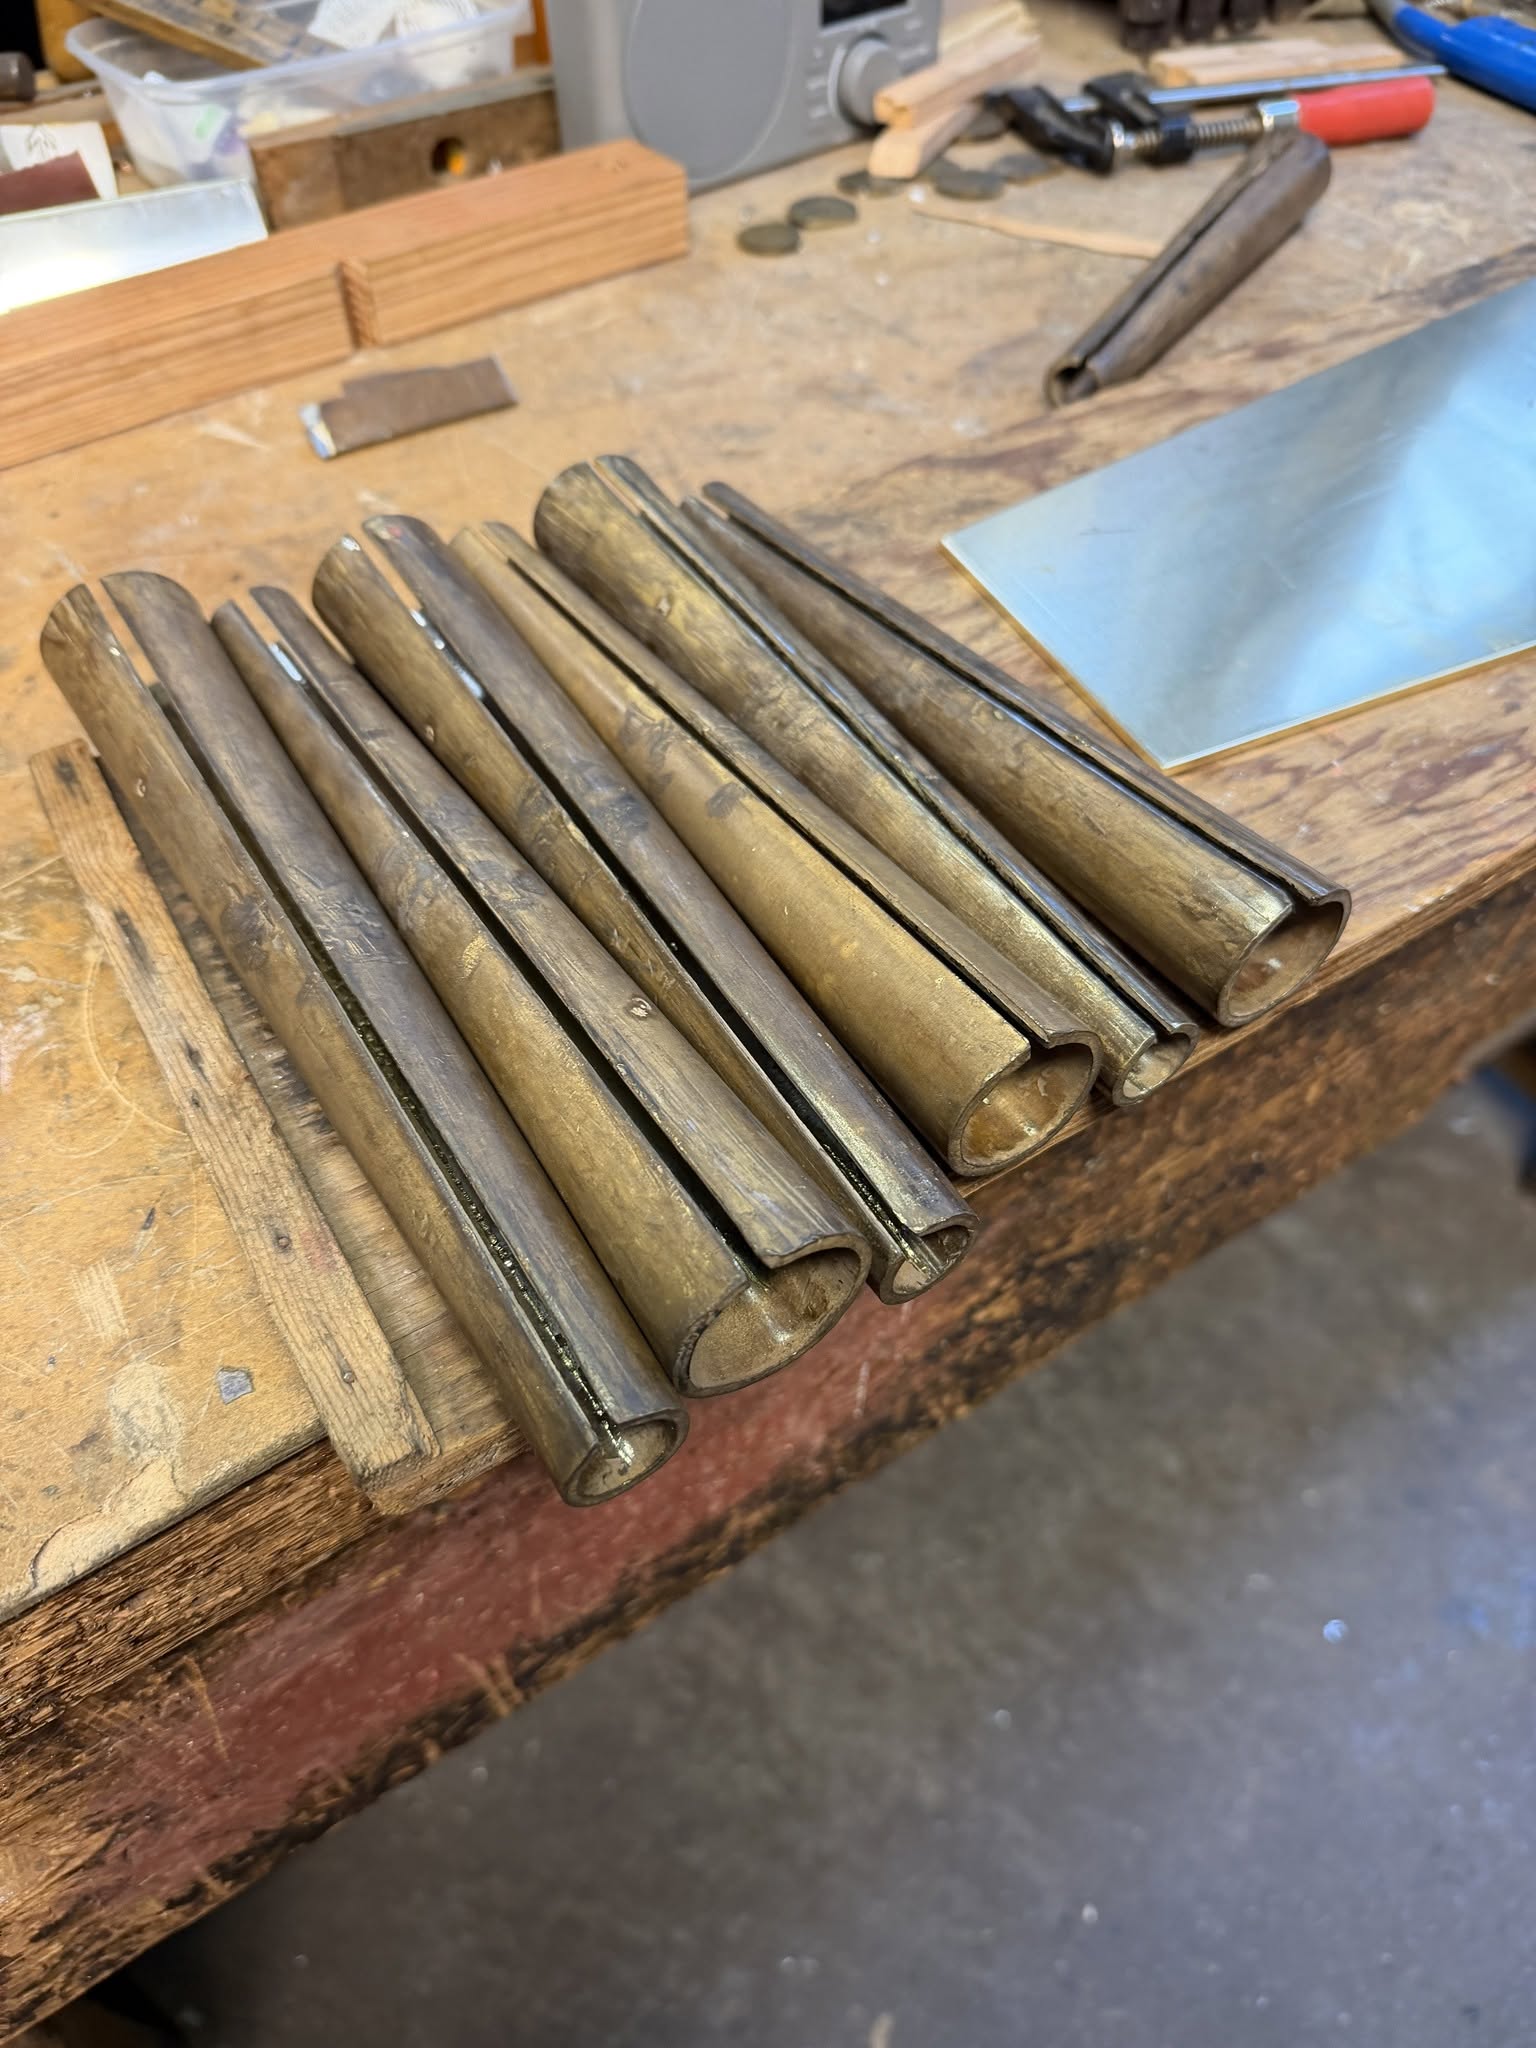
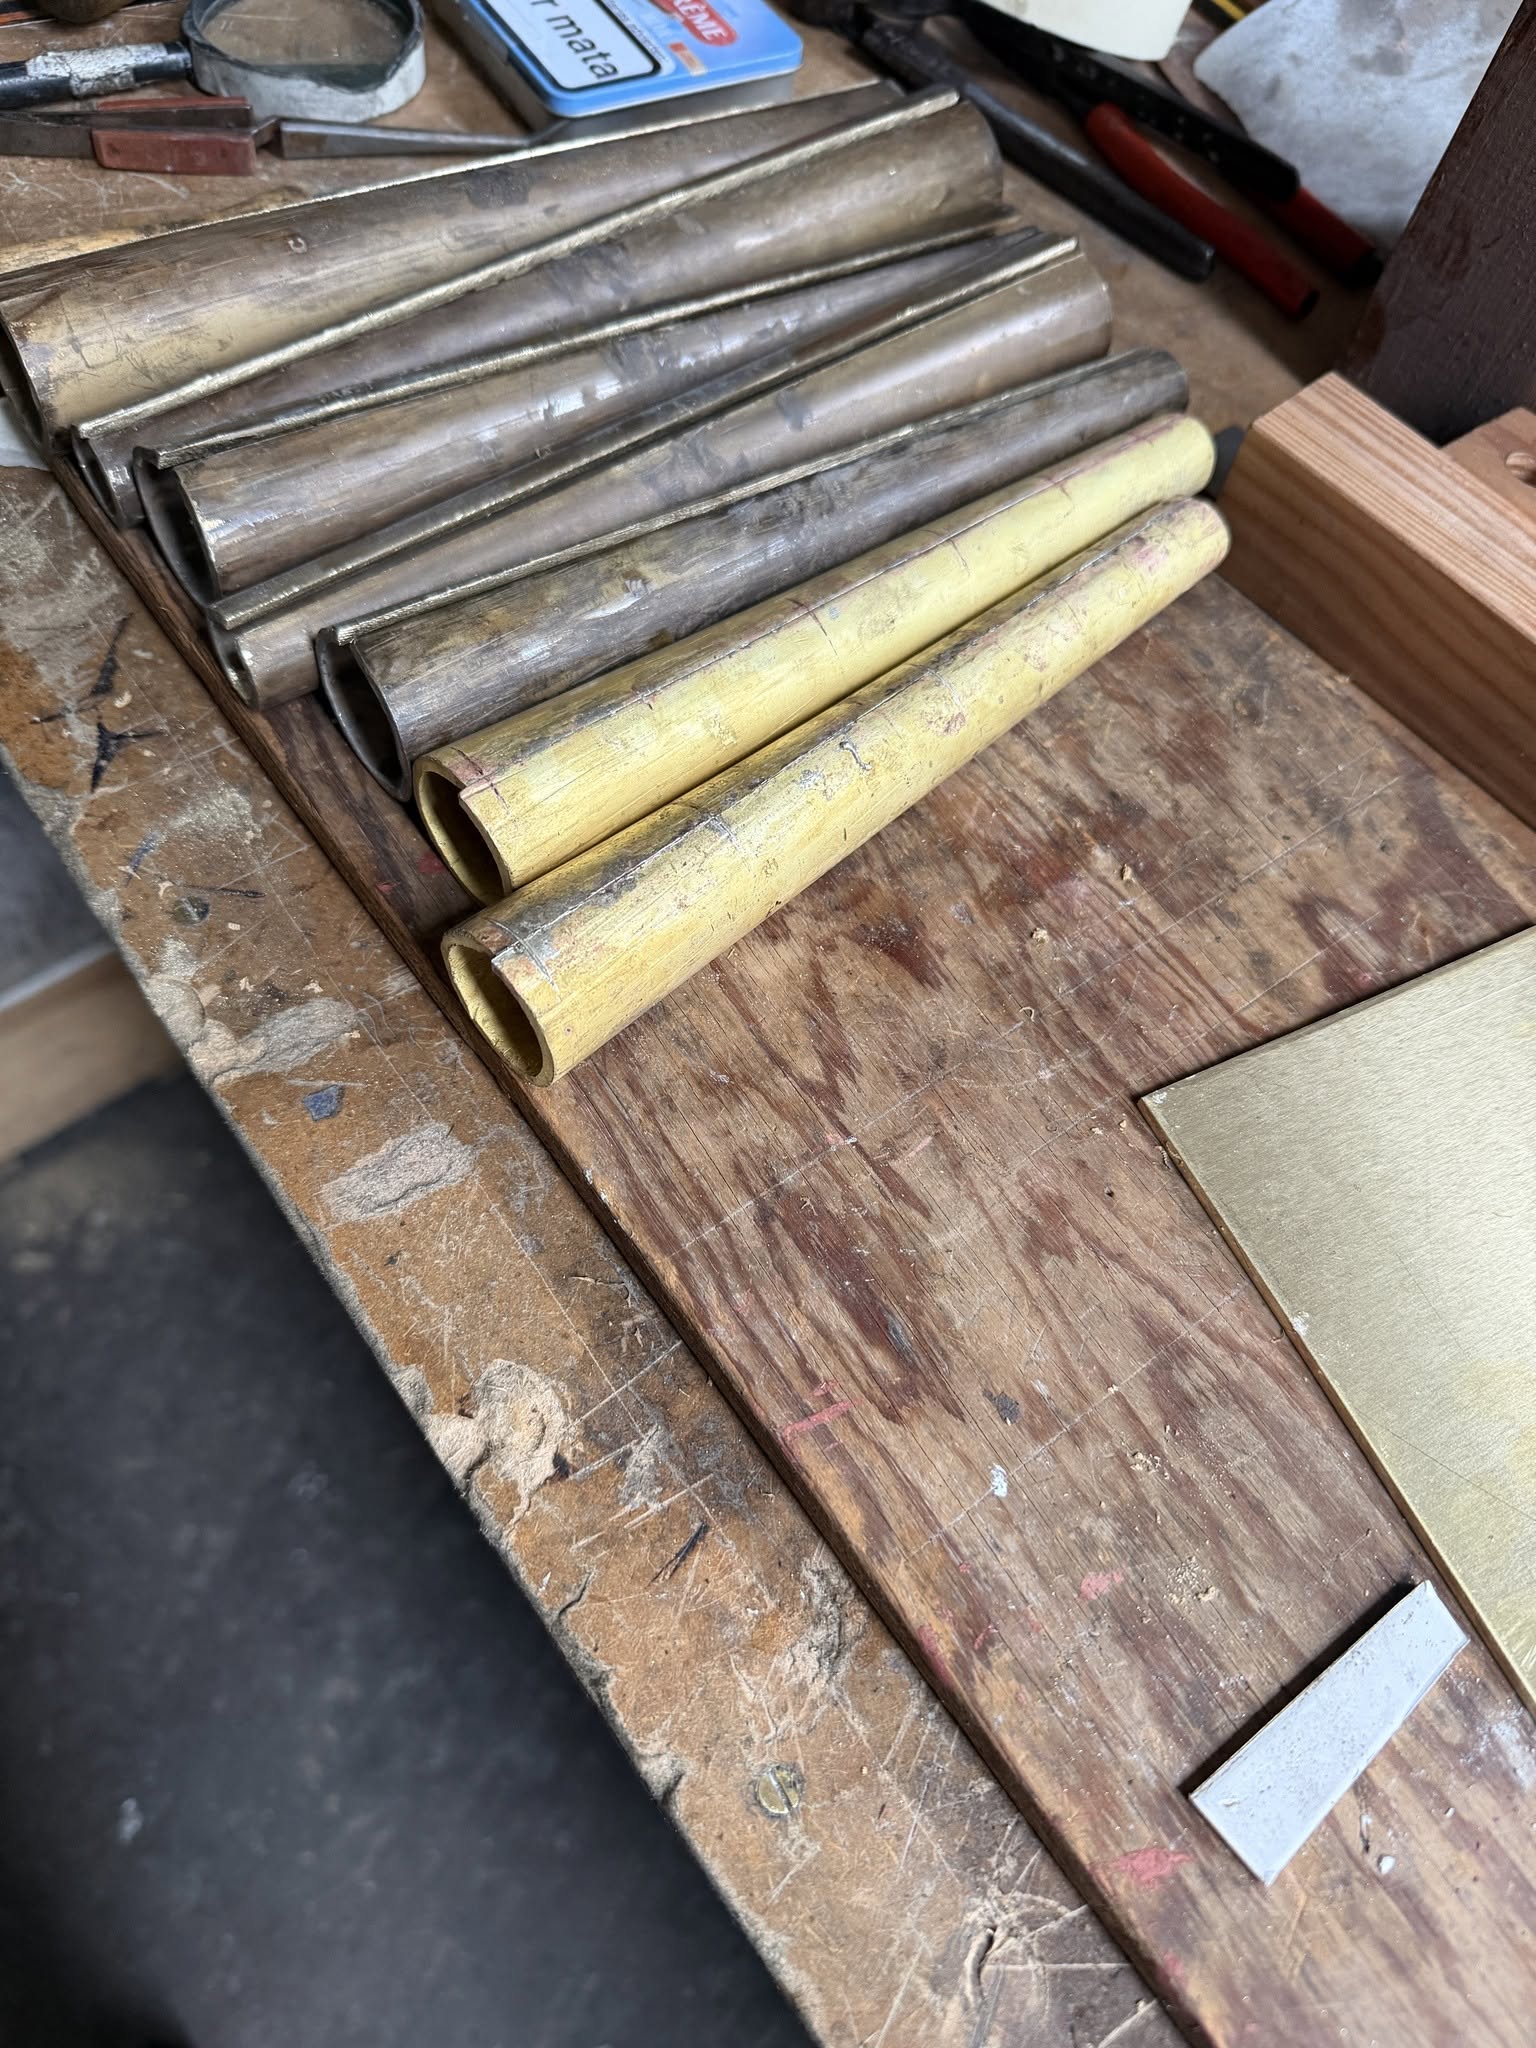
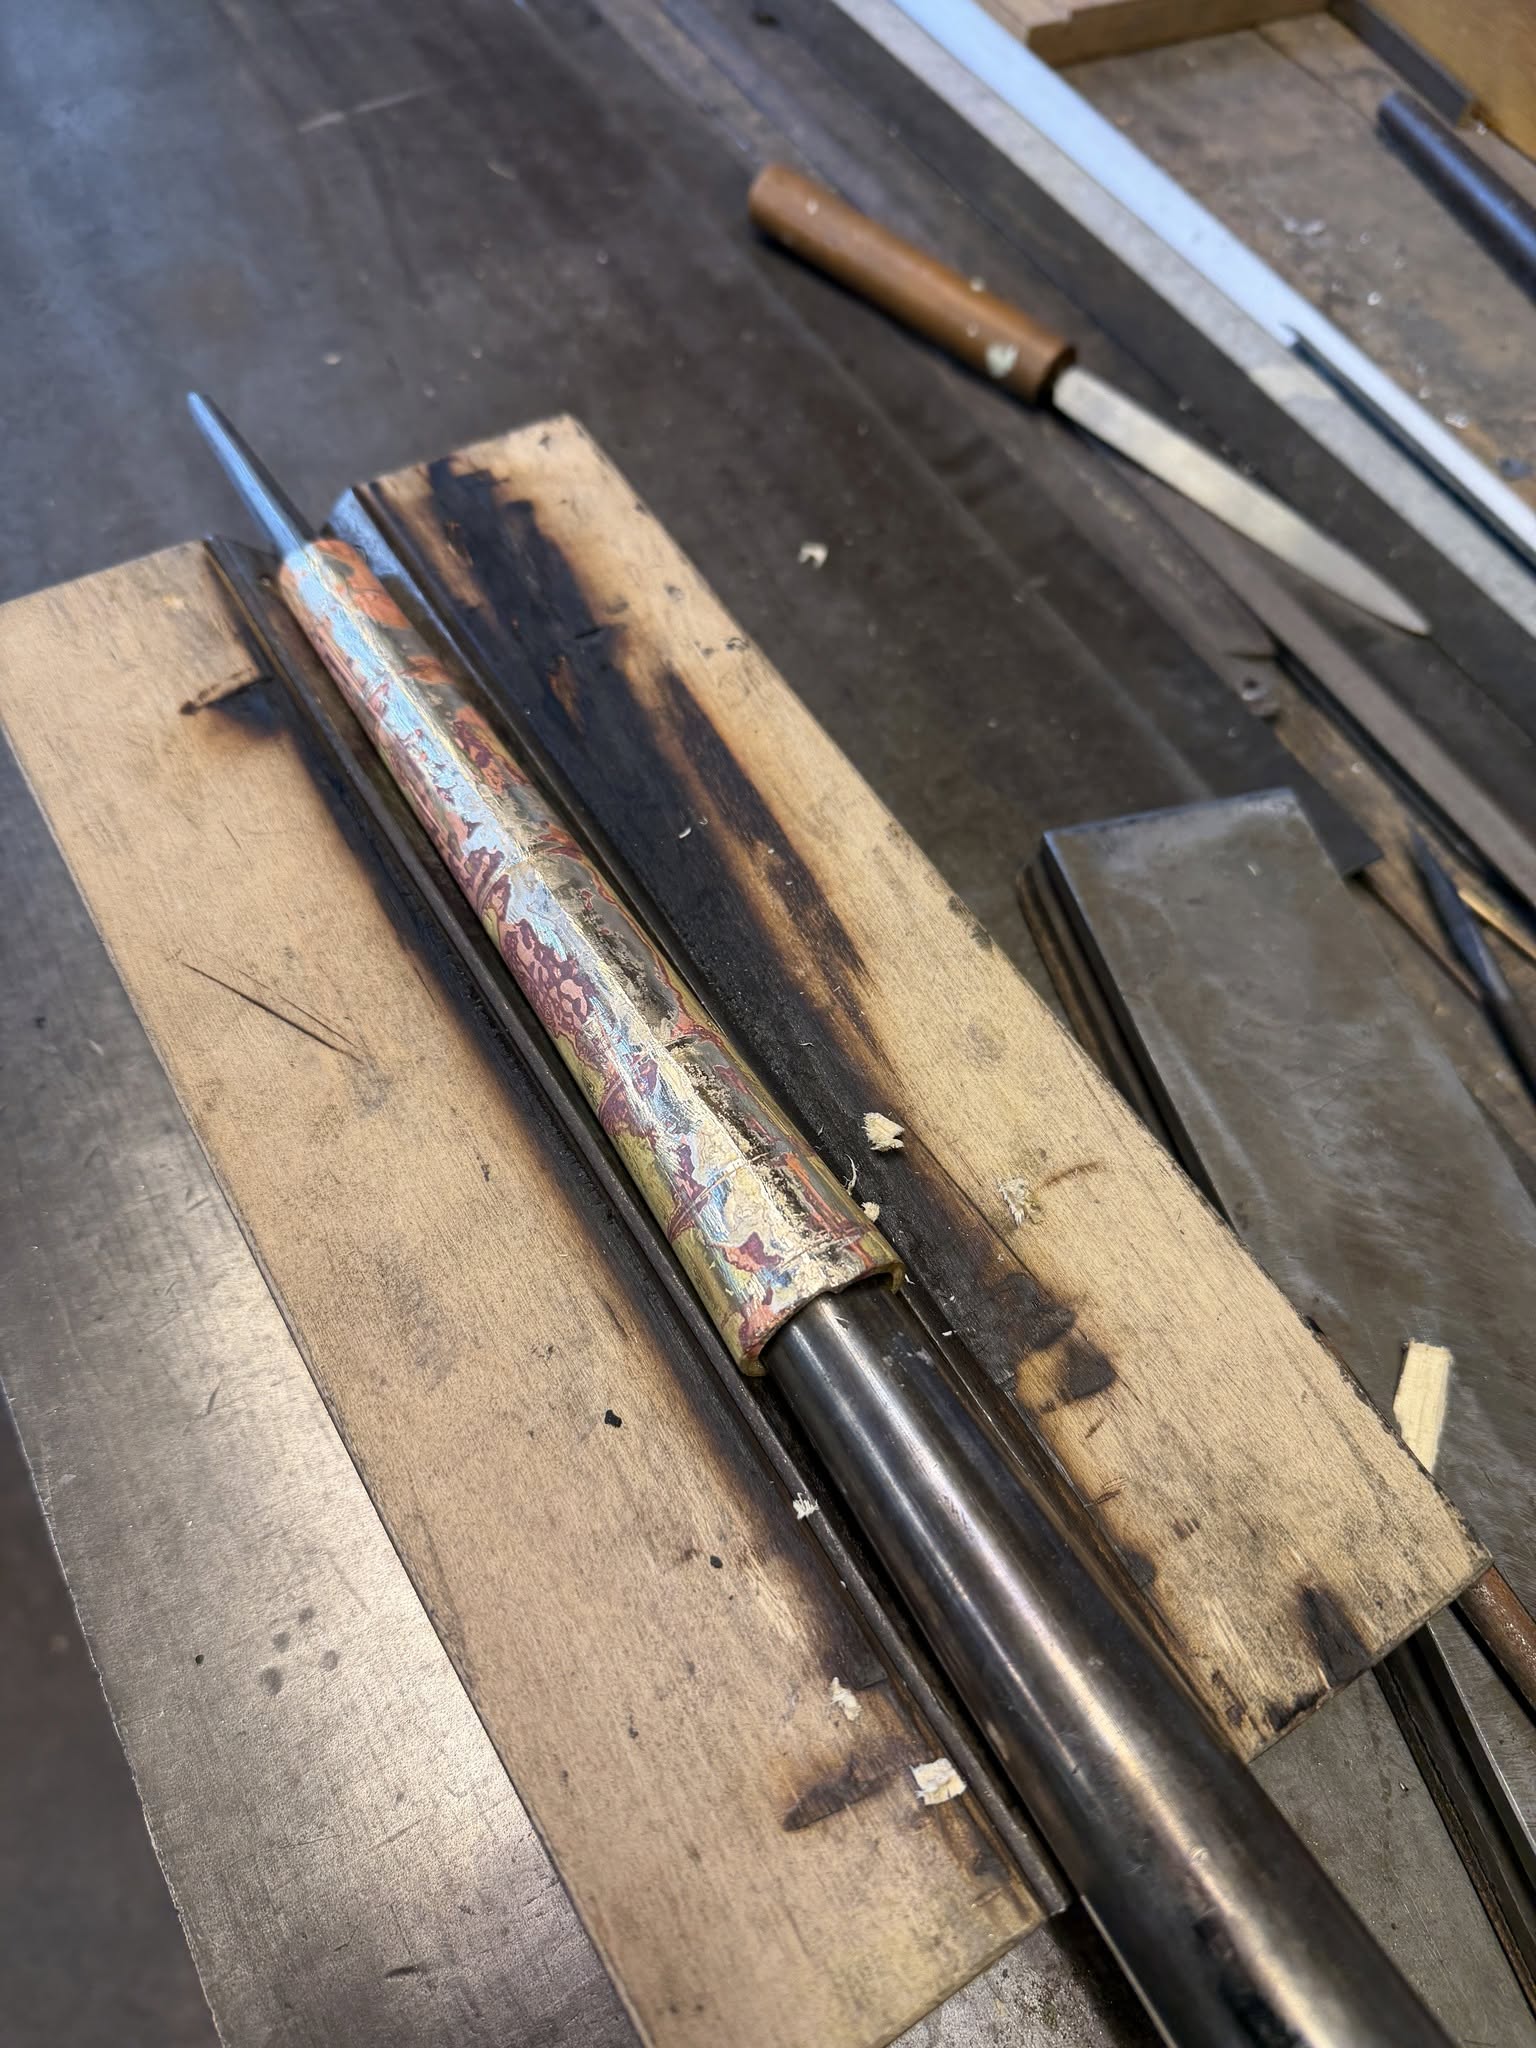
9 - The shallet is completely rounded, using soft faced, heavy mallot, appropriately sized metal foot mandral and a wooden "V" block. Thick brass may require heating.
Reed Shallots, making it round
10 - W. P. Williams does it the same way, but using a steel die with a half round groove cut into it. He has a steel mandrel, cut to the shallot taper, inside the brass tube. He hammers it round with a heavy, leather faced wooden mallot.
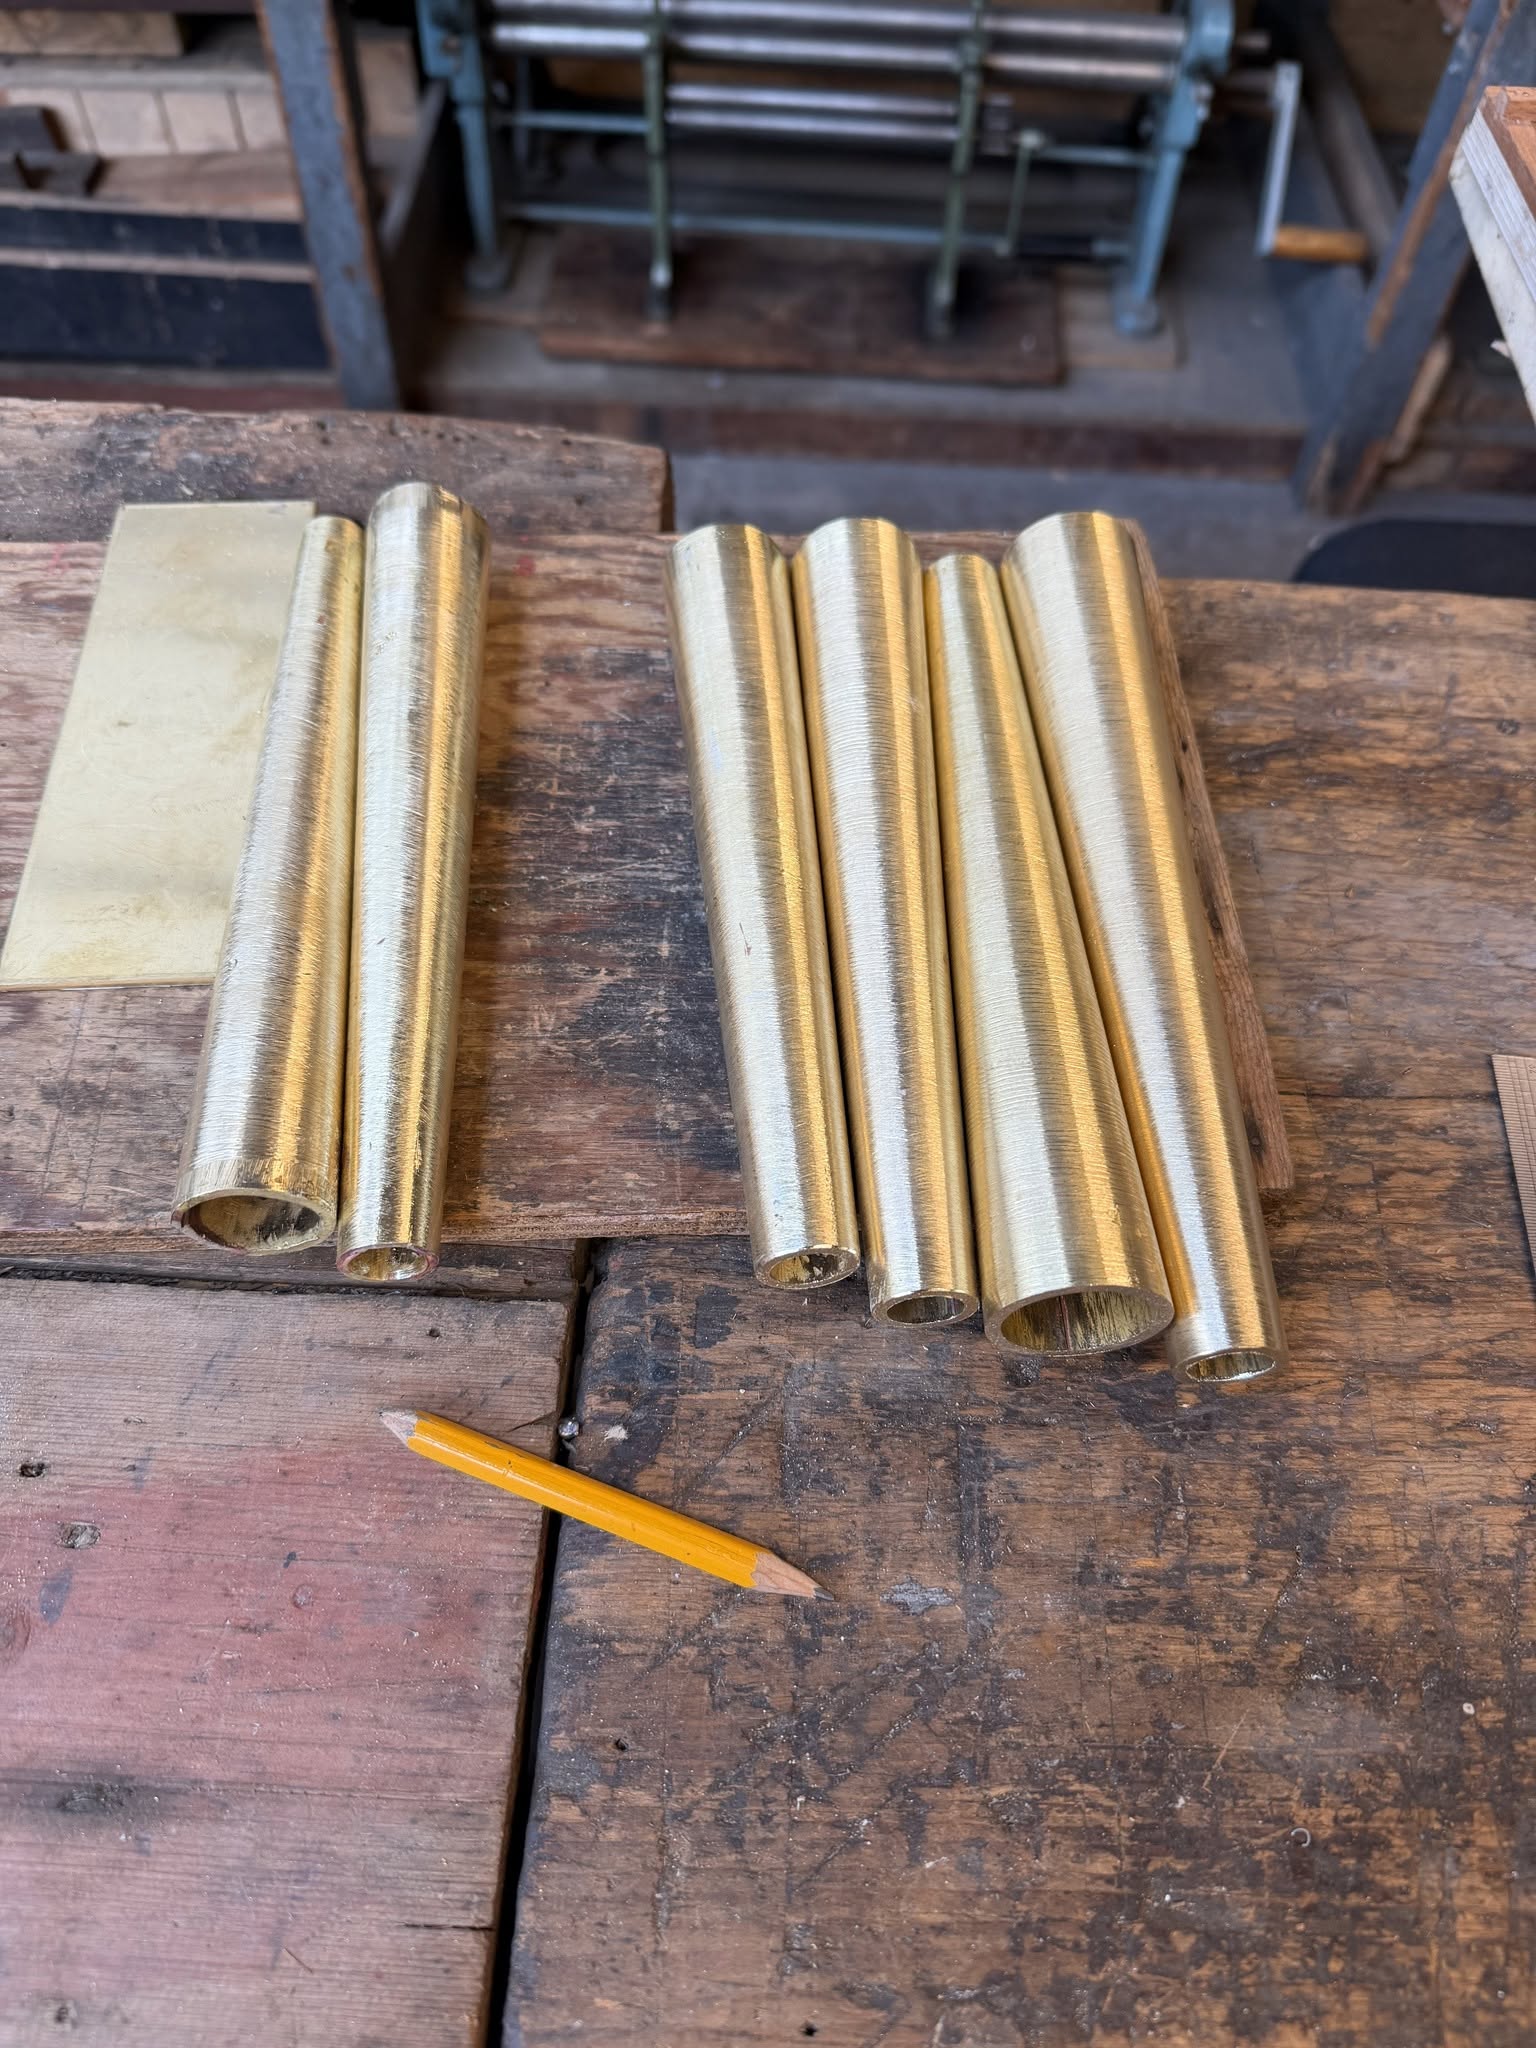
Reed Shallots, rounded
11 - Here are the rounded shallots, ready for the next step.
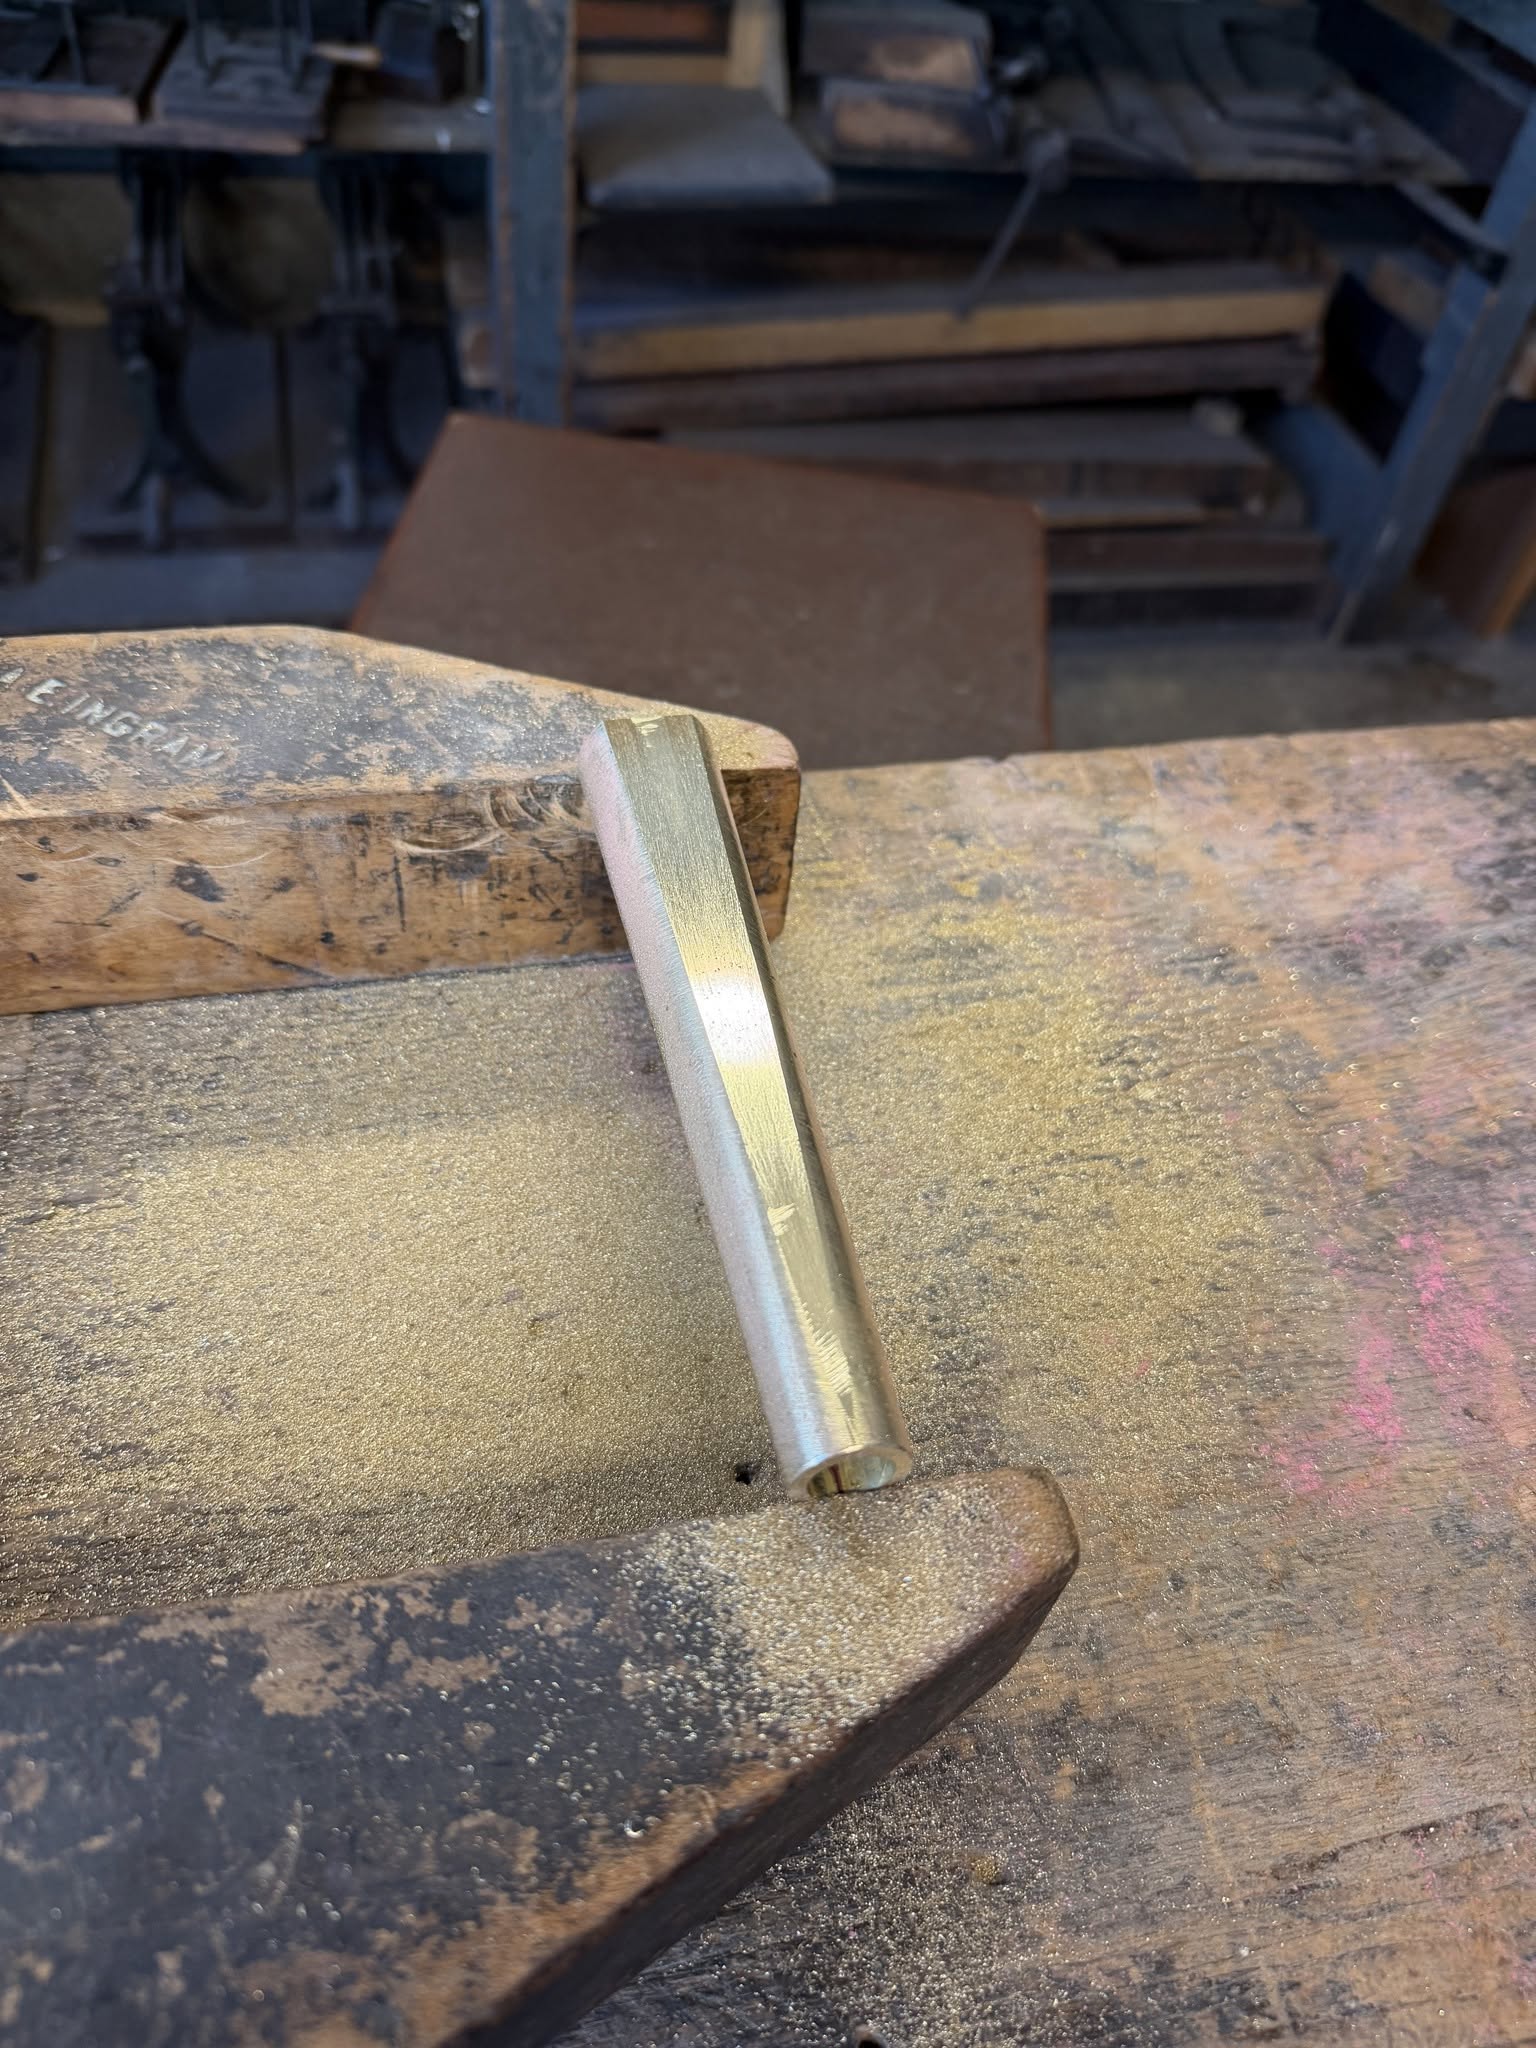
Reed Shallots, prep for silver-solder
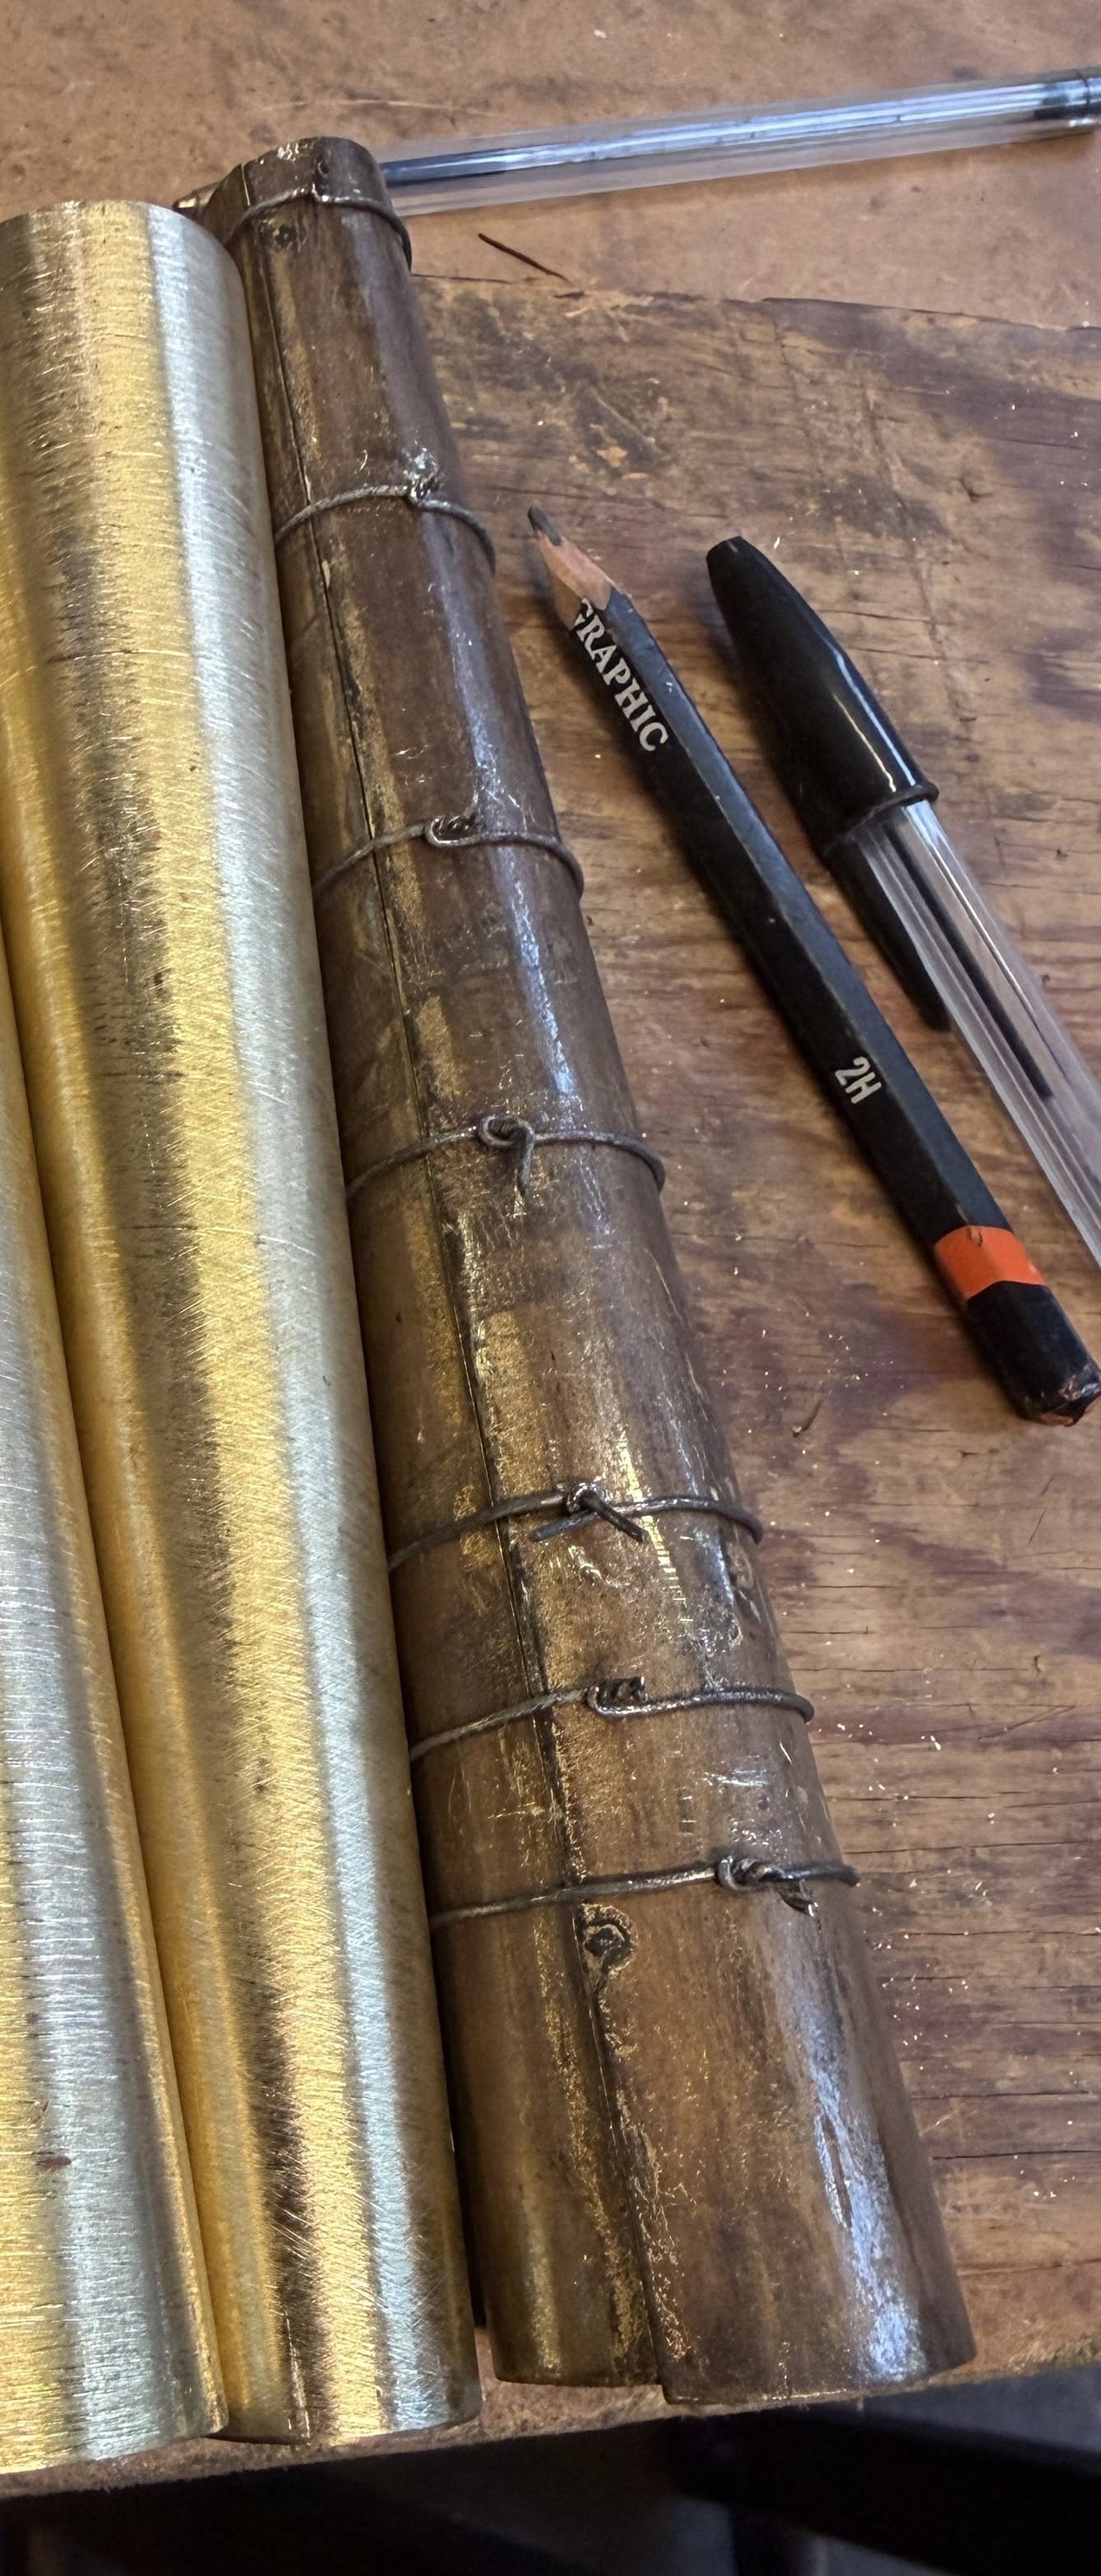
12 - In preparation for silver soldering the seam, the gap is temperarily wired shut. Often the tube gap can be hammered shut, so wire champing isn't necessary.
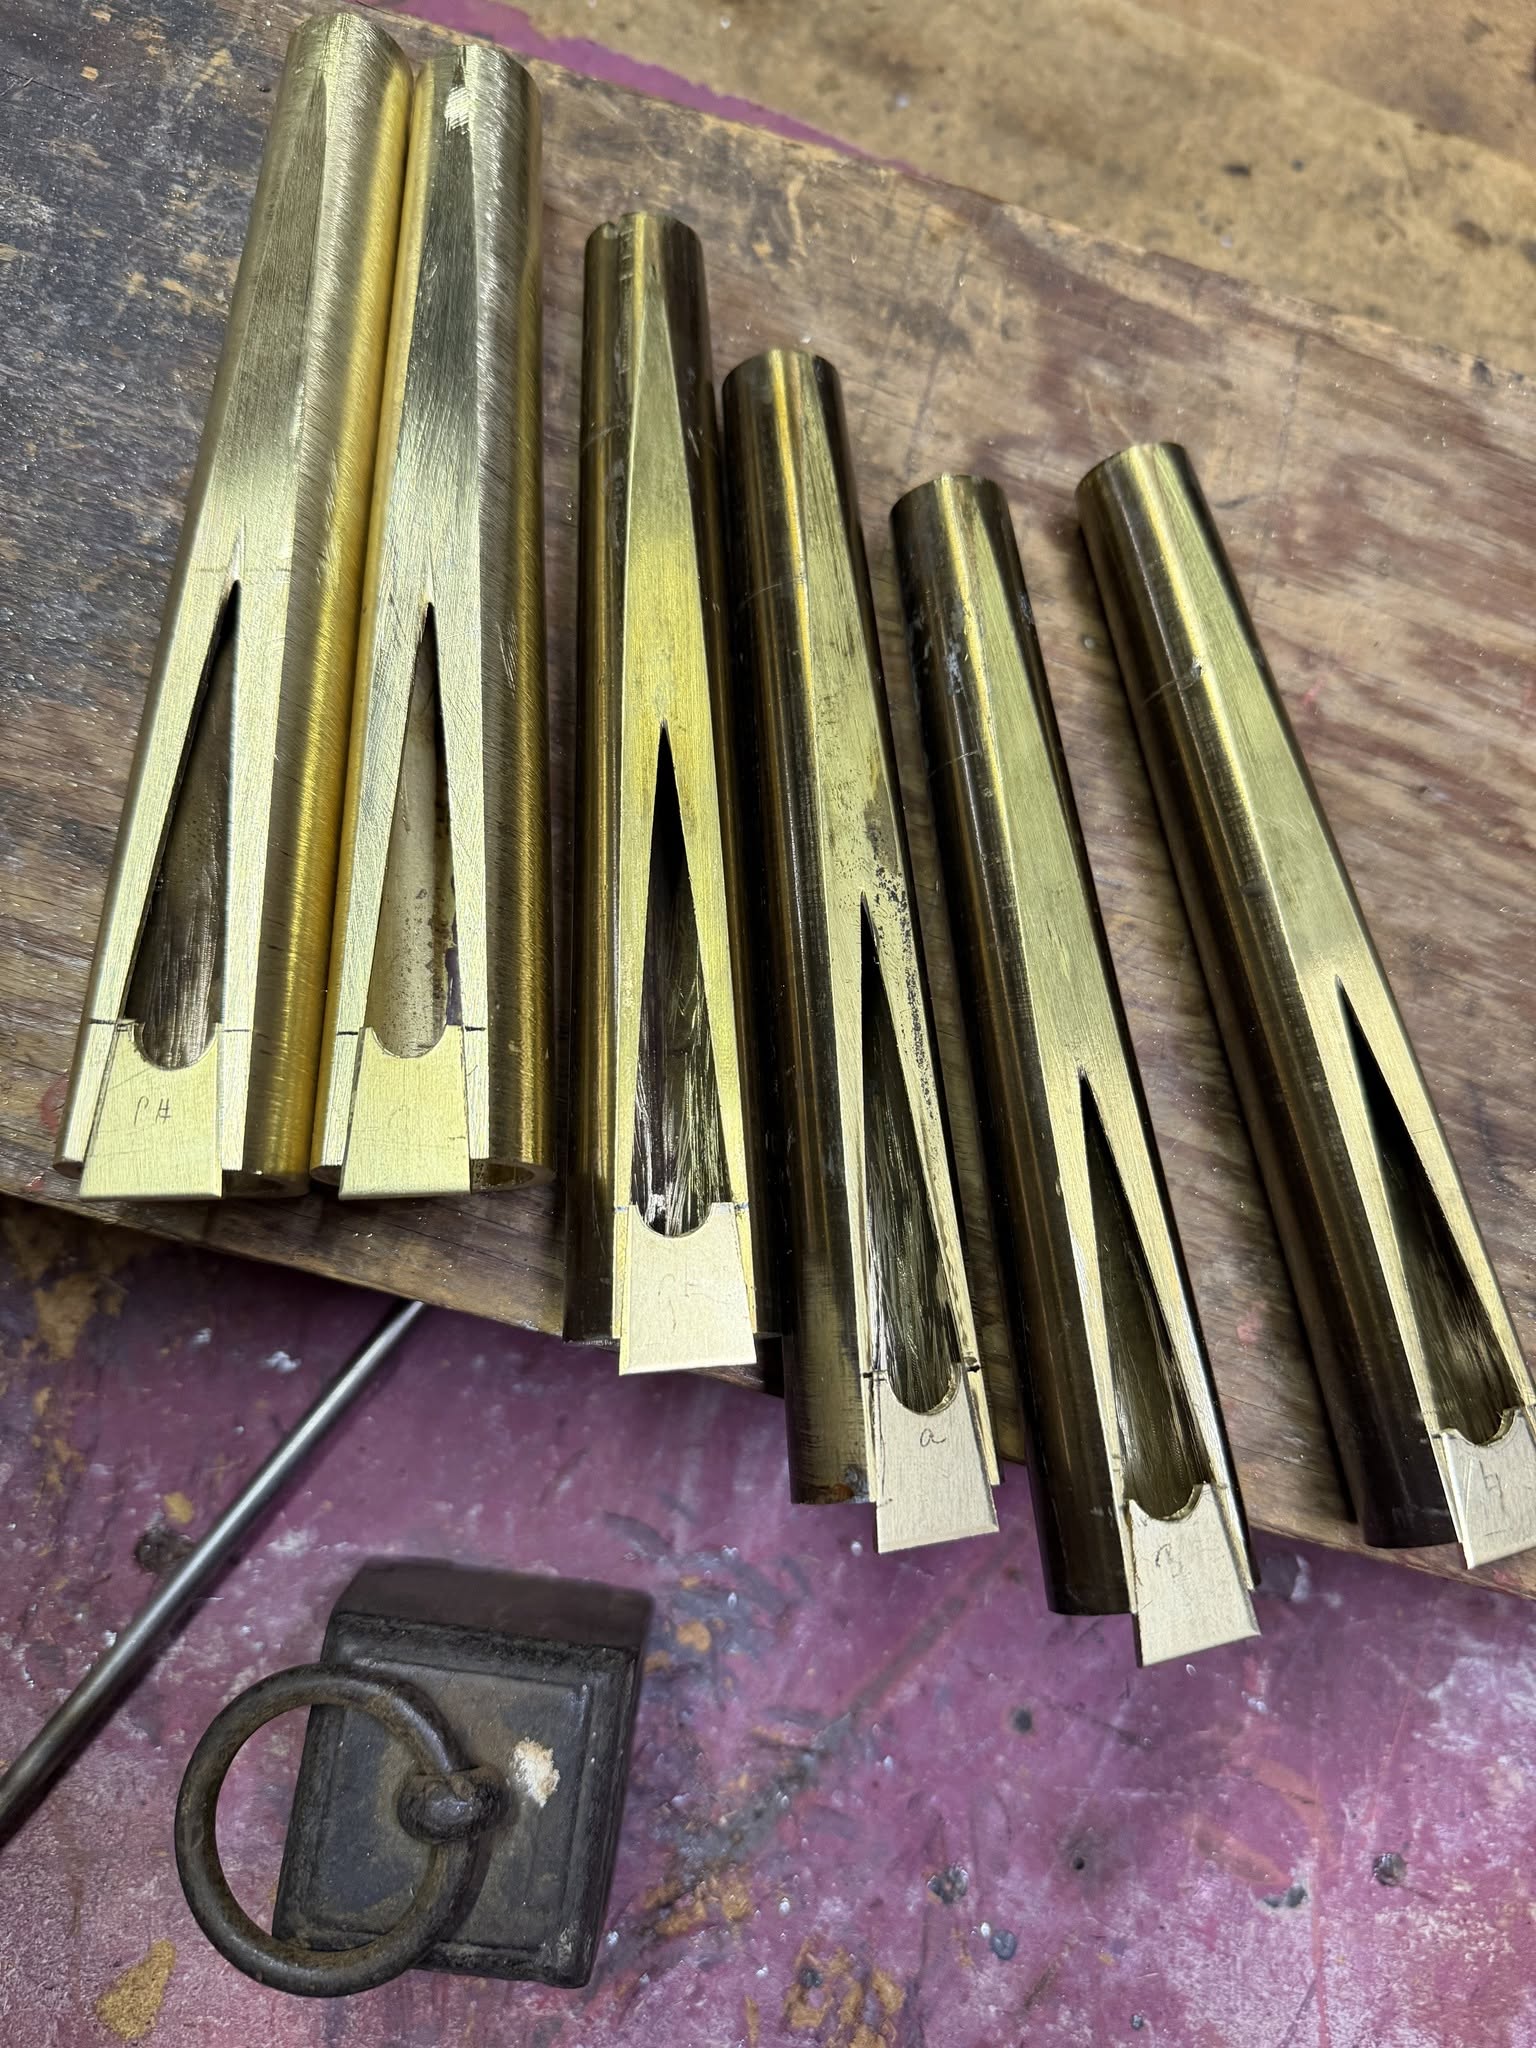
Reed Shallots, soldered
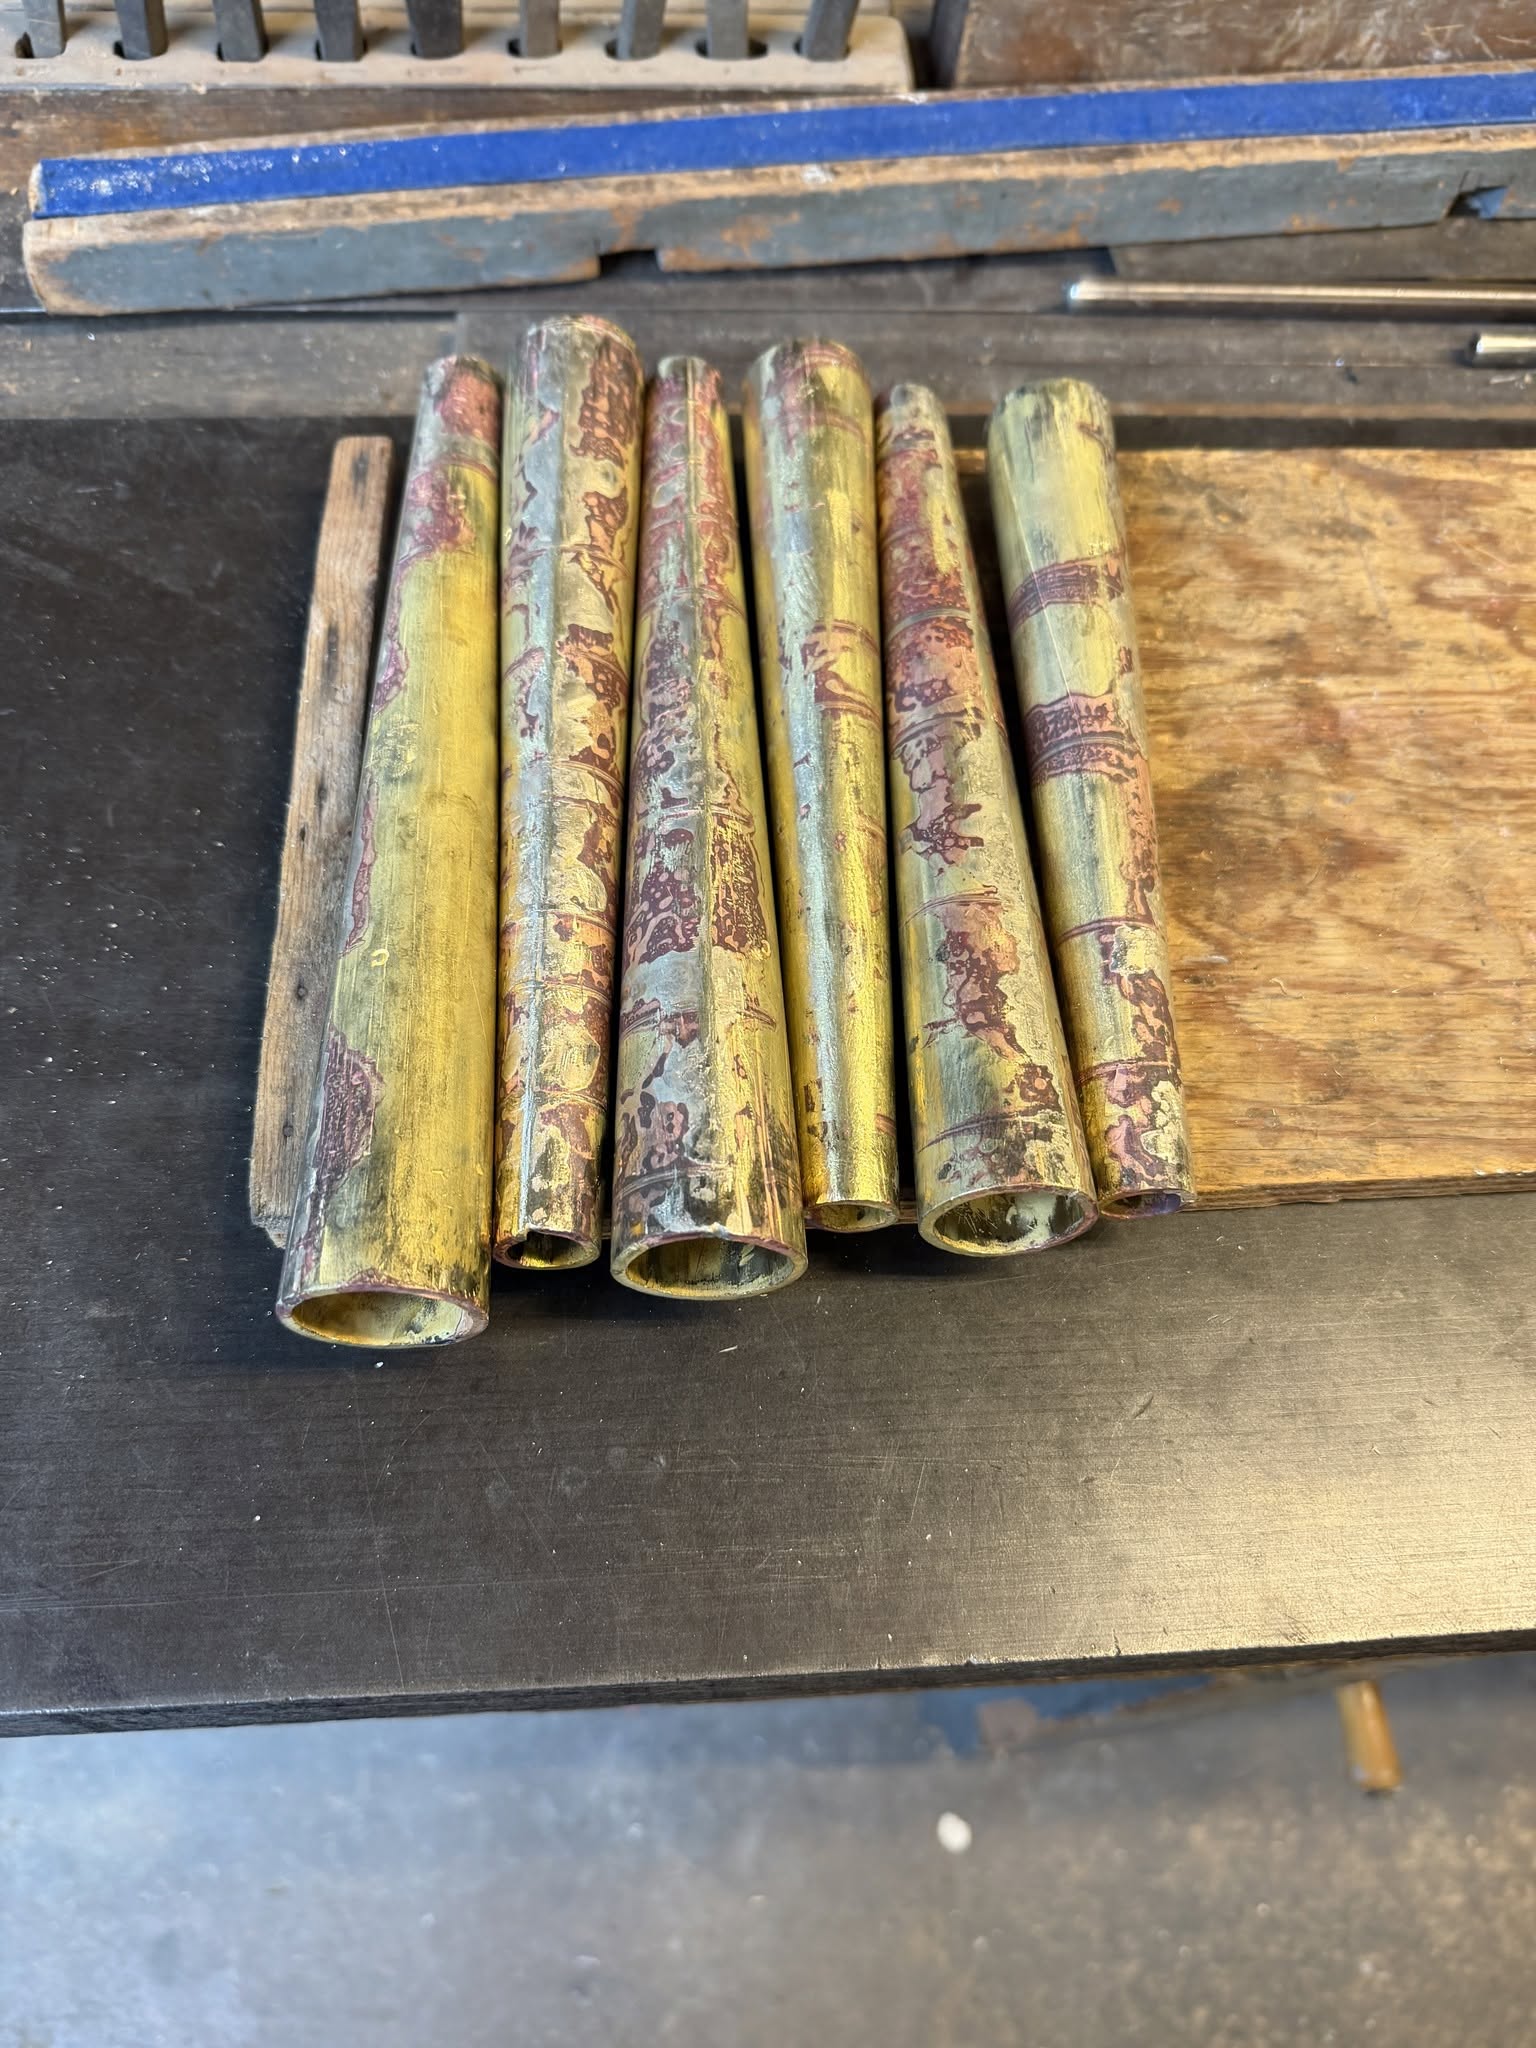
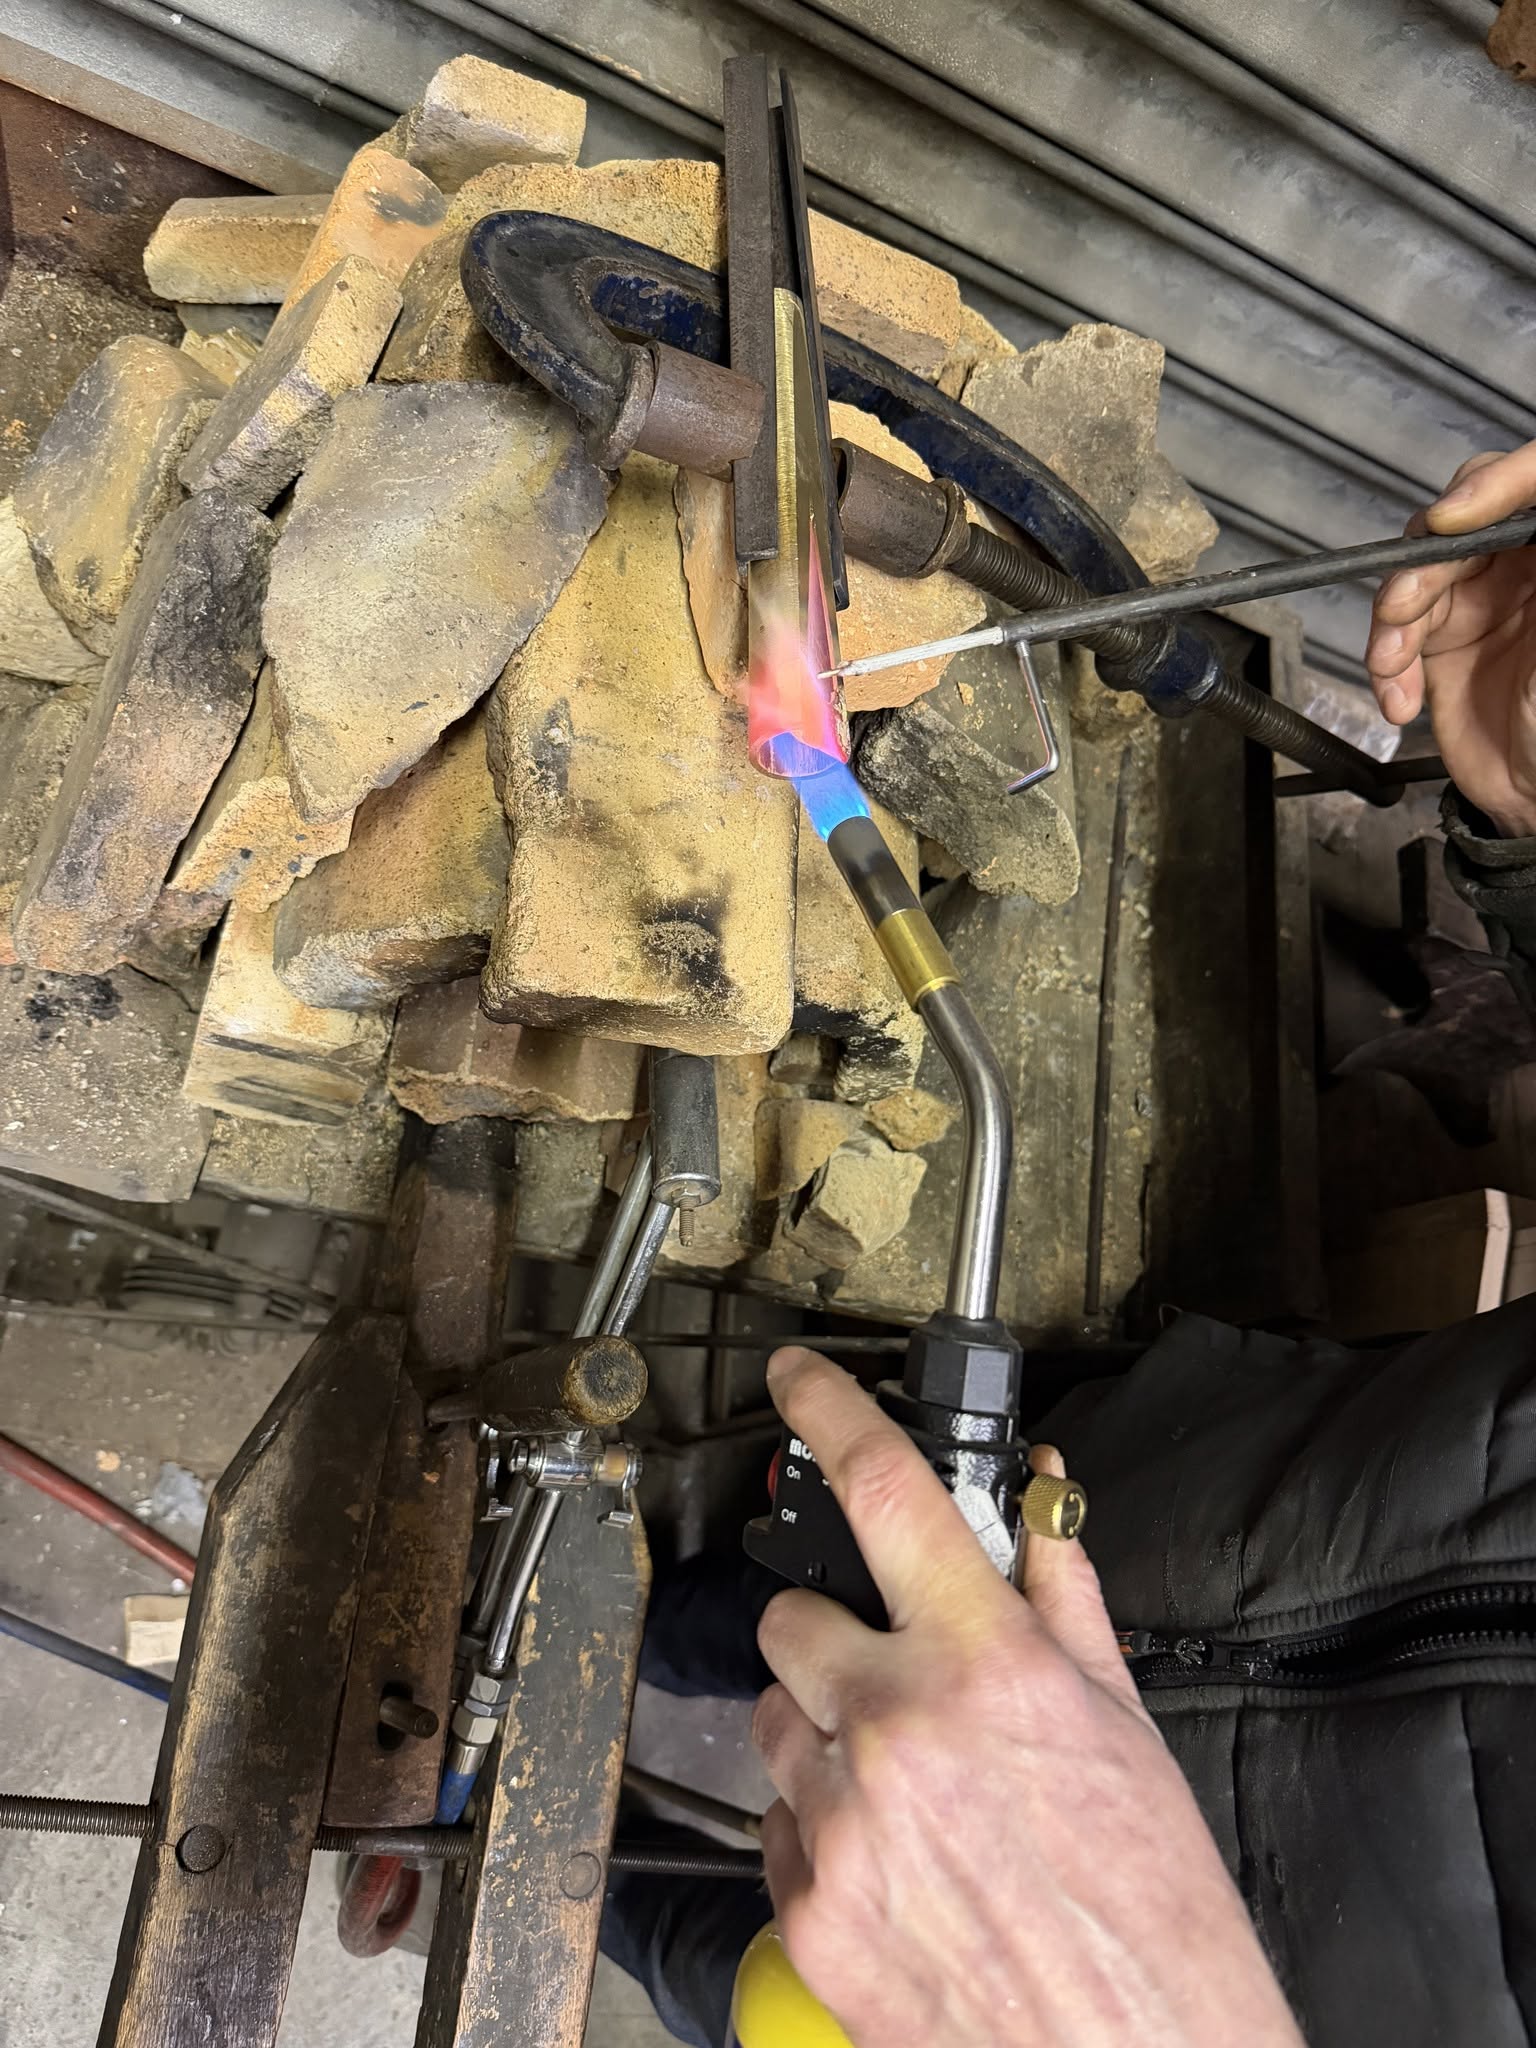
13 - Shallots, silver soldered shut. Successful silver soldering requires a clean joint, good flux, and plenty of heat. Silver soldering is used, because it is very strong. The shallot is subject to a lot of stress as it is being forged, also when it is installed into the block. Pipe solder is very weak, compared to silver soldering.
Reed Shallots, cleanup
14 - Made shiny again with emery cloth.
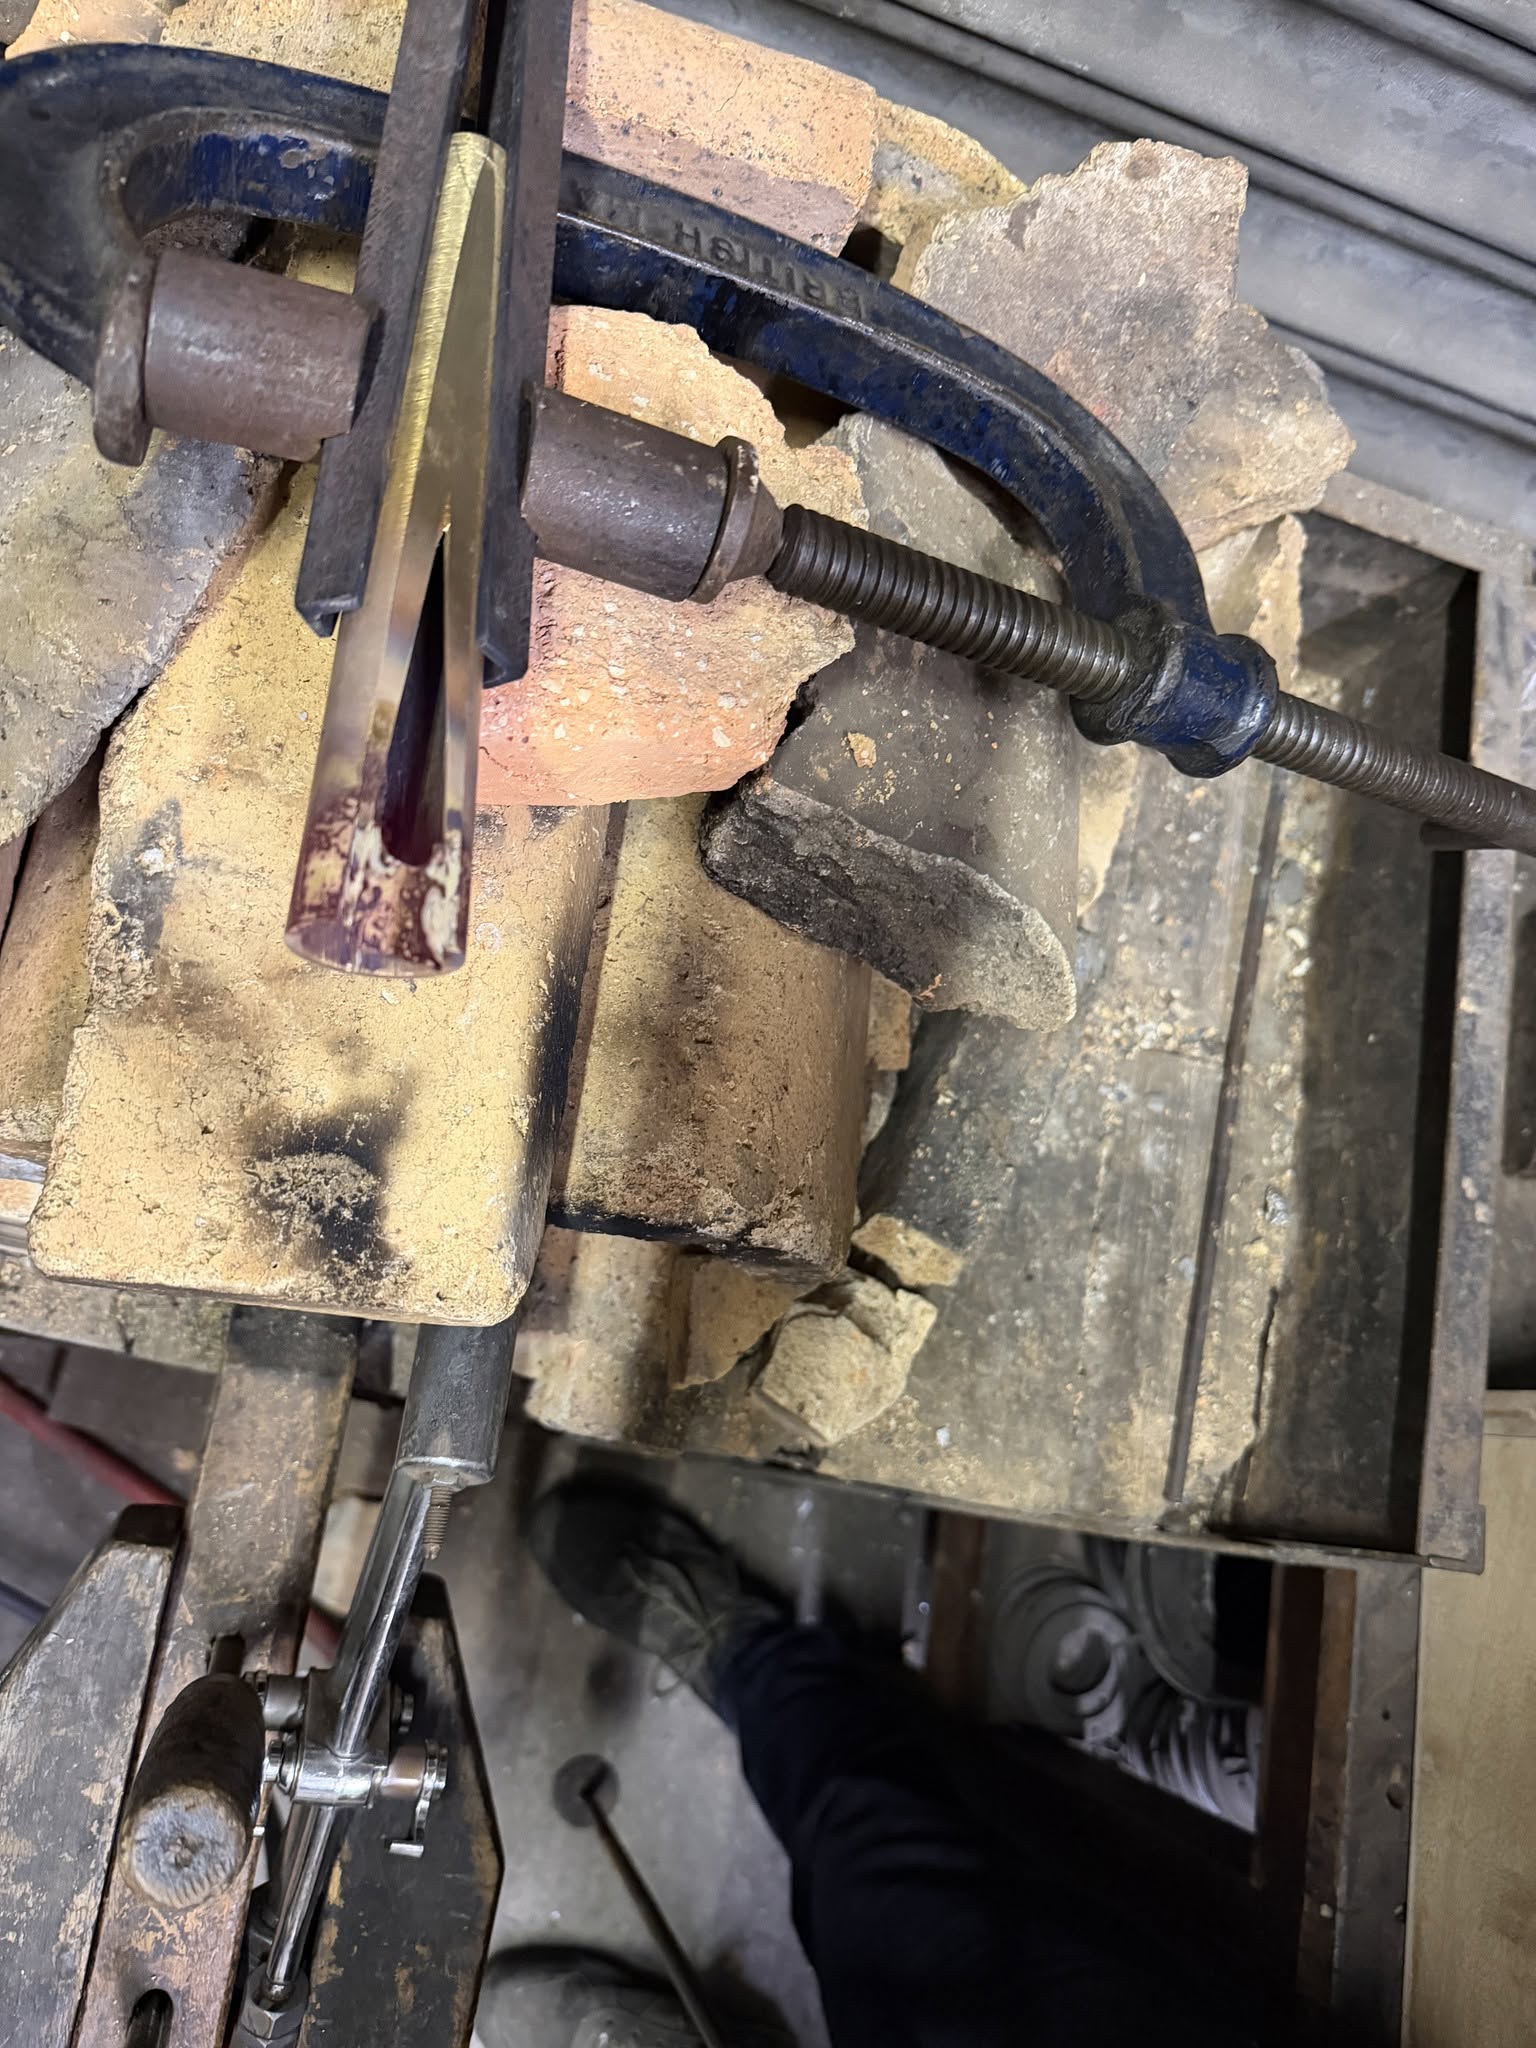
Reed Shallots, cut the flat
15 - Now we use a file to cut the flat surface that the tongue beats against.
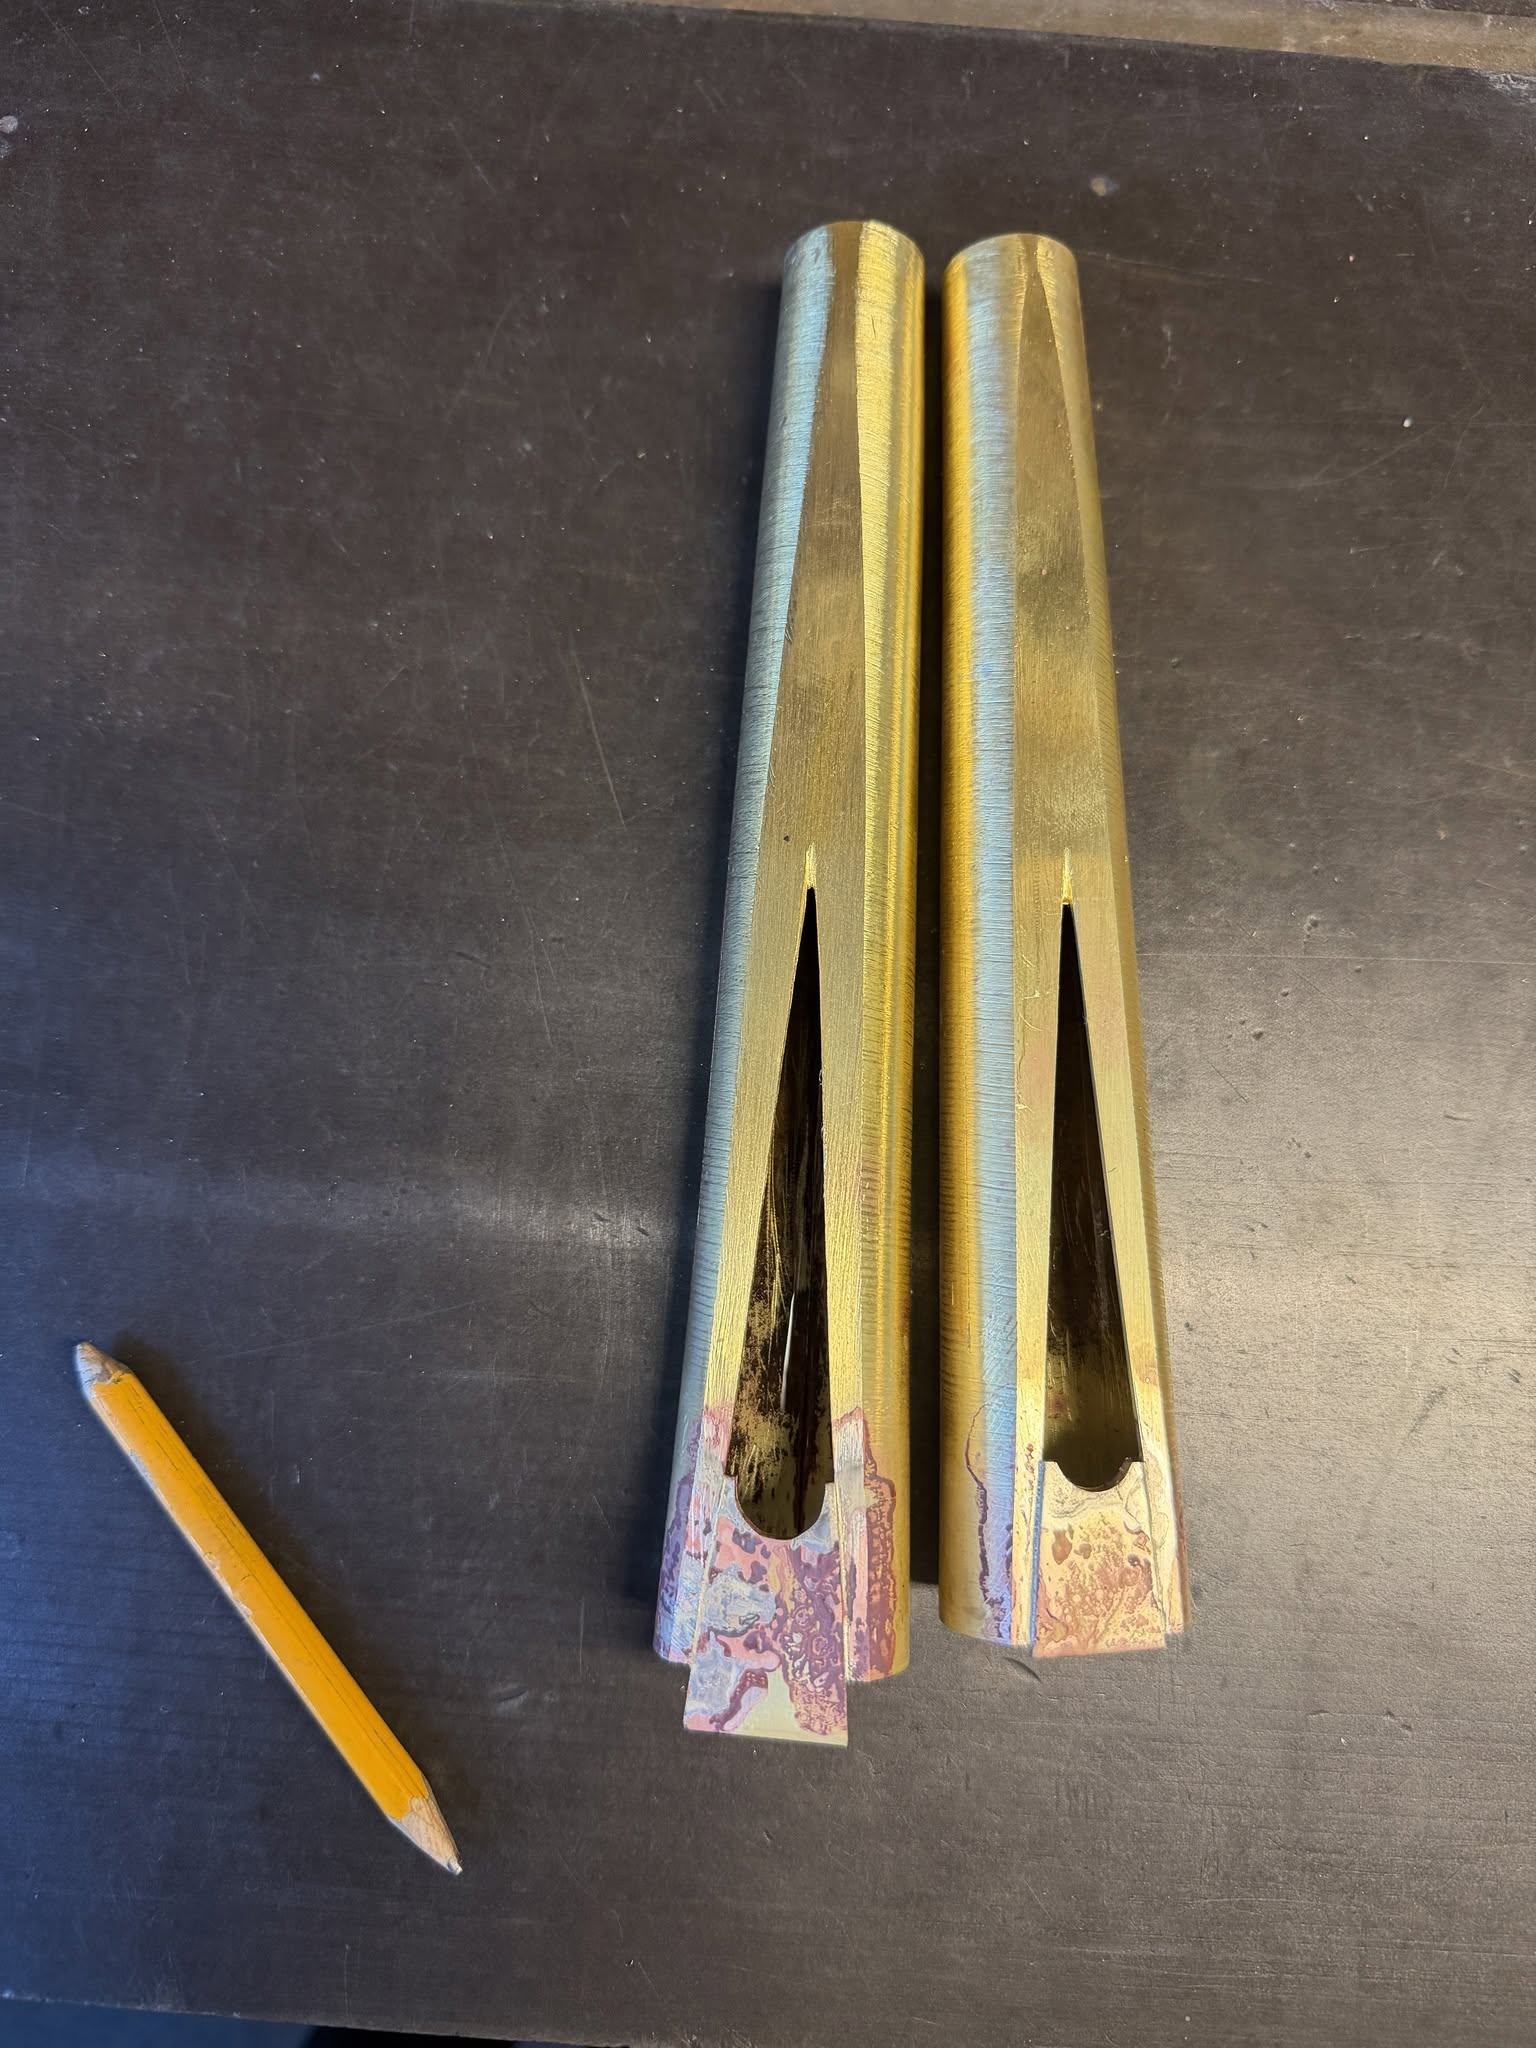
Reed Shallots, milling the flat
16 - Williams used a machine mill to cut the flat surface that the tongue lays against. The picture shows him clamping the shallot into a fixture.
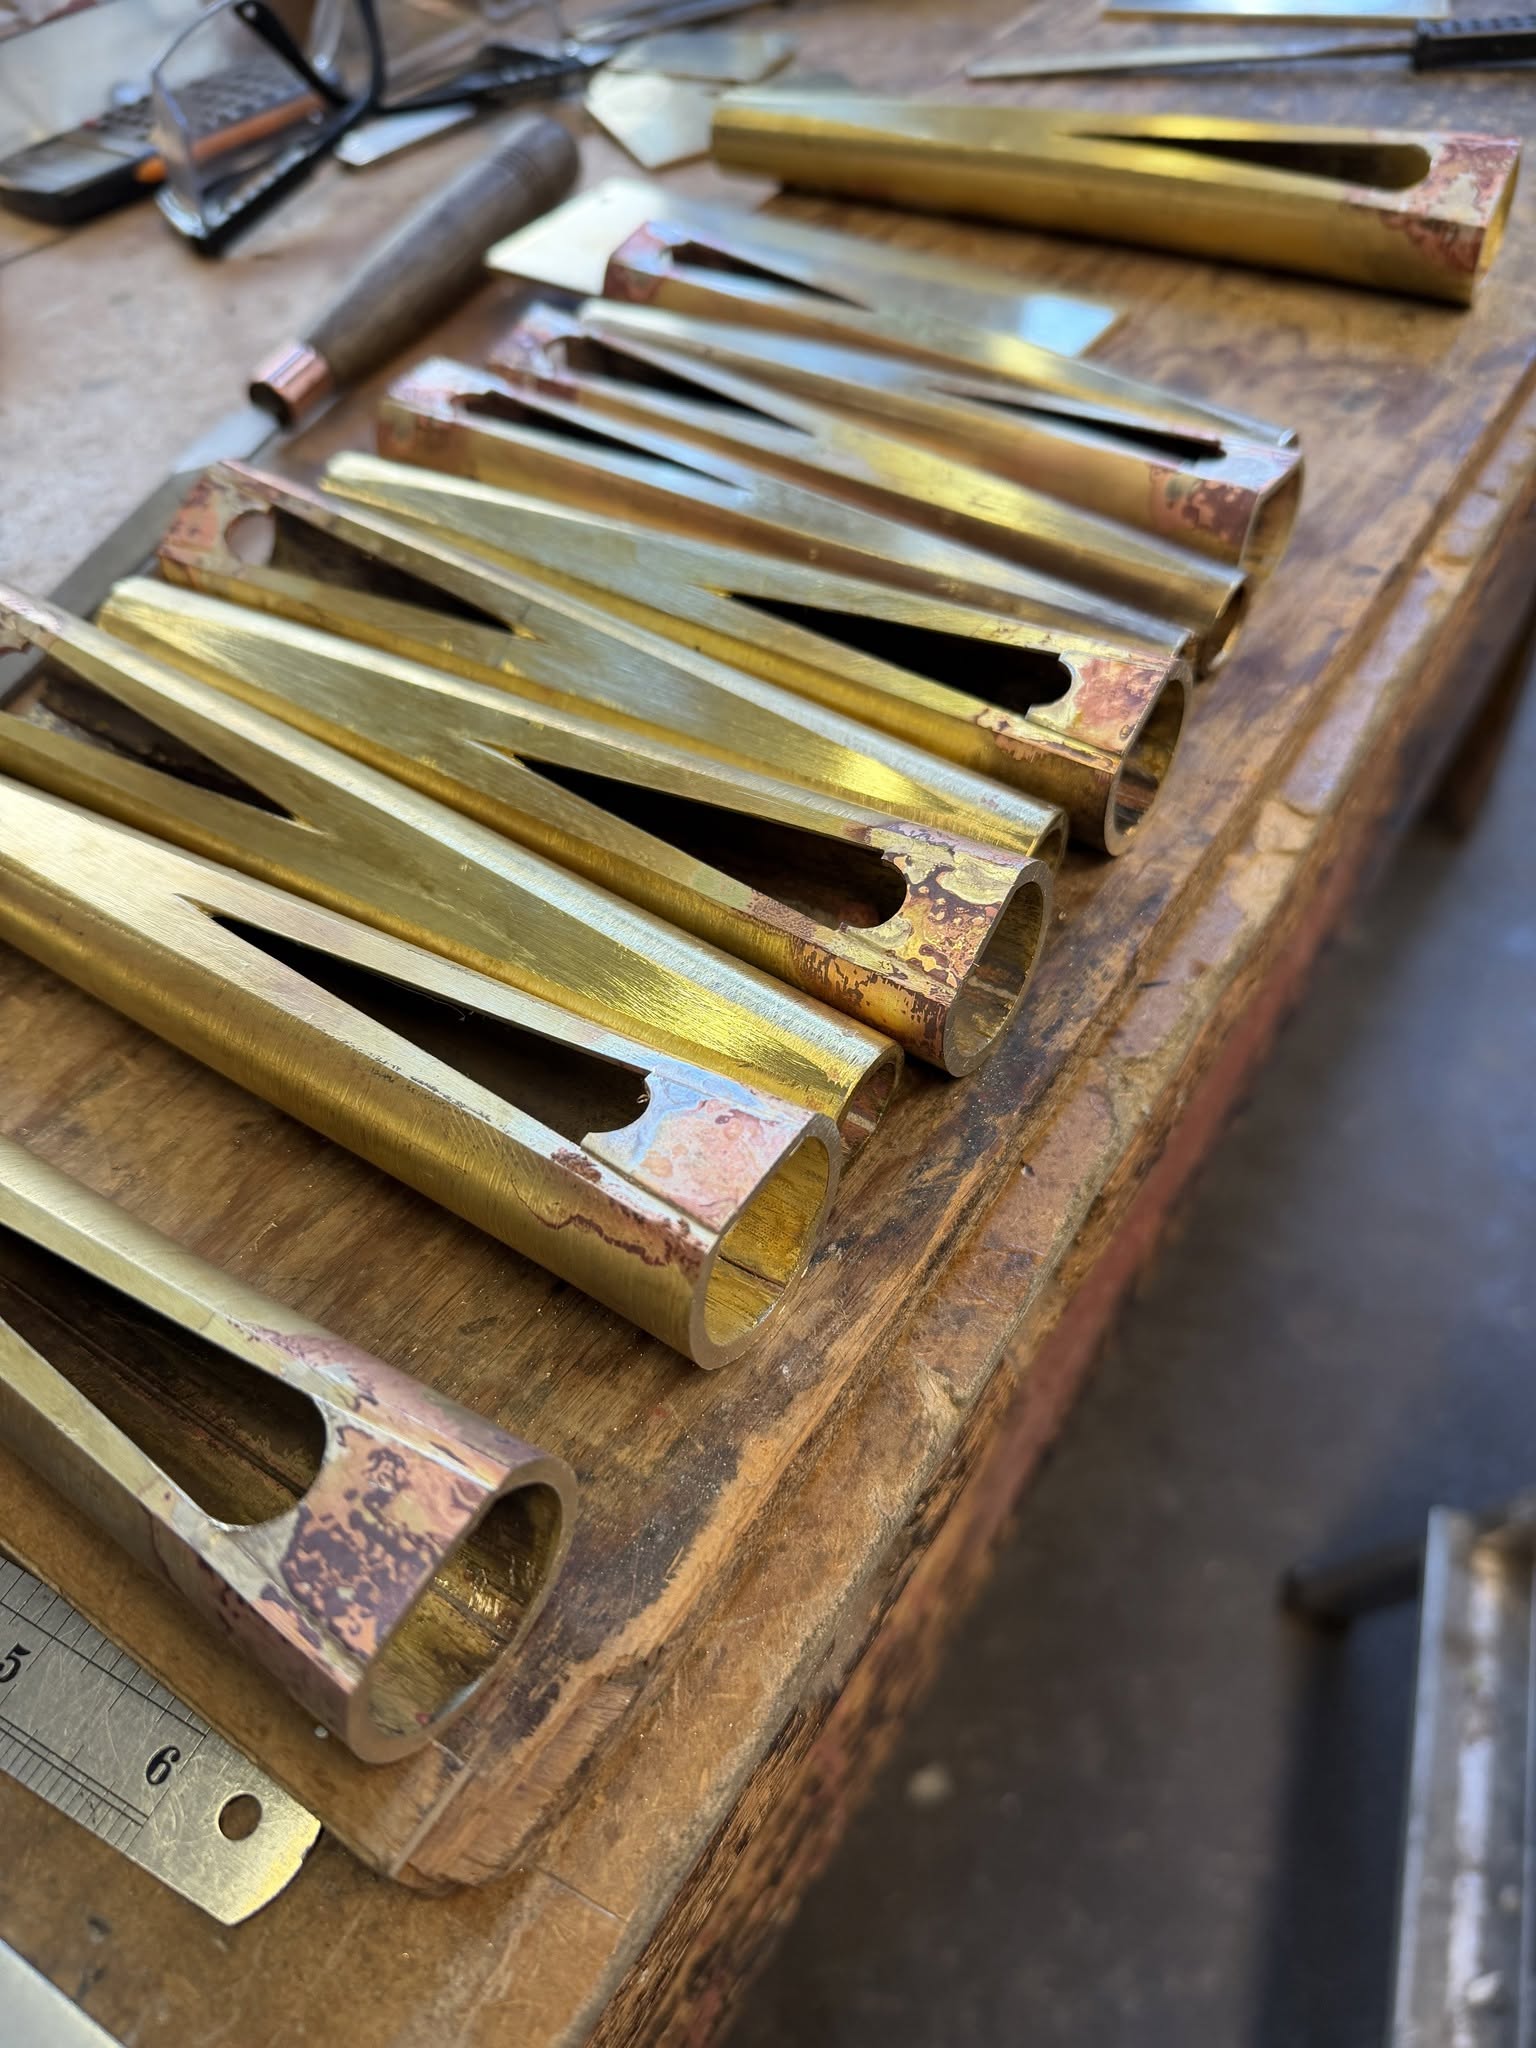
Reed Shallots, filing the opening
17 - A round file, held on edge, is used to file out the opening in the shallot.
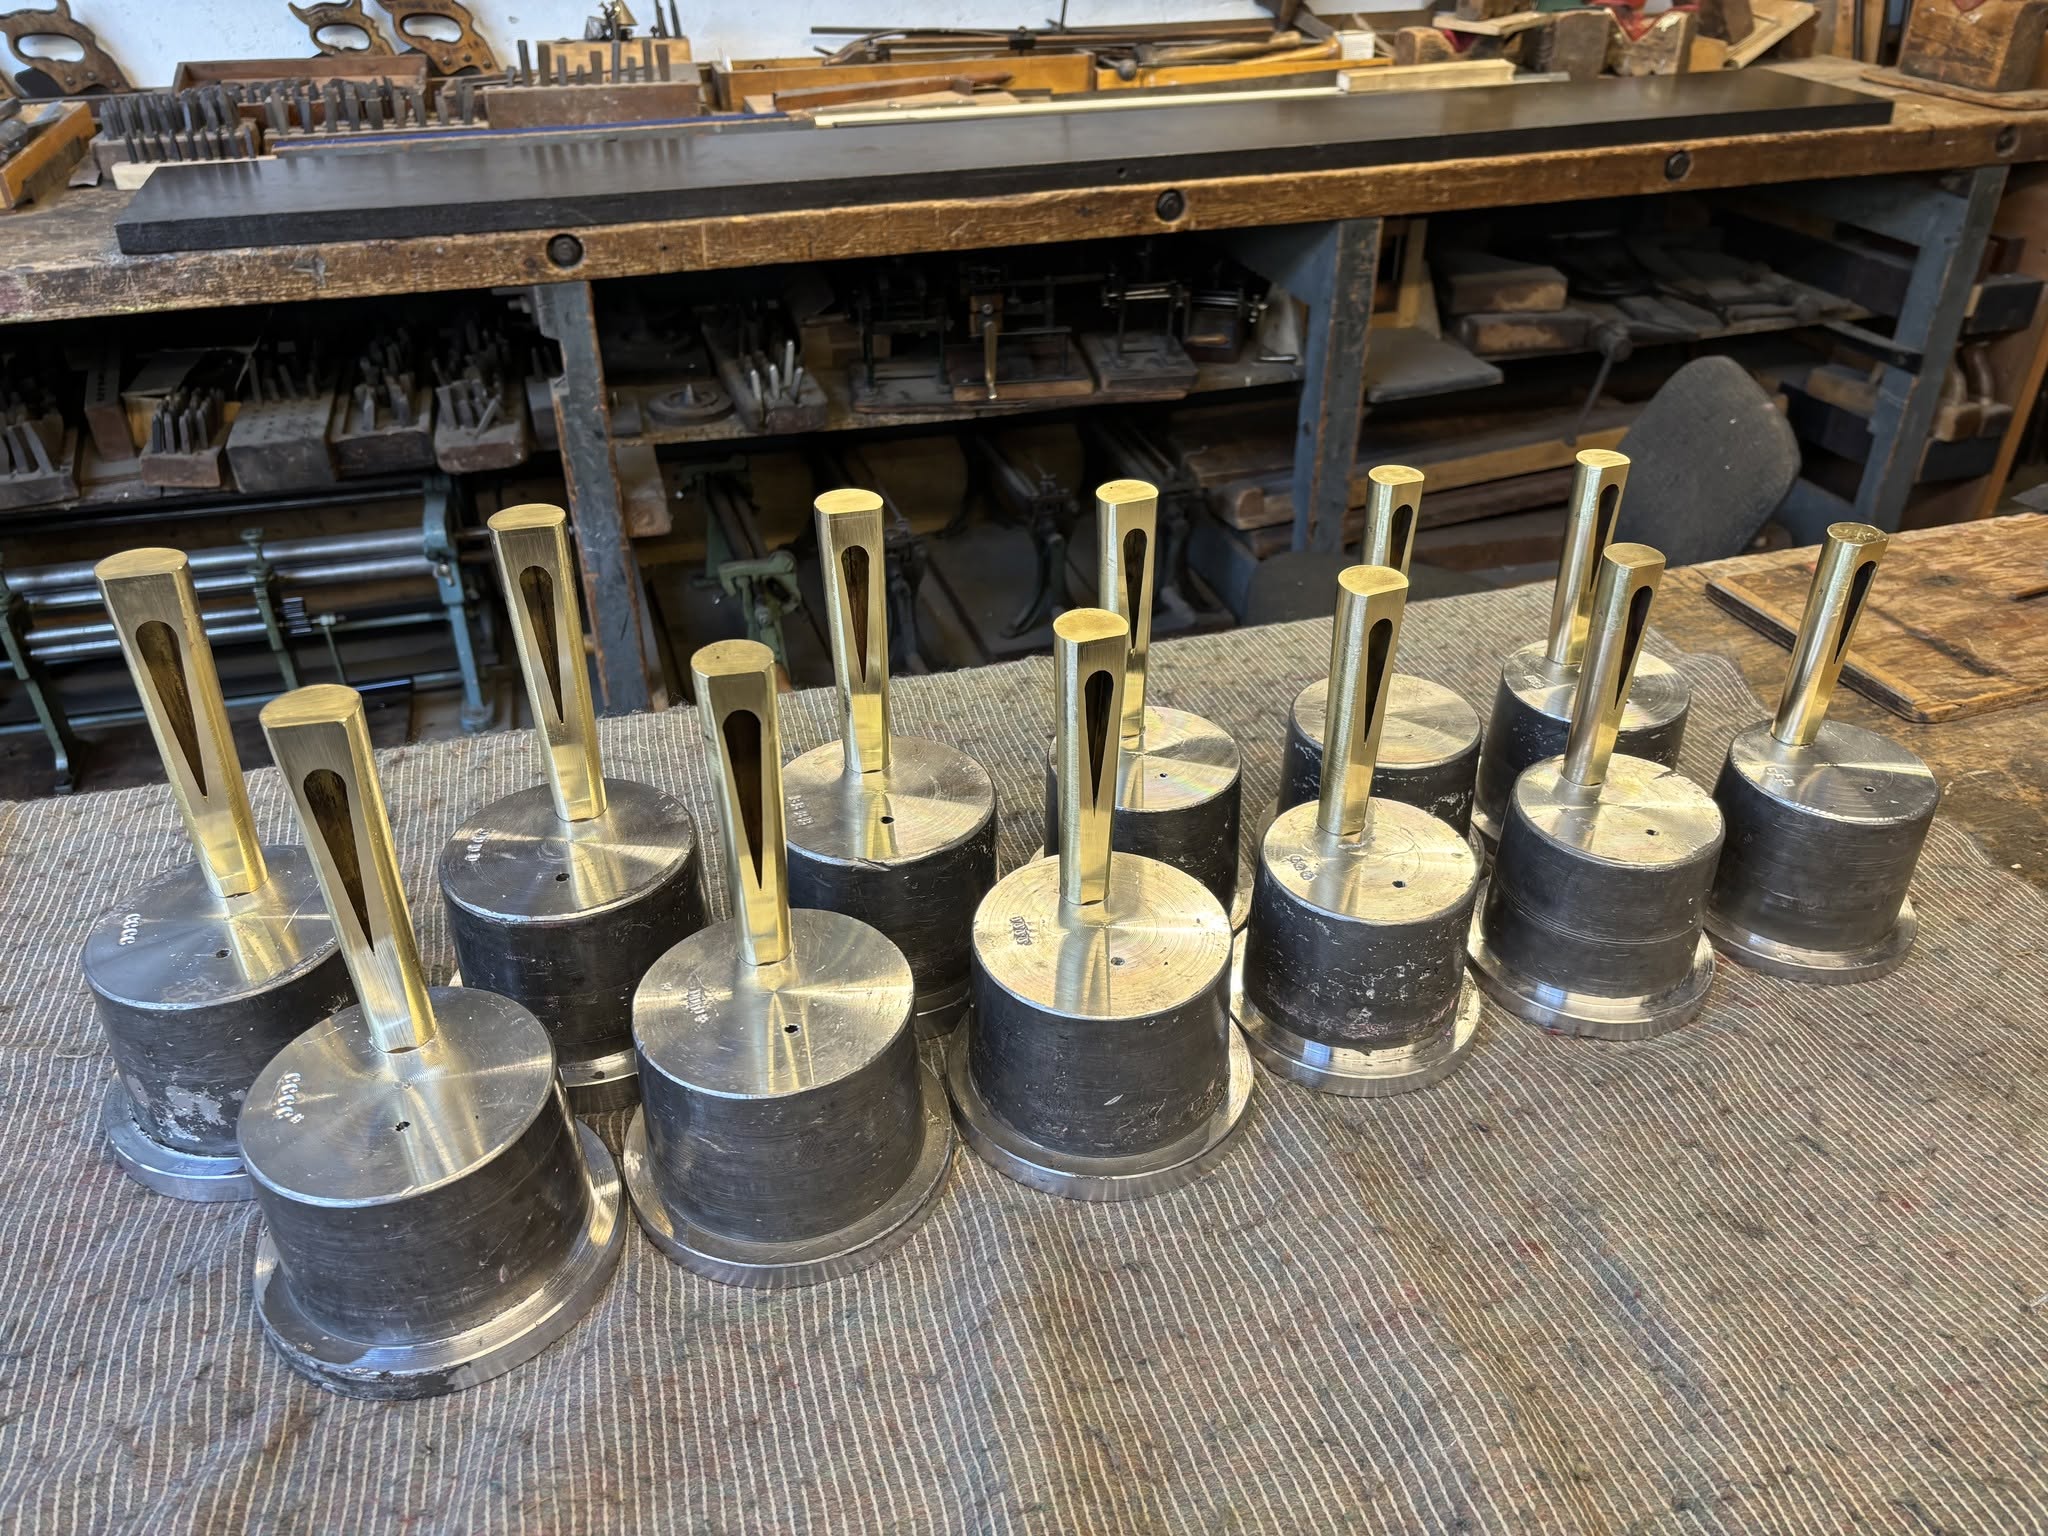
Reed Shallots, opening done
18 - Shallots after filing the opening.
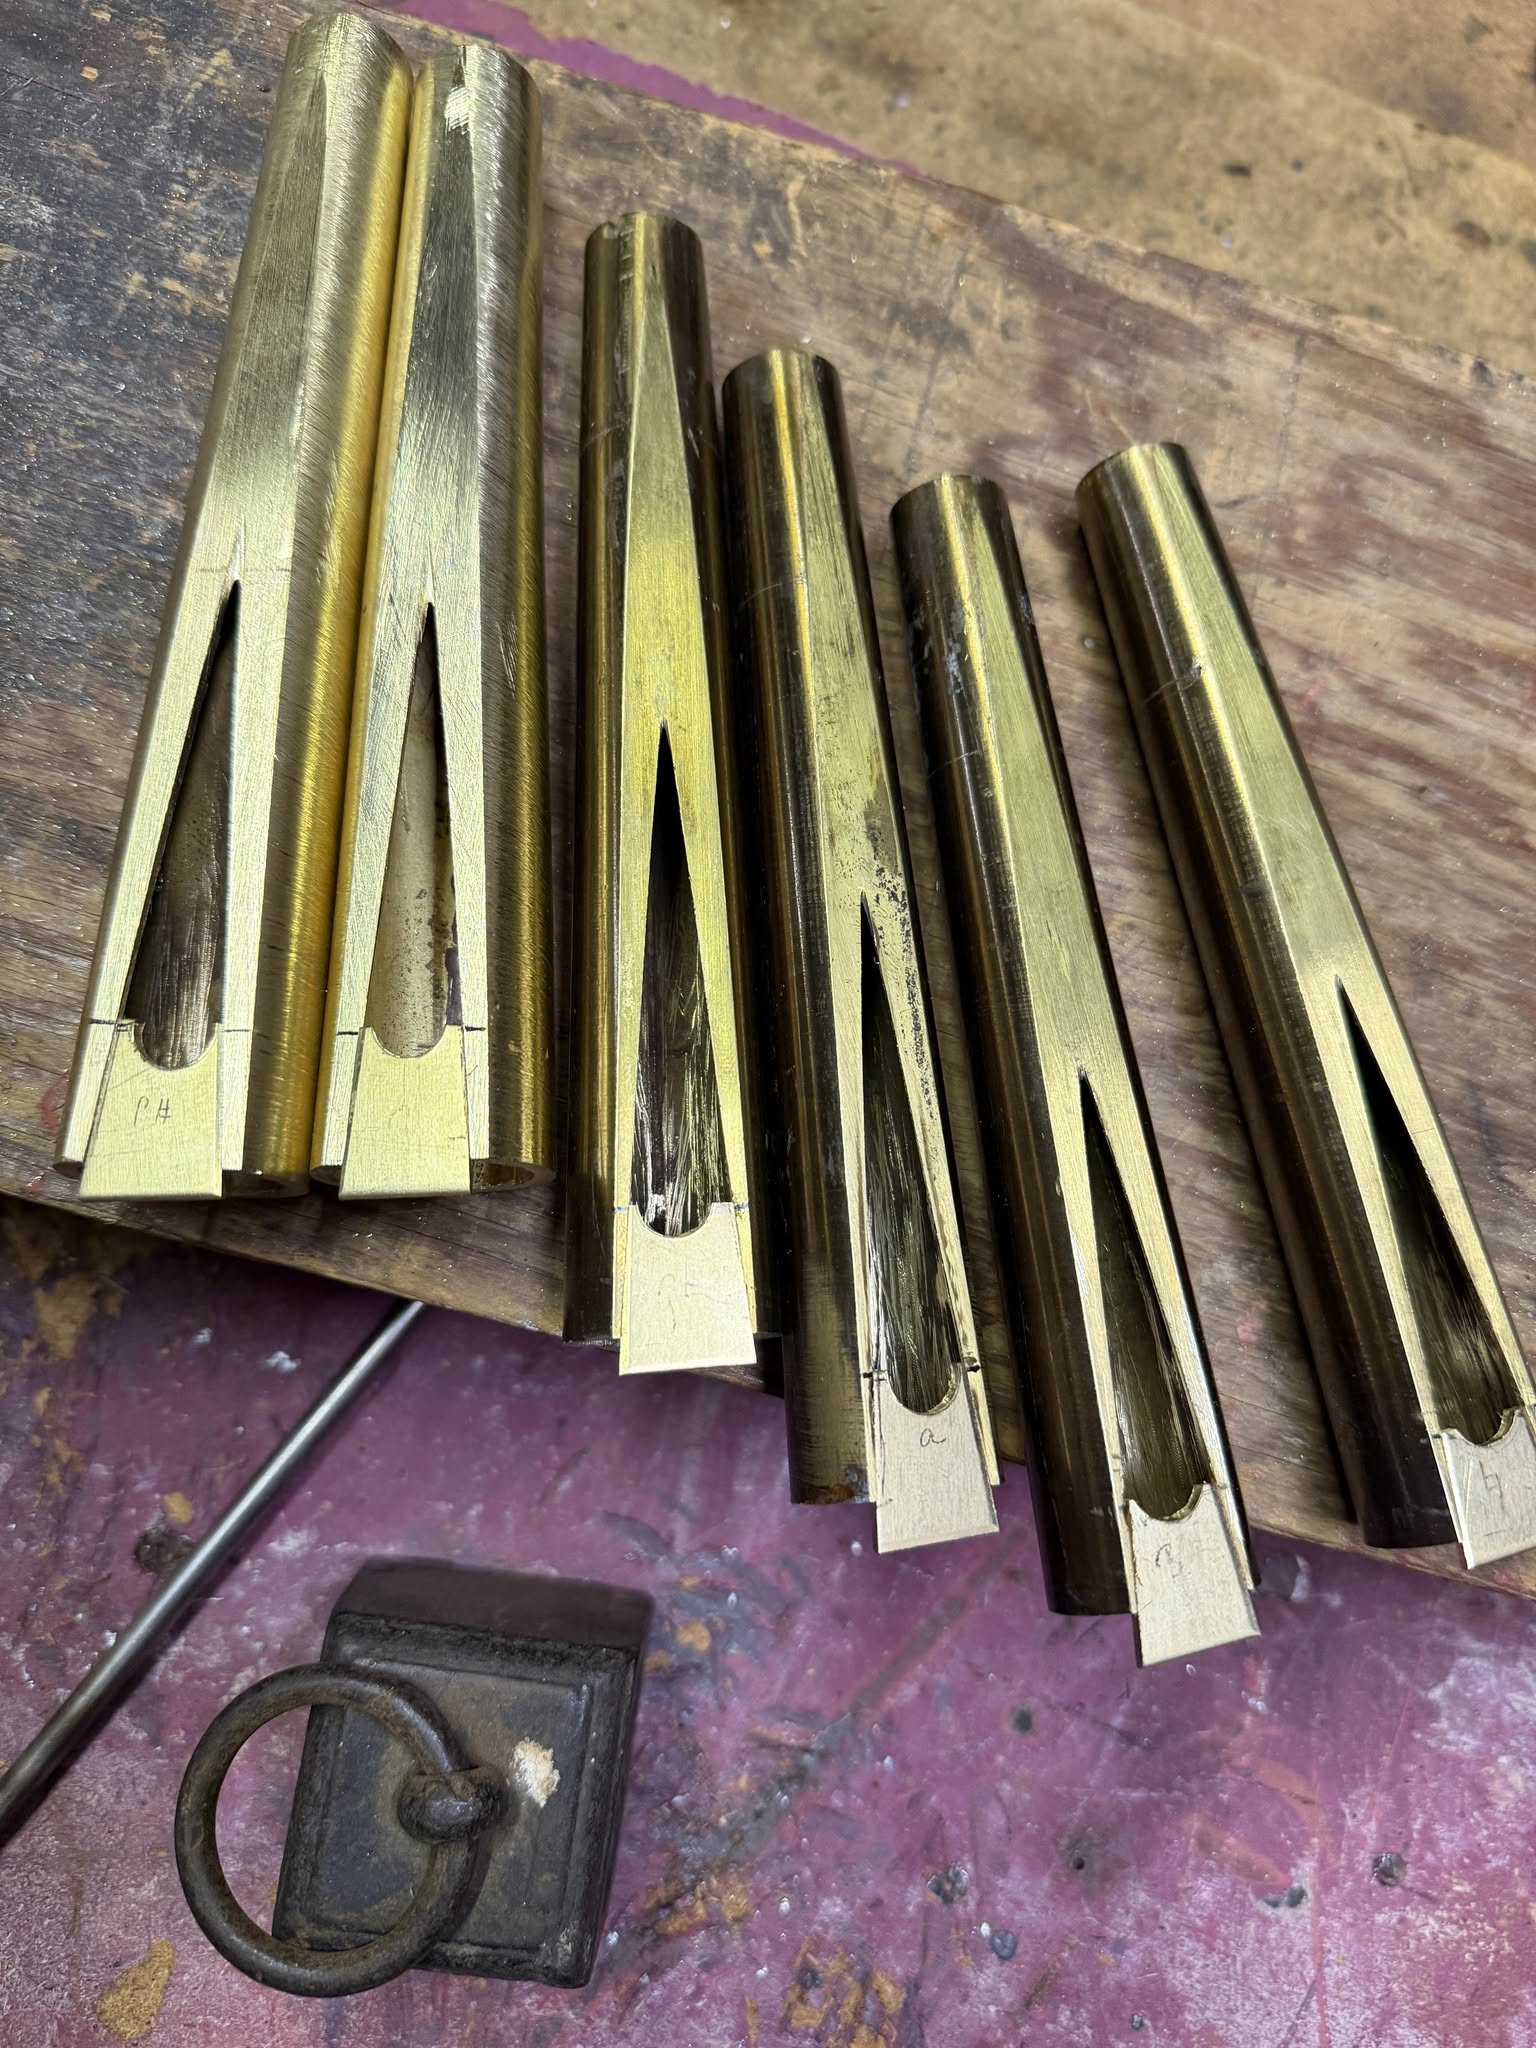
Reed Shallots, Vincentize them
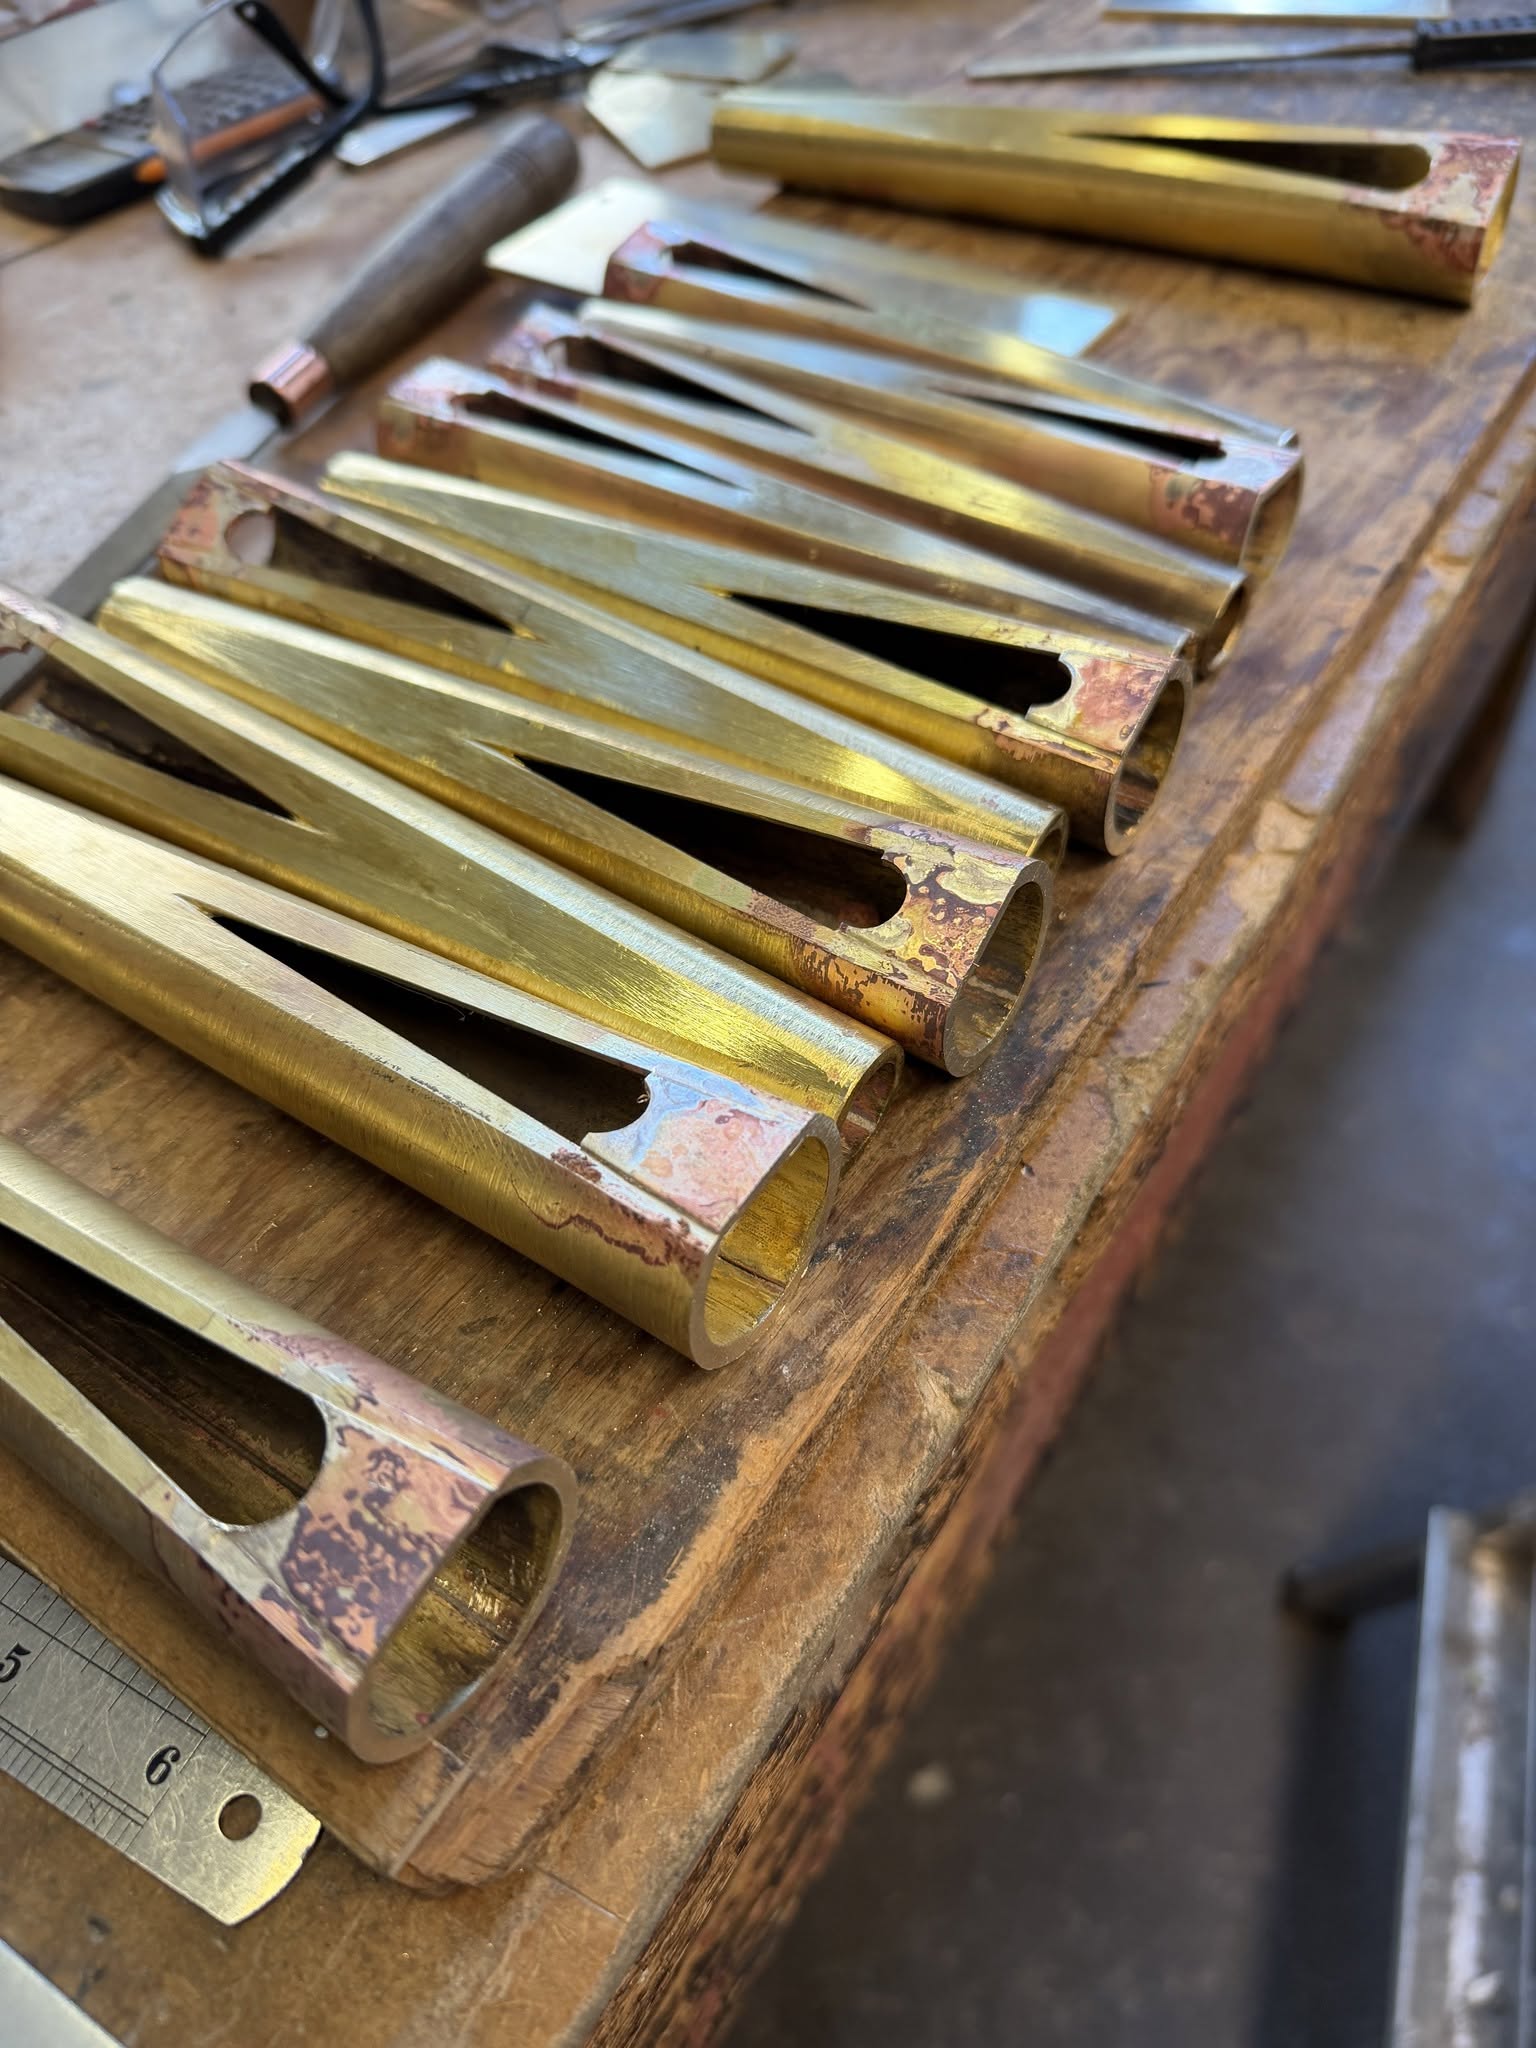
19 - To turn these into high-pressure Vincent shallots, we have to make the brass filler pieces and fit them into the bottom of the slot.
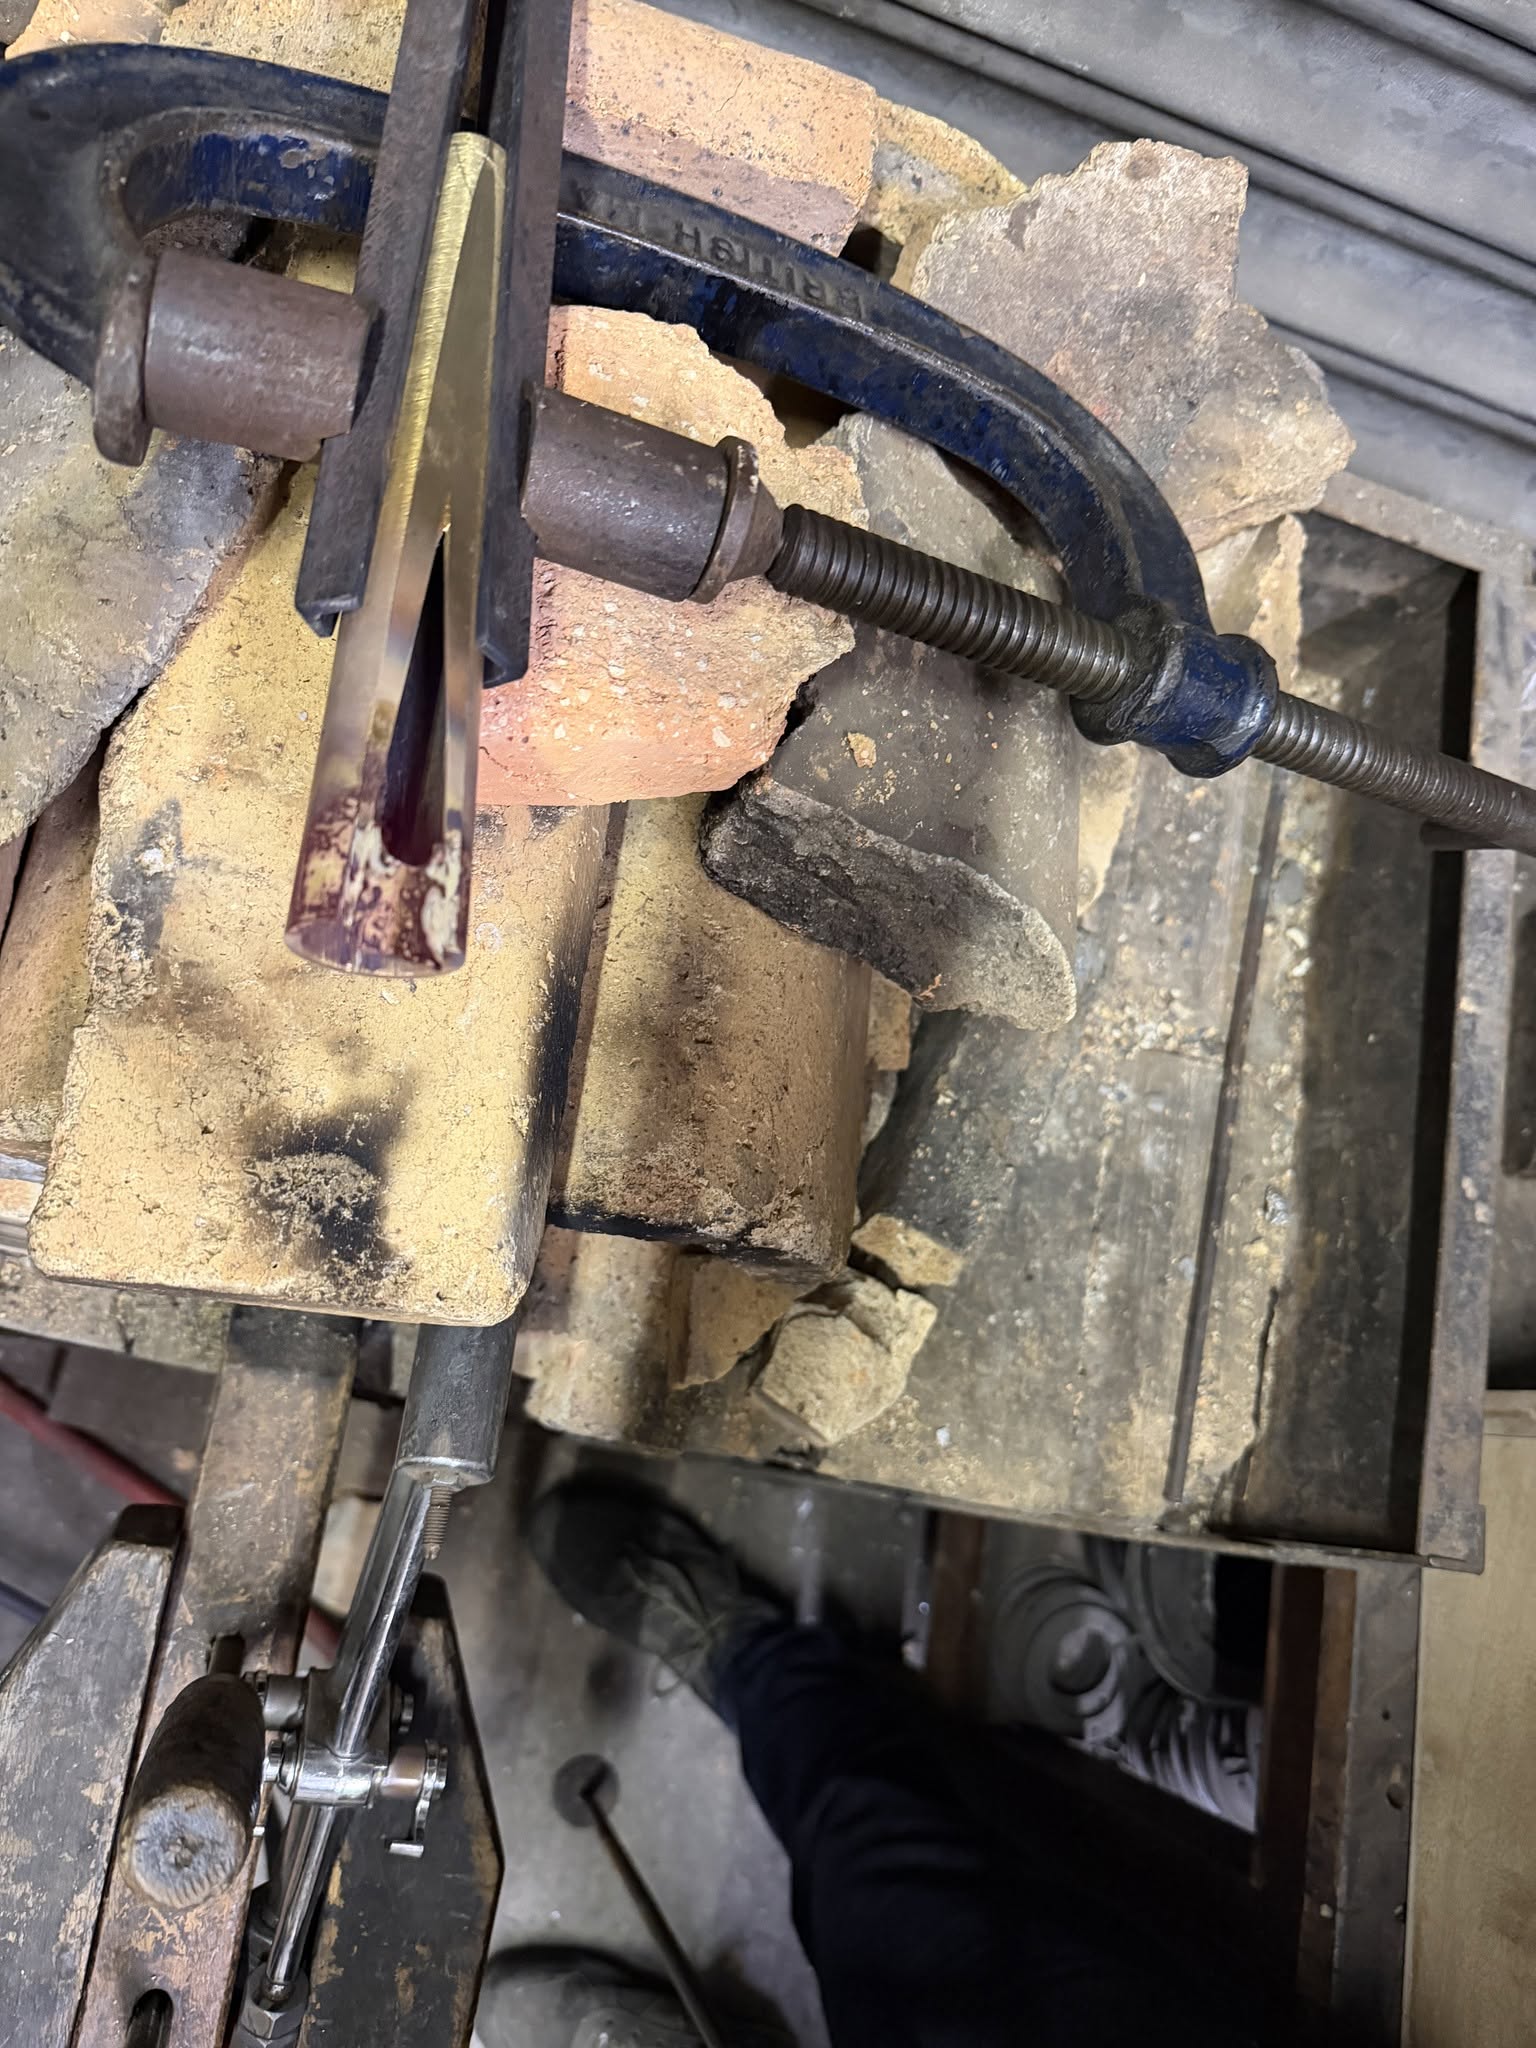
Reed Shallots, soldering inserts
20 - Silver soldering the inserts.
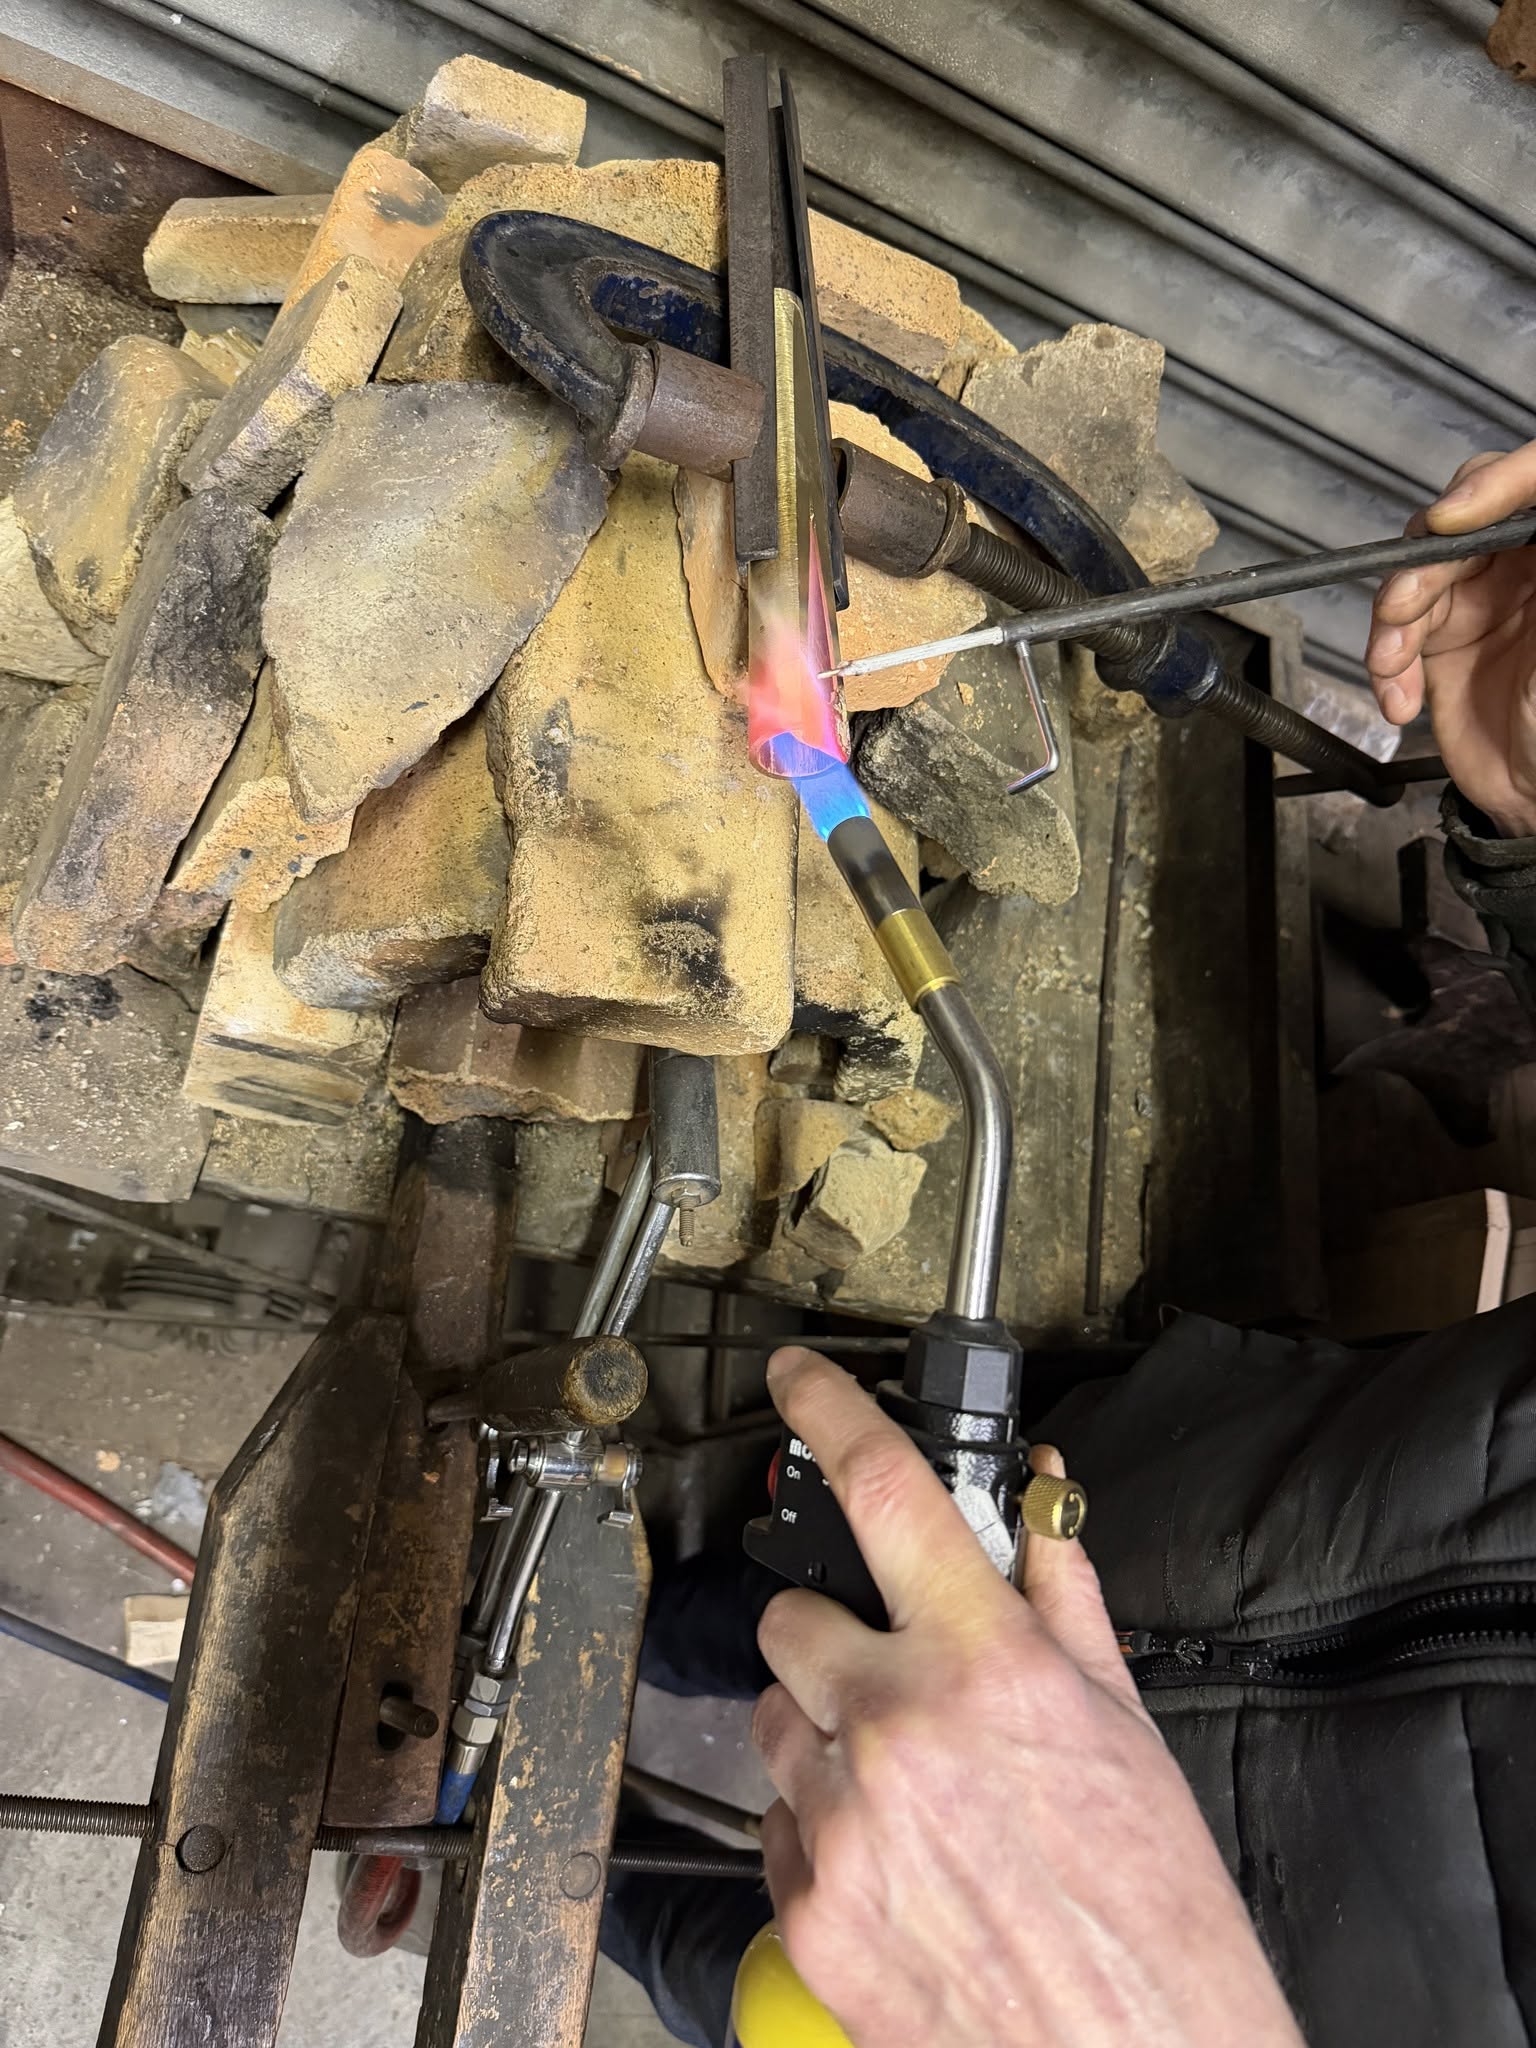
21
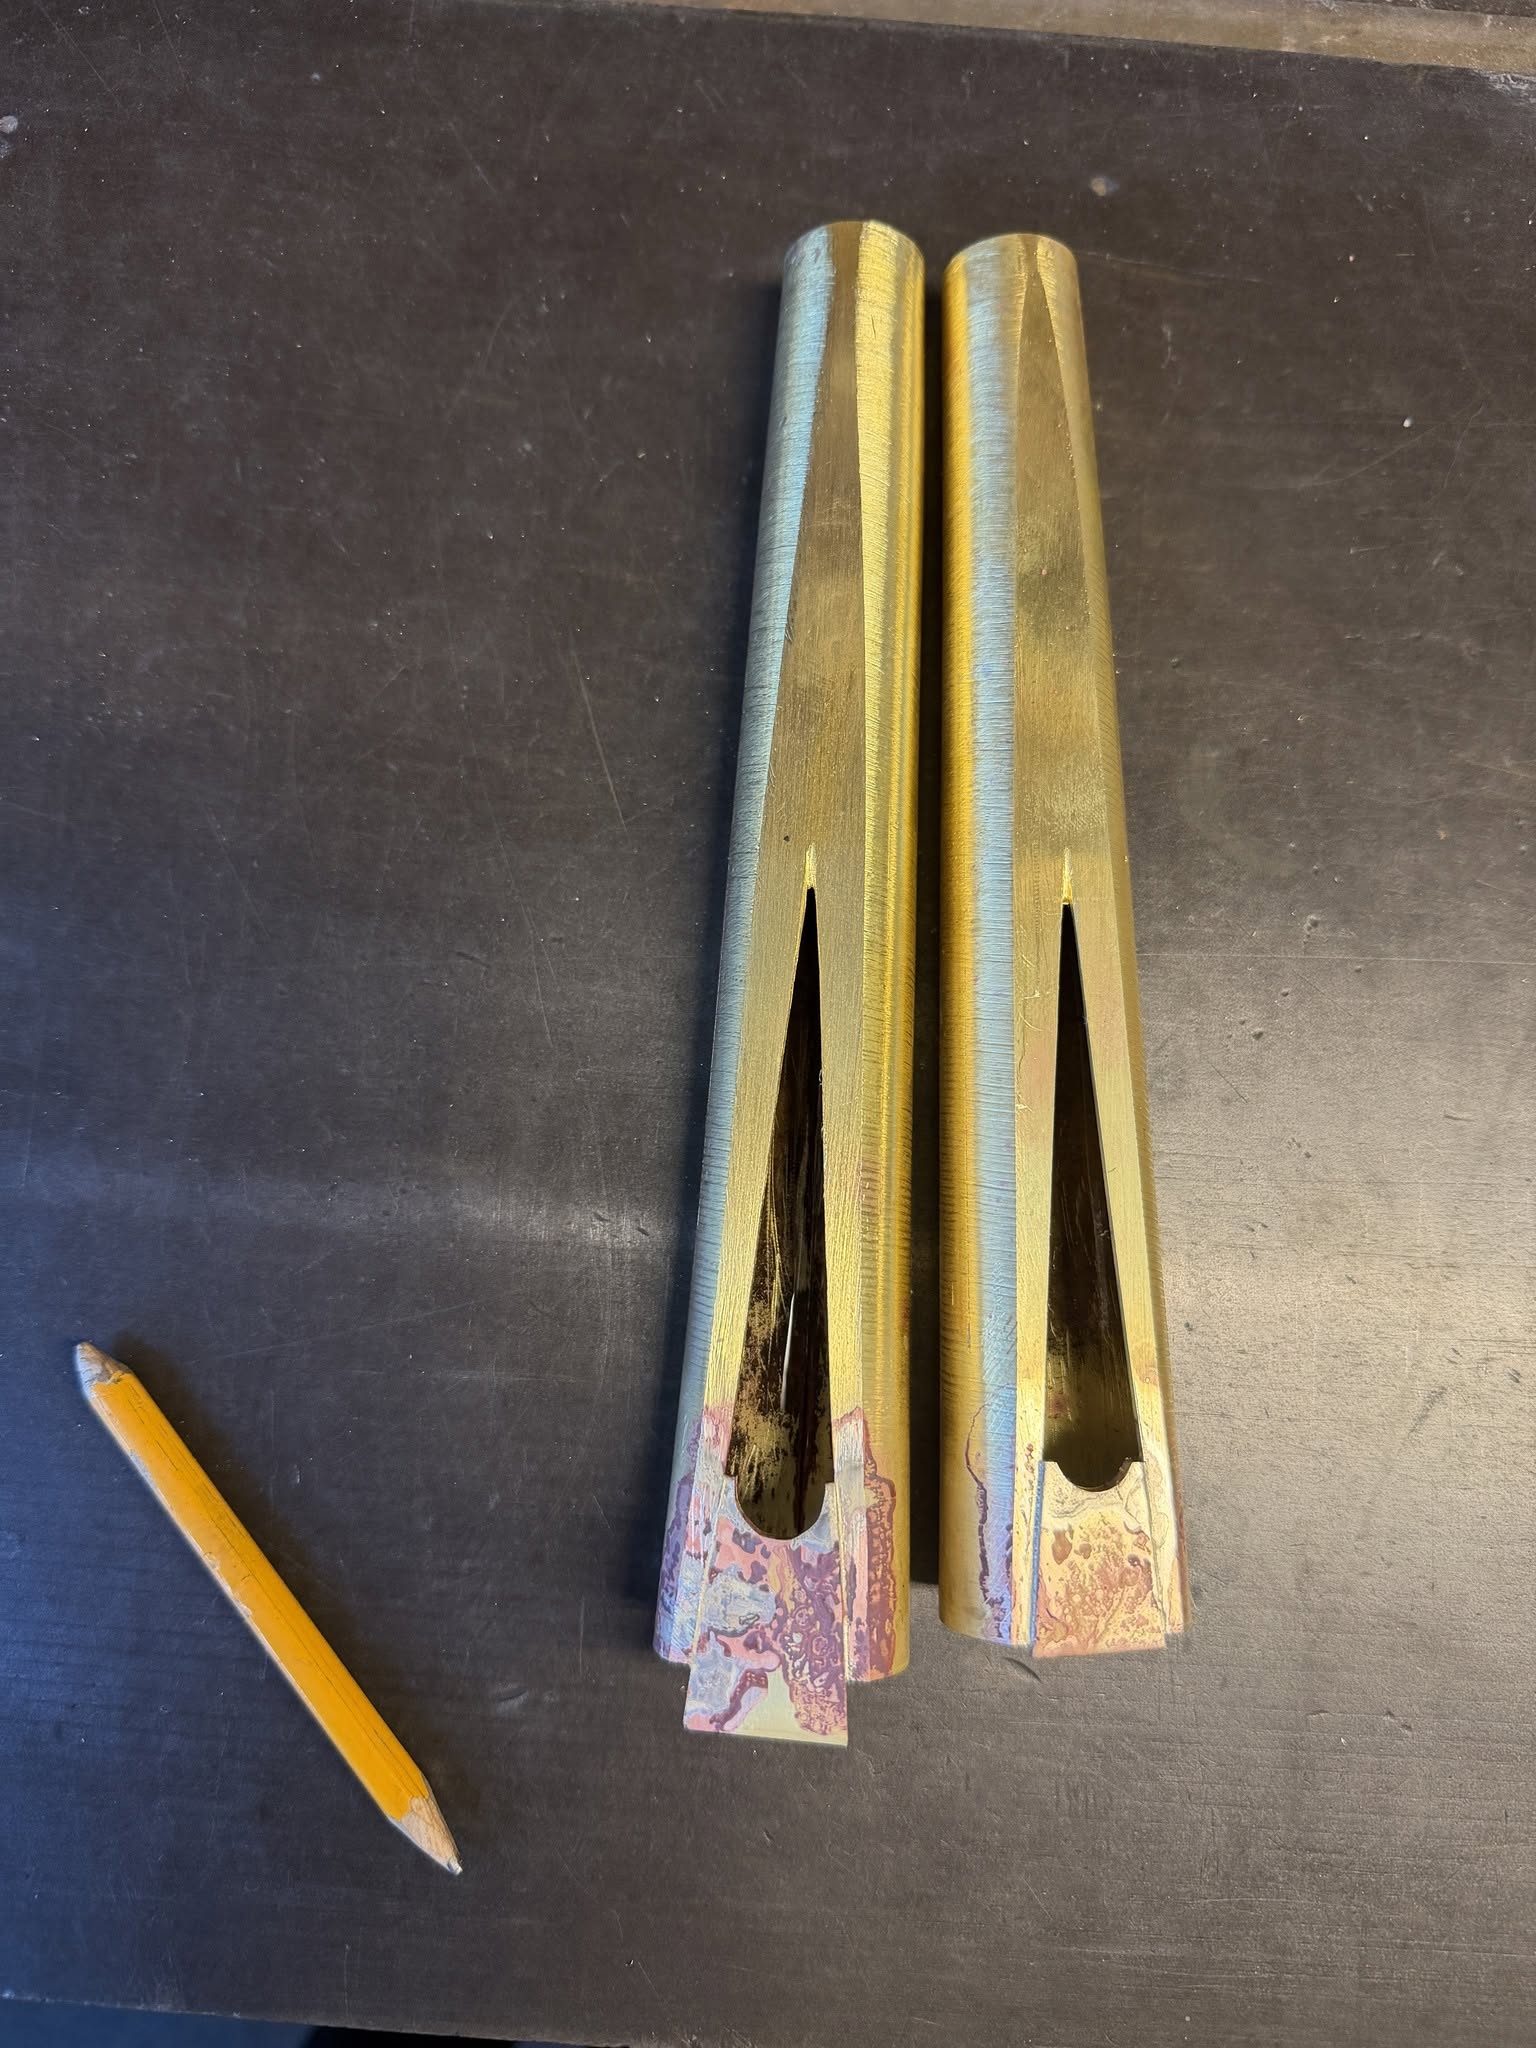
Reed Shallots, cleanup
22 - After silver soldering, the inserts are filed and cleaned up.
Reed Shallots, end caps
23 - The shallots are prepared for attaching the end-caps. The caps are cleaned and laid on a brick. The connecting face of the shallot is also trued, cleaned, then the shallot is stood on top of the end cap. I like to put a bit of flux-wax and solder on top of the cap. Heat it gently with a torch and when the solder melts, capillary action will suck the solder into the joint.
I use pipe lead/tin, solder instead of silver solder for the caps. That is because solder is good enough for caps, and a lot quicker and easier to work with.

Reed Shallots, truing the face
22a - I use Japanese sharpening plates to square and clean the shallot face. Every reed voicer should have a set; perhaps 400 and 1,200 grit. I find a mirror-finish is not necessary; just clean and flat. Even a slight twist in the shallot is fatal!

Shallot not flat
In this photo, on the shallot that has been partly worked, you can clearly see that it is not flat. It does not need to be a mirror finish, just flat and smooth.
Reed Shallots, finished shallots
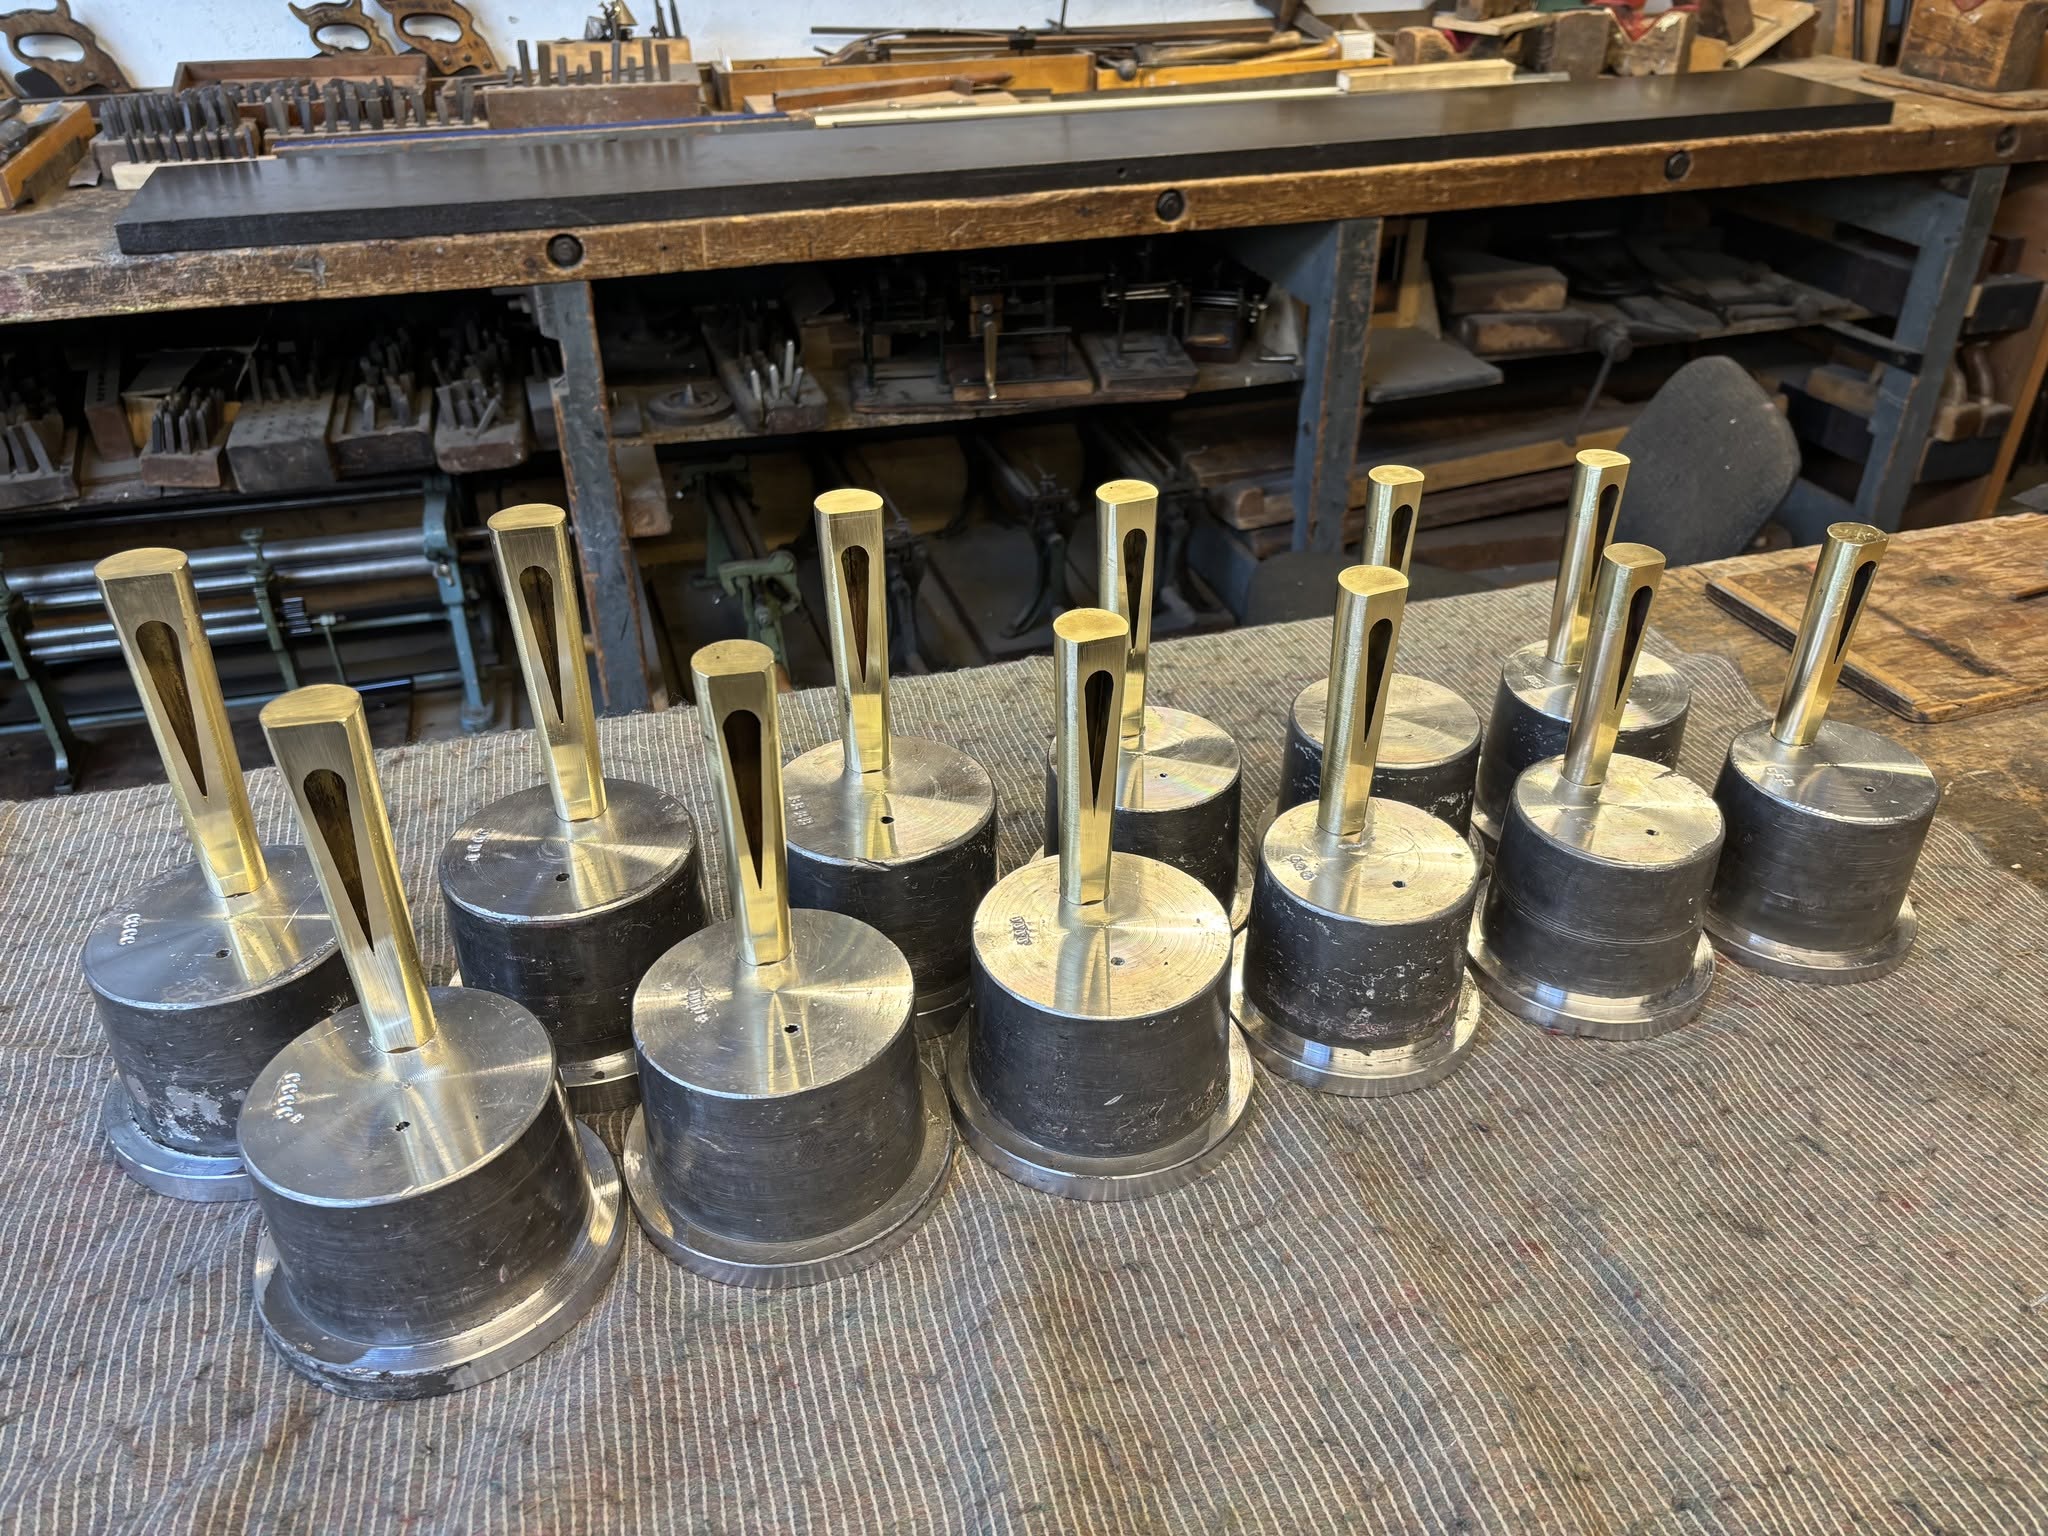
24 - The finished shallots fitted to the new blocks.