Organbuilding: Workshop Tour
Below is a photographic tour of our workshop, showing how we make keyboards, pedalboards, metal and wood pipes, consoles, windchests, bellows, casework and complete instruments. As I find interesting photos of different kinds of projects, I'll put them up on the web site.
Questions? Just ask me: blairbatty@gmail.com
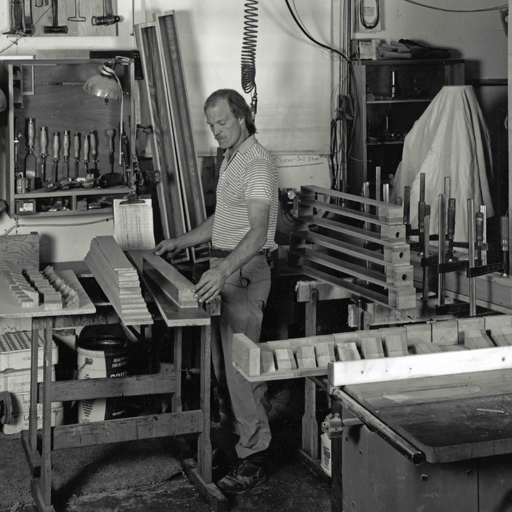
Keyboard gluing it together
We make our own keyboards. The keyplank is basswood for stability, aged 10 years. The frame is maple, with steel reinforcement. Naturals are covered with bone, Sharps are ebony.
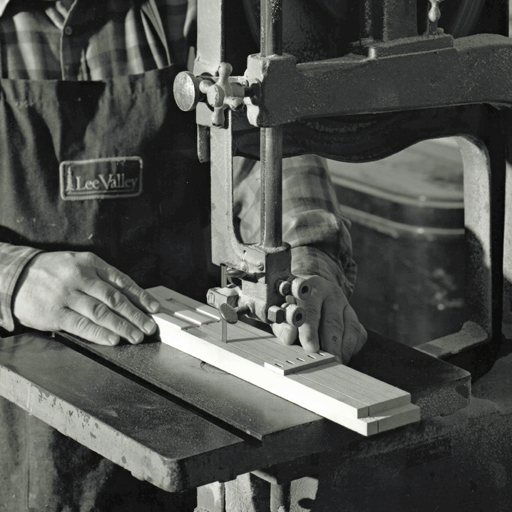
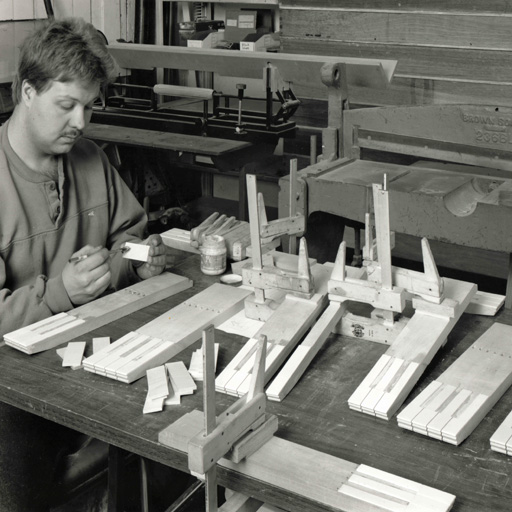
Keyboard cutting keys apart
The individual keys are being bandsawn out.
Wood Pipemaking gluing them up
Here we are getting ready to glue the fronts on the pipes. Many people glue the fronts and backs simultaneously, but I prefer to glue the front on separately as it allows precise alignment of the mouthparts.
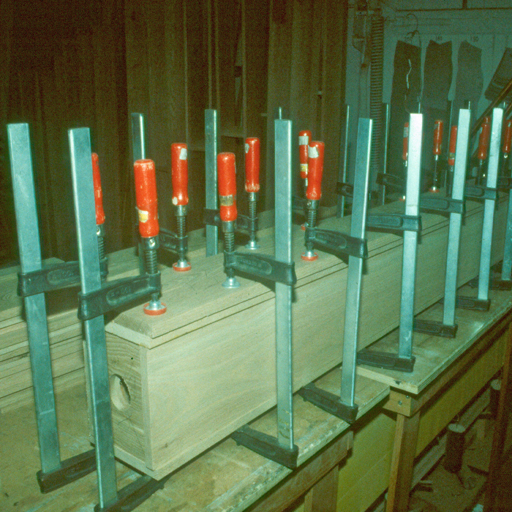
Wood Pipemaking gluing them up
As you can see, besides having a skilled woodpipe cabinetmaker and the correct scales and designs, making wood pipes requires a fortune in wood clamps!

Wood Pipemaking waiting for fronts
A stack of wood pipes, waiting for their fronts to be glued on.
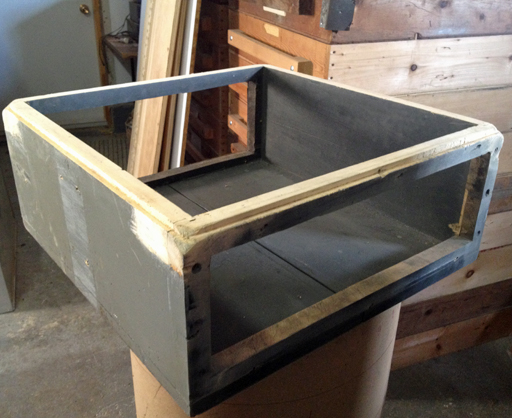
Bellows Repair, releathering
Organs use leather, which is animal skin; it is perishable and needs to be replaced about every 50 years or the bellows leaks. A bellows is the reservoir for organ wind. Here you see the well has its top and ribs removed and the glue joints cleaned to the bare wood.
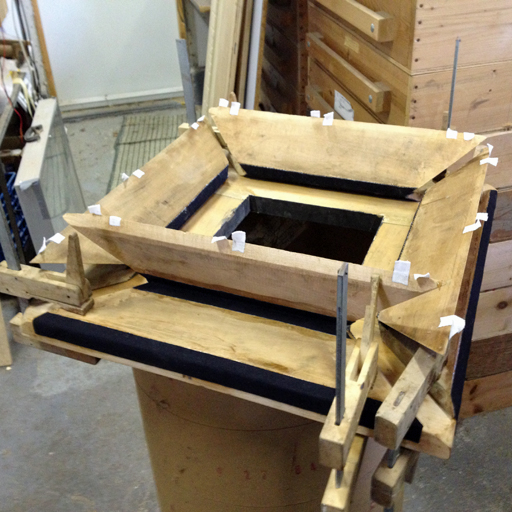
Bellows Repair, Top and ribs
The bellows top is upside-down and the ribs have been attached to the top. We have found black neoprene cloth to be more durable than modern leather; though we will use either. We use multiple canvas hinges for strength.
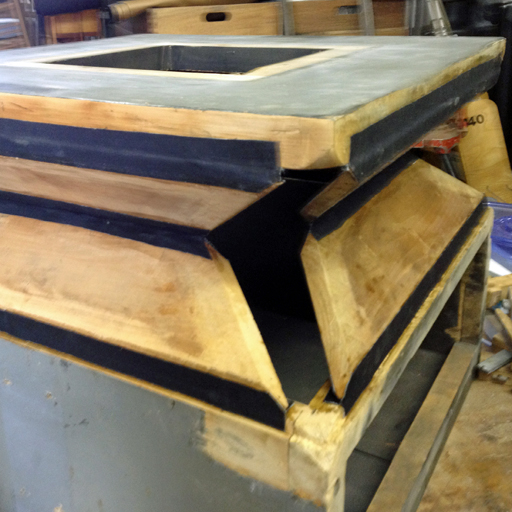
Bellows Repair putting it together
Here the top and ribs are precisely aligned with the well and attached. We use traditional hot hide glue as it is reversible; the bellows will need releathering again, in another 40 years.
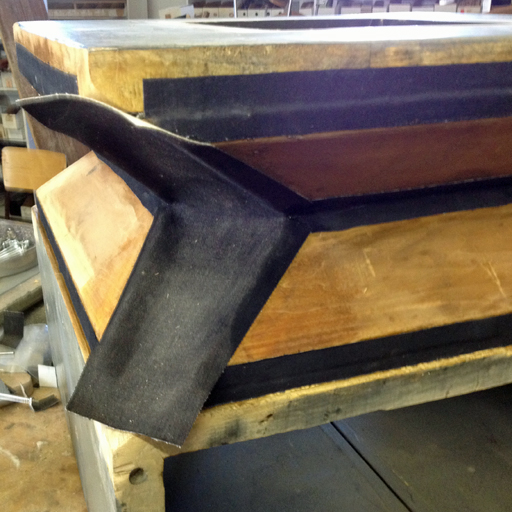
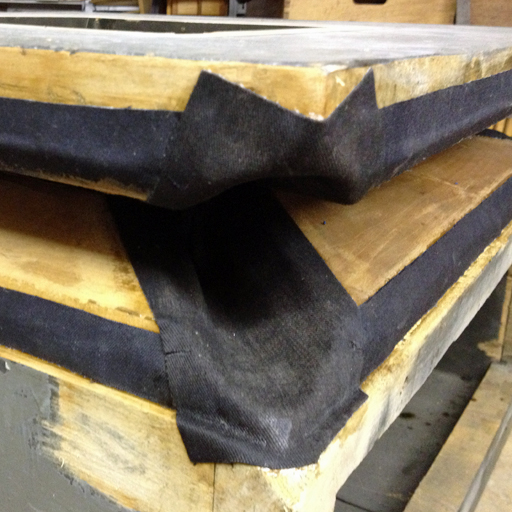
Bellows Repair, corner gussets
The corner gussets are glued in.
Bellows Repair, finishing up
With the corner gussets glued in, the bellows is ready for the leather corner finishing caps. Then the woodwork is painted and bellows returned to the organ.